-
Notifications
You must be signed in to change notification settings - Fork 4
sample_handling
Samples cleared using the CLARITY-Protocol are usually immersed in a refractive index matching solution with an index close to that of quartz/fused silica (nd=1.45). This index is close to Quartz so that quartz cuvettes can be used.
Samples are placed on a plastic plate and a weight is glued to the bottom of the sample using quick glue. The purpose of the weight is to both center the brain inside the cuvette and to weigh it down to keep it from floating. A small cutout (1.25 x 1.25 mm) allows to place the cuvette as in the image. The weight is either folded from black aluminium foil (Thorlabs BKF12) with a M4 nut glued to it or 3D printed (to be done).
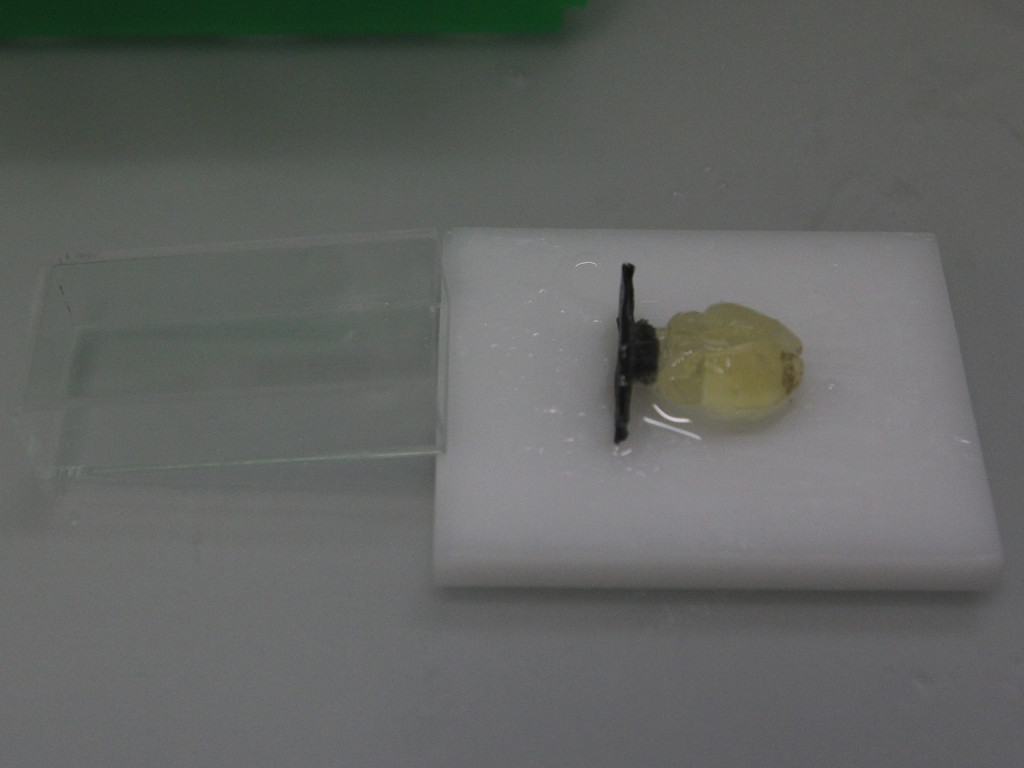
After the glue has hardend, the white plate and the cuvette are picked up together and tilted to gently slide the sample into the cuvette. If the sample gets stuck, gentle pressing on the edges of the bottom weight using a pipette tip or forceps helps.
After the sample is inserted, the refractive index matching solution (RIMS) is pipetted in. For a 10x20 mm cuvette, usually 4-5 ml are necessary. The samples should be matched to this solution at room temperature to avoid striae in the liquid.
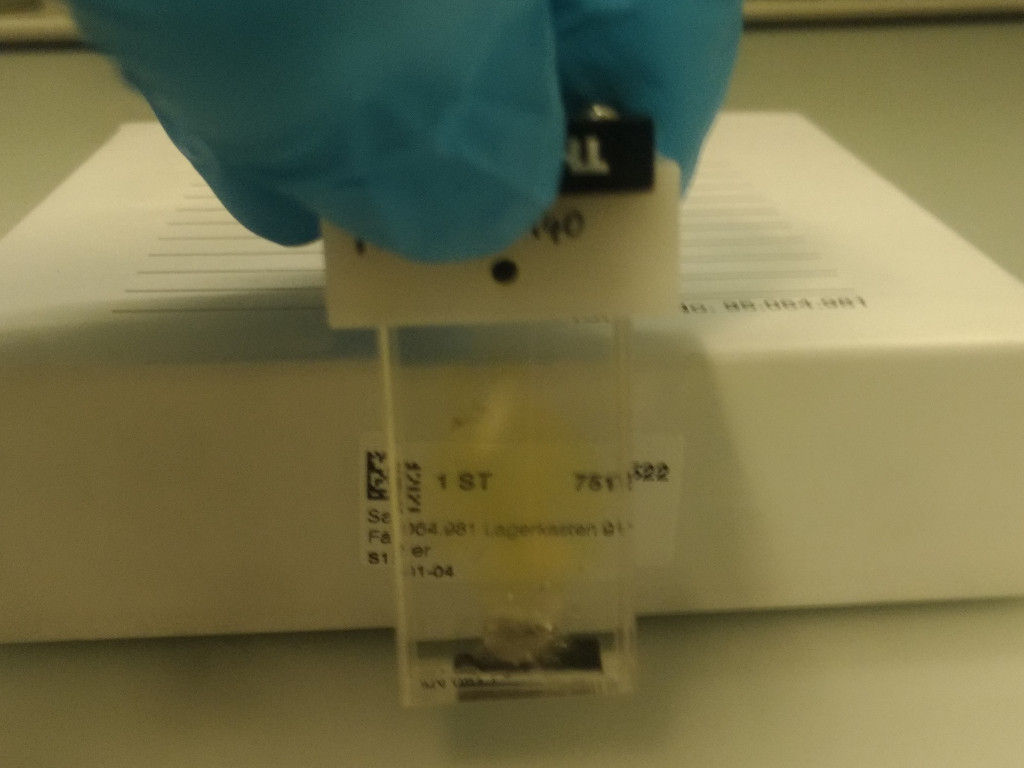
The magnetic cuvette holder is then attached to the top of the cuvette and the clamping screw tightened if necessary. Please be extra careful when attaching the top holder as cuvettes can easily break.
Pipette the RIMS out of the cuvette and let the sample gently slide on the plastic mounting tray or into a petri dish. Use a scalpel or a knife to remove the weight from the sample.
The inside of the cuvette is in contact with refractive index matching solution (RIMS) based on water, the outside of the cuvette is in contact with an immersion oil (Cargille 50350). Cargille 50350 is not easy to clean, has the tendency to creep and tends to form a white precipitate when mixed with some organic solvents (e.g. Isopropanol). Therefore, the inside can be cleaned with Isopropanol or Ethanol, repeated rinsing with hot water leads to good results on the outside.
- please avoid glue residuals on the cuvette walls as they tend to be hard to remove
- having the brain as vertical as possible and the midplane parallel to the cuvette walls aids in quickly creating coronal datasets later on
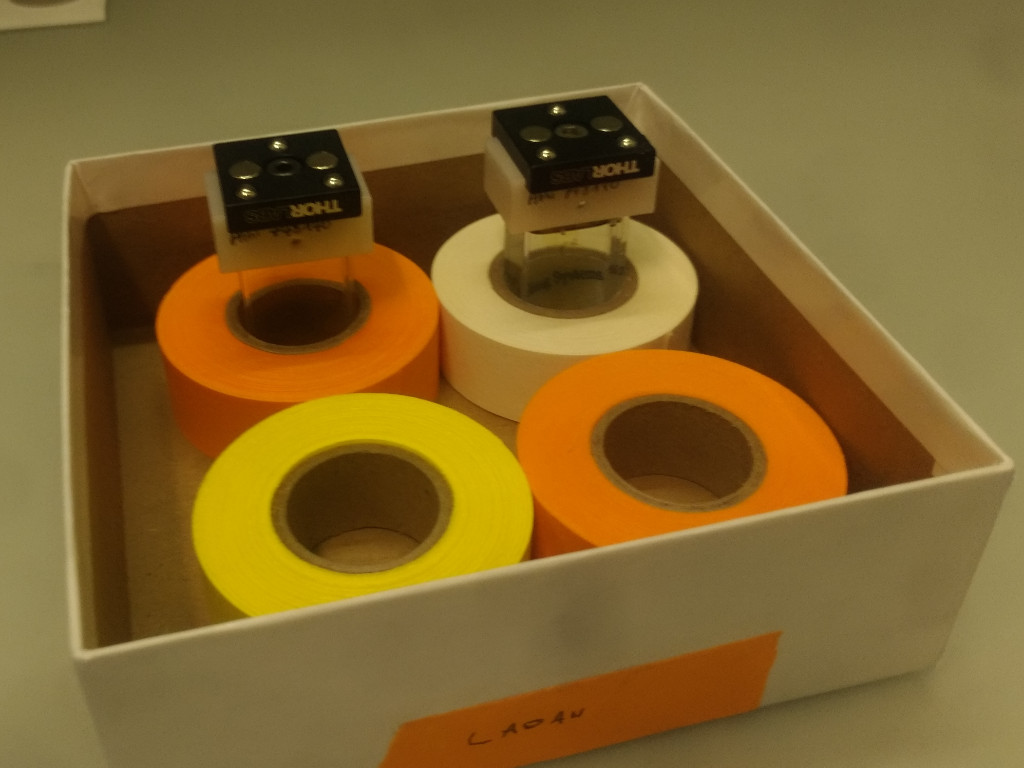
Samples inside 10x20 mm cuvettes can be placed in tape rolls to keep them vertical. For a few days, samples can be stored in boxes to protect them
from ambient light.
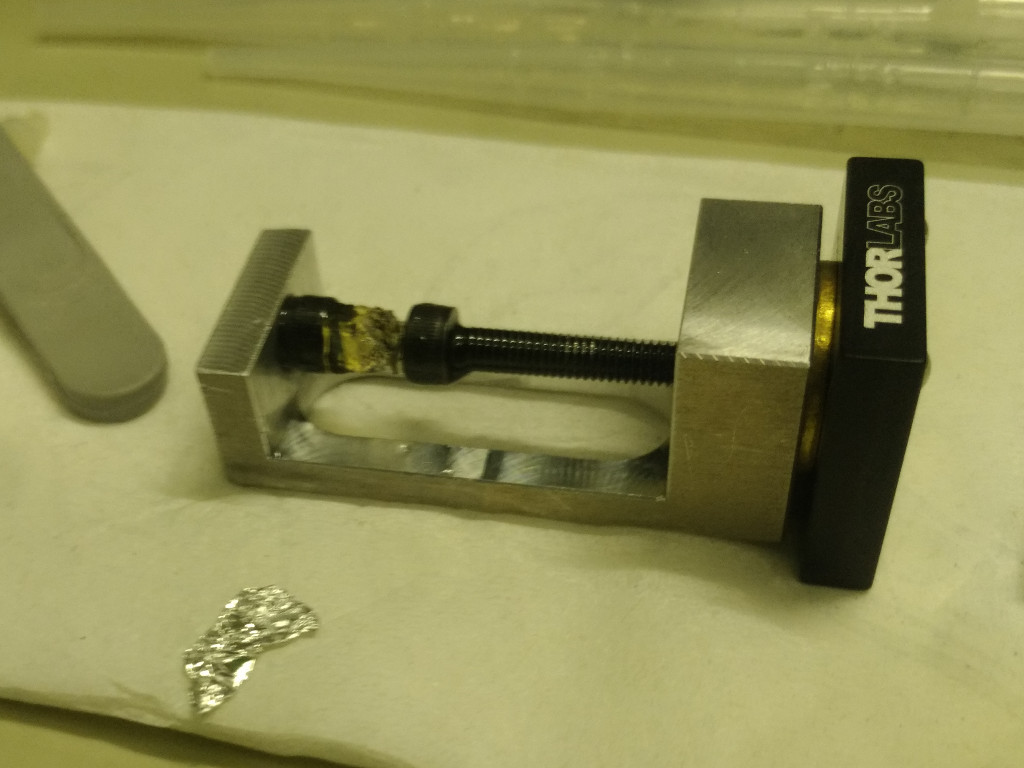
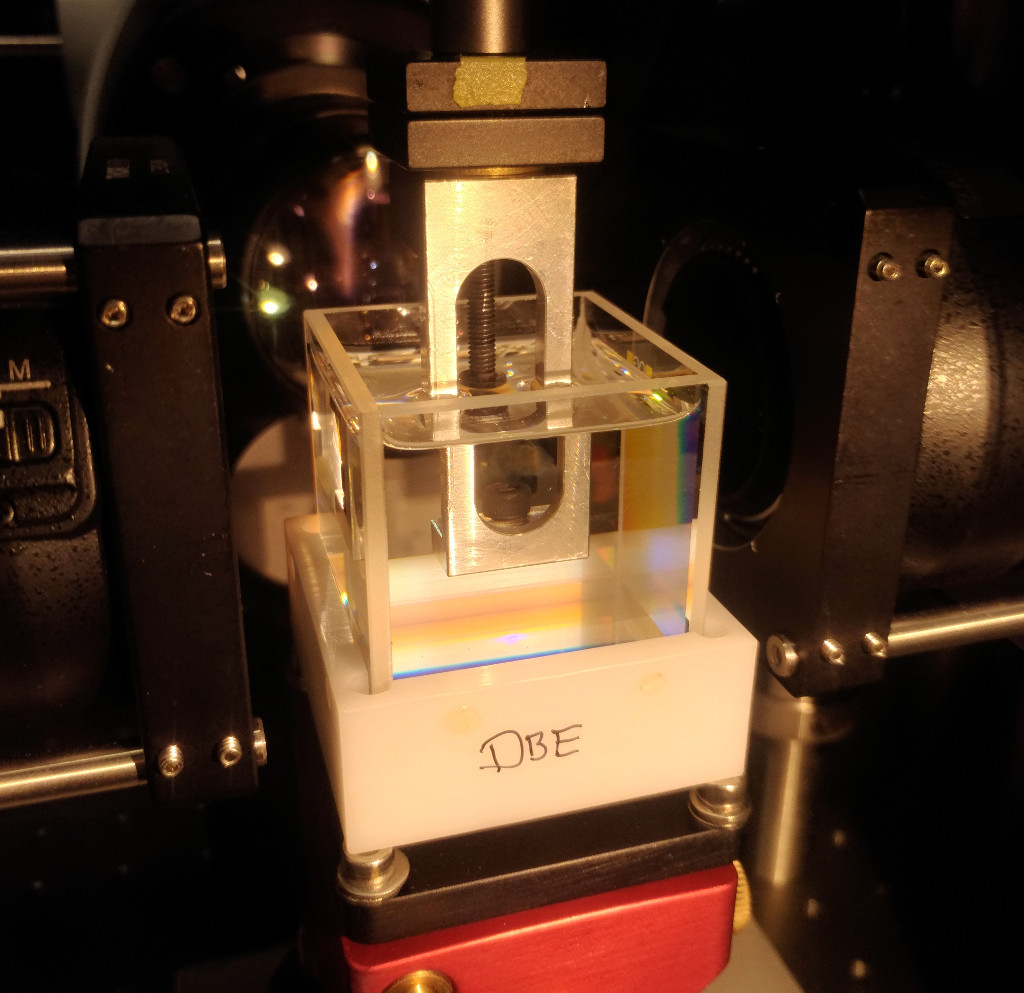
iDISCO samples tend to be small and hard which allows them to be clamped in a special sample holder. As the index of the imaging medium (dibenzyl ether, n = 1.562) is higher than typical glasses used for cuvettes, it is recommended to image the sample without a sample cuvette, just with a big (30x30/40x40 or 50x50 mm) cuvette.
DBE tends to dissolve several types of plastic, which is why sample holders made from aluminium are recommende. 3D-printed parts made from polyamide work as well. A typical clamping holder is shown below. The sample is clamped between two M4 screws, alternatively, nylon screws work as well.
For imaging in iDISCO, the large cuvette is exchanged with one filled with DBE and the ventilation duct set up as close as possible to the cuvette.
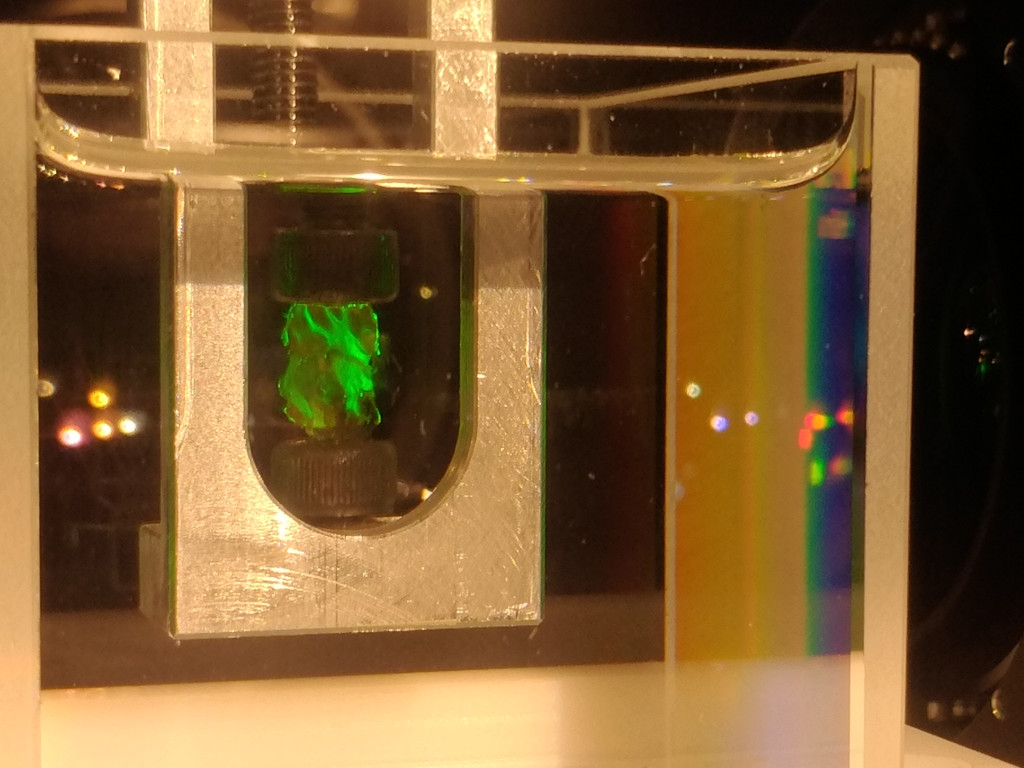
The samples are usually so transparent that they are almost invisible when the laser excitation is off.
-
Background
- mesoSPIM history
- Optical design
- Electronics
-
Setting up a mesoSPIM
- First steps
- Preparing the software and electronics
- Preparing the microscope optics
-
Setting the microscope up
- General alignment tips and tricks
- Installing the microscope base
- Setting up the detection path
- Alignment of the detection path
- Setup of the sample XYZ stages
- Setup of the excitation path
- Immersion cuvettes
- Set up a microscope config file
- Light-sheet co-alignment
- Set up initial ETL parameters
- Setting up lasers with the GUI
- Sample Handling
- Test Samples
- Troubleshooting
- Upgrades and custom variants