-
Notifications
You must be signed in to change notification settings - Fork 1
Setup
AKL offers many features and possibilities. But if you want to get the complete experience you might want to read up on a couple of things here.
Directly after you have installed the addon following the steps from the installation page, the addon's background service will start up. AKL will then scan your kodi installation to see if you have any AKL compatible addons installed. If not it will ask you if you would like to install the default plugin for AKL. For new and standard users I recommend to install it too.
Opening up AKL the first time you will start in an empty root with only the main menu options visible.
Within AKL you can categorize all your ROMs and collections so that you will have a better overview of what is in your library. The way how you want to categorize is completely up to you. AKL supports multiple layers of categories, meaning that a category can have subcategories underneath. Furthermore a category in AKL has a full metadata set associated so you can give it extra details like year, studio and plot.
Here is an example setup where in the root we have create two main categories, namely Arcade and Consoles. Underneath Arcade we directly put two ROM collections for MAME ROMs and one for Capcom specific ROMs.
In the case of the Consoles category we add an extra layer of categories for each of the console suppliers. Although not shown in this example, but of course we can add ROM collections for each specific console of that supplier in the correct category.
- ROOT
    |
    | - Arcade
    |      |  - Mame
    |      |  - Capcom
    |
    | - Consoles
    |      |  - Nintendo
| | - Sega Open AKL and navigate to the location where you like to add the new category.
- Open up the context menu and choose "Add new Category".
- Choose either to create the category at the location you are at or under the library item you are currently on.
- Enter the name of the category.
- AKL will process your input and render the new views. Once completed it will update your screen and you can find your newly create category.
The result:
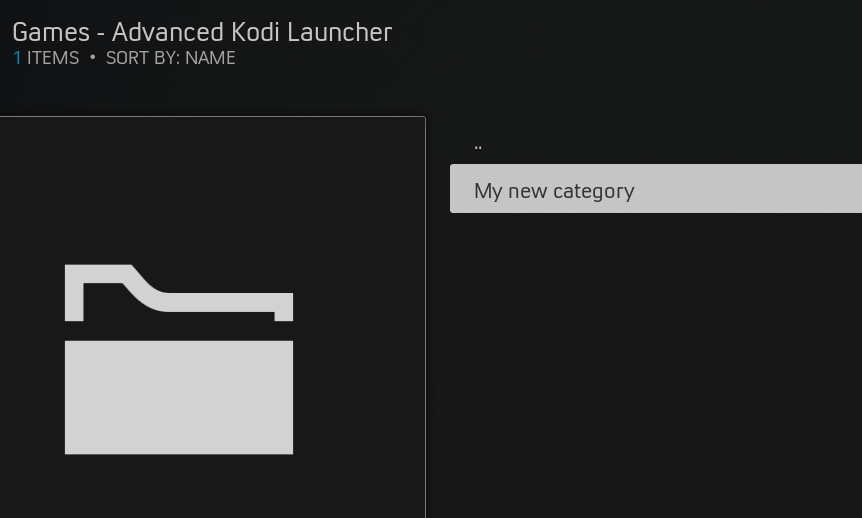
Each of the entities or library items in AKL has certain metadata and assets associated. These can be changed after creation the give all the needed details about each entity. Depending on the kodi skin it will be displayed in a certain way on your screen. Go to the category and open up the context menu to be able to change all the details.
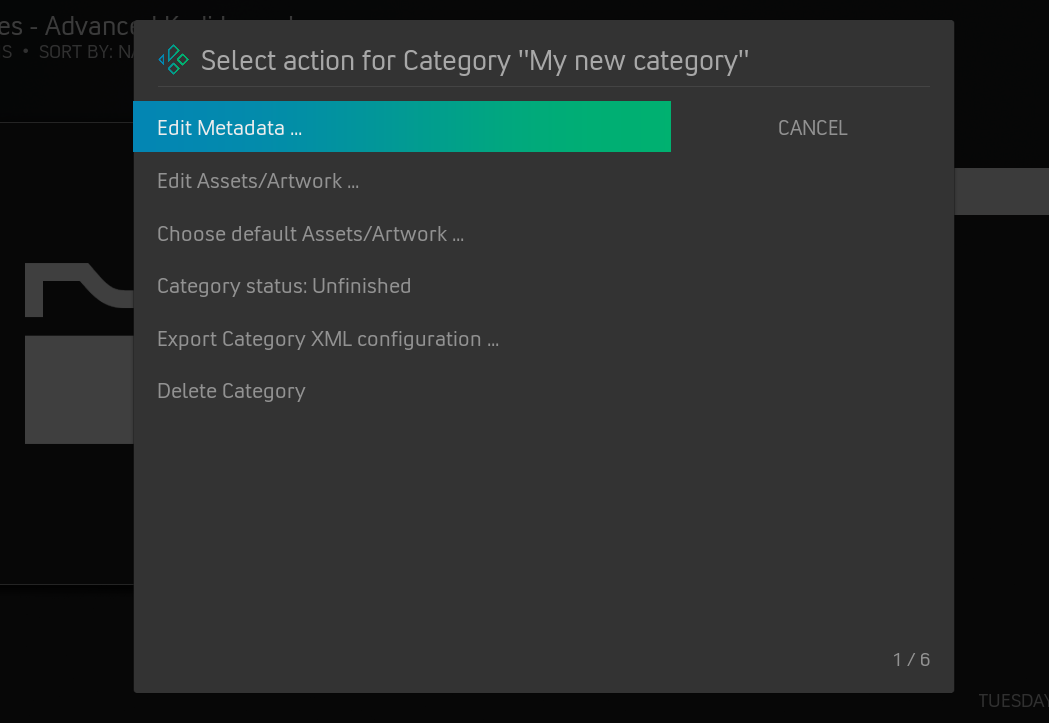
You can change metadata details like the name, year and genre for each category. Follow these steps.
- Go to the category you like to edit and open up the context menu.
- Choose "Edit category".
- Choose "Edit Metadata ...".
- Choose which metadata to edit.
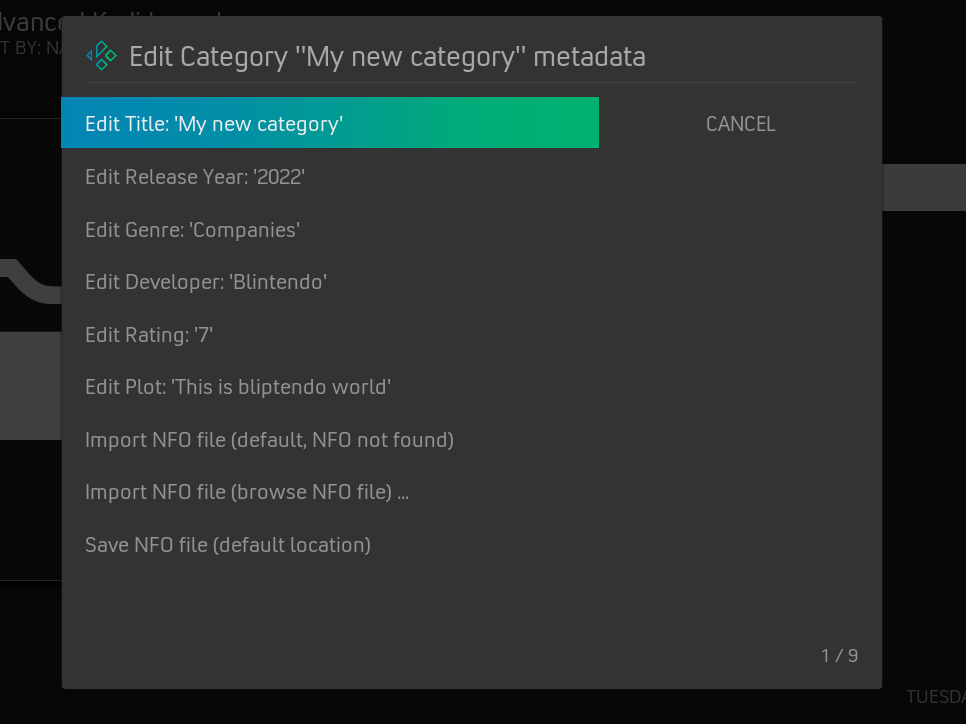
Changes are saved immediately after applying the change. When you go back threw the dialogs (or press the cancel button) back to the original view, it should be updated automatically and the screen refreshed showing the applied changes.
Import/Save NFO file You can import a NFO file that contains all the needed metadata for this entity.
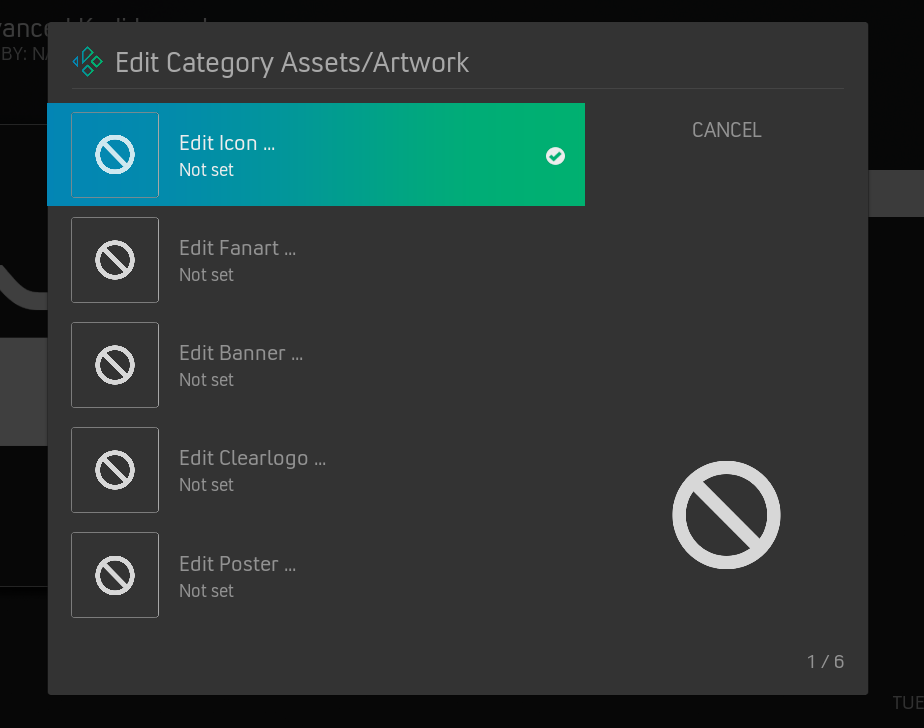
You can change the assets of the category, like the icon and the fanart. Depending on the support by the skin, you can view all of these assets when you select or hover on this particular category. Follow these steps to change the assets.
- Go to the category you like to edit and open up the context menu.
- Choose "Edit category".
- Choose "Edit Assets ...".
- Choose which asset to edit.
Local assets directory
The first time that you are changing the assets, it will notice that the assets directory for this category is not yet set. The assets directory is the location on your storage where all the images or assets for this category are saved. It will ask you to configure it which lets you select a certain location on the storage where all needed directories will be created and any asset files will be stored. If not it will fall back to the default assets directories of the addon. These default directories can be set through the addon settings and by default should point to <kodi-userdata-dir>/addondata/plugin.program.akl/asset-categories/....
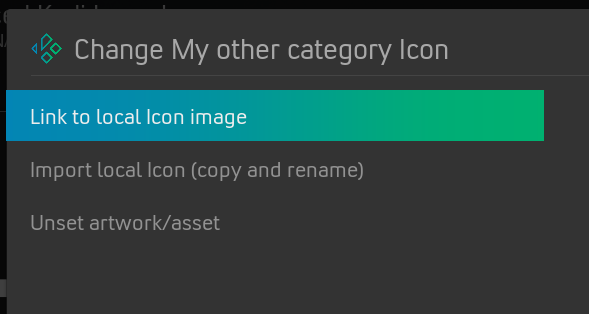
Selecting an asset Once you select a type of asset to change you will get the option on how to select the asset to associate. It gives you the following options:
- Link to local image
This will use the direct path of the file you have selected. It will not copy the file to your assets directory. - Import local (copy and rename)
This will copy the file to your assets directory and use the path from there. - Unset artwork/asset
This will remove any previously set path for this asset.
Choose default Asset/Artwork
This option gives you to opportunity to switch asset types with eachother when being rendered for the view. In the case a skin only supports showing the Icon asset of the library item, but you want to show the clearlogo asset instead, then you can use this option to link the original clearlogo asset to the icon asset. AKL will swap the actual value or path when rendering the view.
Category status
This shows and changes the status flag for this particular Category. When the view is rendered all library items will have a finished/unfinished status flag which points to this particular value. Depending on skin support you can filter on them or it will show a particular image on top of the icons indicating the status.
Export category XML configuration
This will export the category details to a XML file. You can use that for backing up or copying configurations between different Kodi instances.
With this option you will delete the category.
ROM Collections is as the name already implies a collection of ROMs or games within AKL. You can compose the collection by using one or multiple scanners or you can import or reference existing ROMs/games from other collections. The ability to associate multiple scanners to your collection makes it possible to have diverse collections. You can associate different sources or file directories with your collections, but treat the contents as one set. Just like the category the collection also has a range of metadata and assets to give the collection more detail. Associate one or multiple launchers to your collection to make the ROMs or games in the collection executable with those launchers.
You can create ROM collections based on a certain console or you might want collections based on a popular franchise. The choice is yours.
- ROOT
    |
    | - Franchises
    |      |  - Sonic
    |      |  - Mario
    |
    | - Nintendo
    |      |  - NES
| | - SNESOpen AKL and navigate to the location where you like to add the new ROM Collection.
- Open up the context menu and choose "Add new ROM collection".
- Choose either to create the collection at the location you are at or under the library item you are currently on.
- Choose the platform of the collection.
- Enter the name of the collection.
- Select assets/artwork directory. (This is the location on your storage where all the images or assets for this collection are saved).
- AKL will process your input and render the new views. Once completed it will update your screen and you can find your newly create collection.
Each of the entities or library items in AKL has certain metadata and assets associated. These can be changed after creation the give all the needed details about each entity. Depending on the kodi skin it will be displayed in a certain way on your screen. In the case of ROM collections you can also apply launchers and scanners to further complete your collection.
Go to the collection and open up the context menu to be able to change all the details.
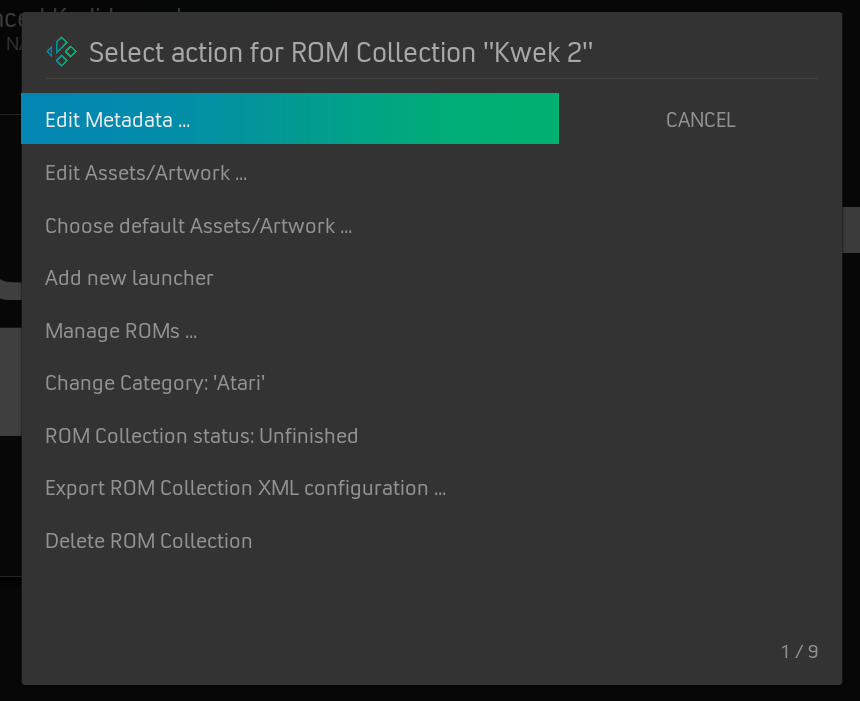
You can change metadata details like the name, year and genre for each collection. Follow these steps.
- Go to the collection you like to edit and open up the context menu.
- Choose "Edit ROM collection".
- Choose "Edit Metadata ...".
- Choose which metadata to edit.
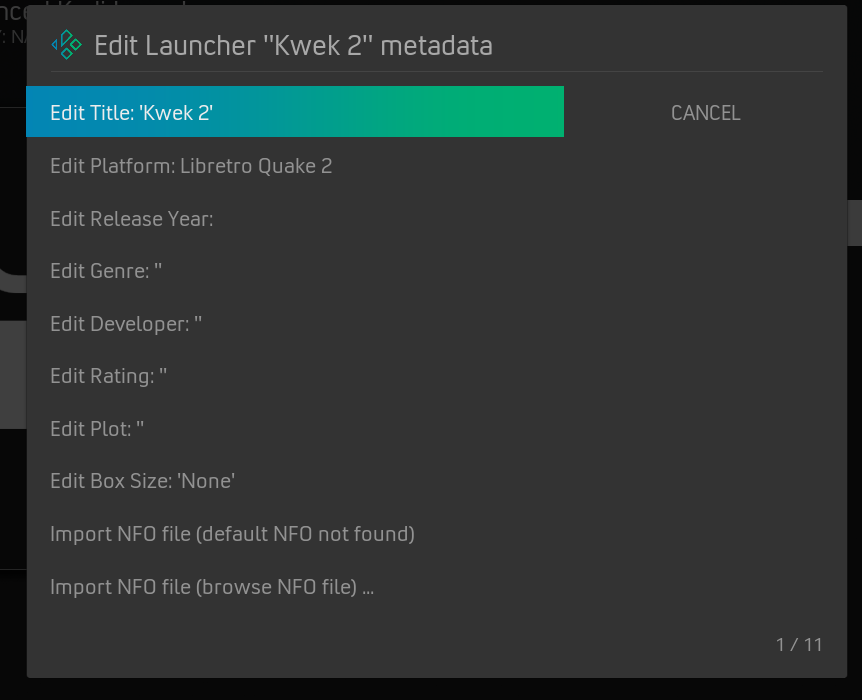
Import/Save NFO file You can import a NFO file that contains all the needed metadata for this entity.
You can change the assets of the collection, like the icon, banner and the fanart. Depending on the support by the skin, you can view all of these assets when you select or hover on this particular collection. Follow these steps to change the assets.
- Go to the collection you like to edit and open up the context menu.
- Choose "Edit ROM collection".
- Choose "Edit Assets/Artwork ...".
- Choose which asset to edit.
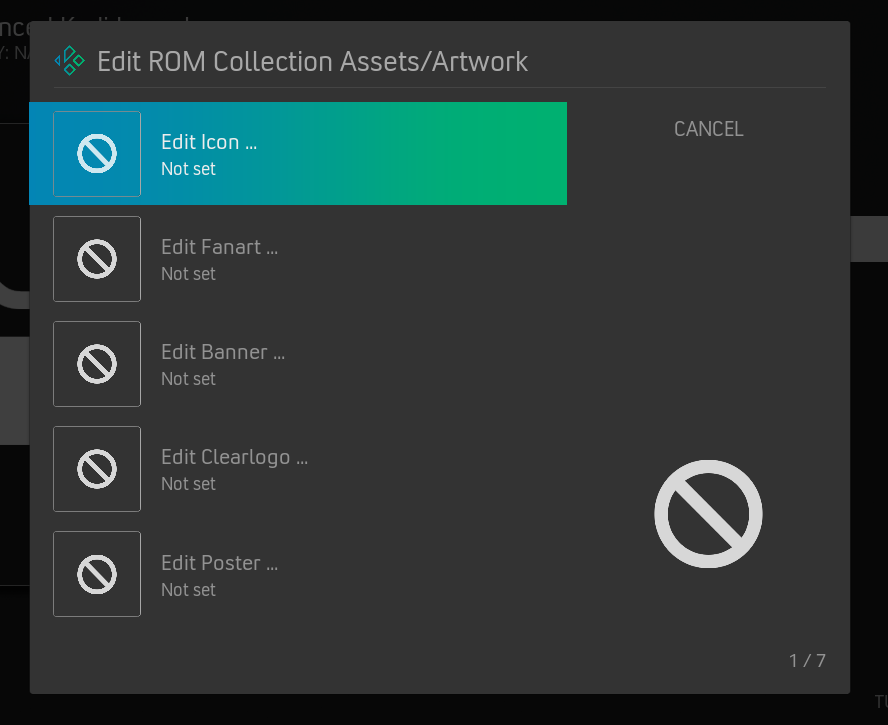
After selecting the asset to edit you will have similar steps as already described under Selecting an asset under Category -> Edit Assets.
Although AKL is primarily based on creating collections of games to be used by an emulator application, it does support launching or executing a singular application. You can create a standalone ROM which has the same benefits as a ROM collection but only creates a single library item, does not have file scanning abilities but does support associating launchers to execute a certain application or game when opening that library item.
The ROM is the entity that references a specific game or ROM file. It is a launchable item and can not contain child items.
Scanning is the process of collecting games or ROMs from a specific source and adding them to a ROM Collection. This can be a file scanner that looks up files with certain extensions or an online scanner that reads out certain online accounts or storages.
Scraping concerns collecting metadata and assets for all of the entities in AKL.
Launchers are the plugins that execute a separate application or service with a given ROM or game entity. You can create launchers of your favourite emulators or online services to open and execute one of your ROMs or games.
Wintermute0110 has a some good documentation about setting up certain emulator configurations. Check: