-
Notifications
You must be signed in to change notification settings - Fork 1
Category
Within AKL you can categorize all your ROMs and collections so that you will have a better overview of what is in your library. This will give you a much more enhanced way of going through all the ROMs from all added sources. The way how you want to categorize is completely up to you. AKL supports multiple layers of categories, meaning that a category can have subcategories underneath. Furthermore a category in AKL has a full metadata set associated so you can give it extra details like year, studio and plot.
Here is an example setup where in the root we have create two main categories, namely Arcade and Consoles. Underneath Arcade we directly put two ROM collections for MAME ROMs and one for Capcom specific ROMs.
In the case of the Consoles category we add an extra layer of categories for each of the console suppliers. Although not shown in this example, but of course we can add ROM collections for each specific console of that supplier in the correct category.
- ROOT
    |
    | - Arcade
    |      |  - Mame
    |      |  - Capcom
    |
    | - Consoles
    |      |  - Nintendo
| | - Sega Open AKL and navigate to the location where you like to add the new category.
- Open up the context menu and choose "Add new Category".
- Choose either to create the category at the location you are at or under the library item you are currently on.
- Enter the name of the category.
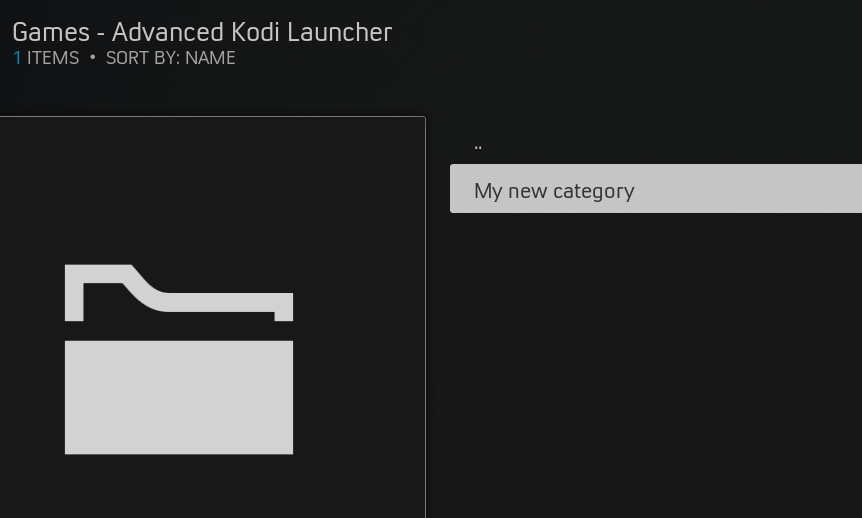
- AKL will process your input and render the new views. Once completed it will update your screen and you can find your newly create category.
The result:
Each of the entities or library items in AKL has certain metadata and assets associated. These can be changed after creation the give all the needed details about each entity. Depending on the kodi skin it will be displayed in a certain way on your screen. Go to the category and open up the context menu to be able to change all the details.
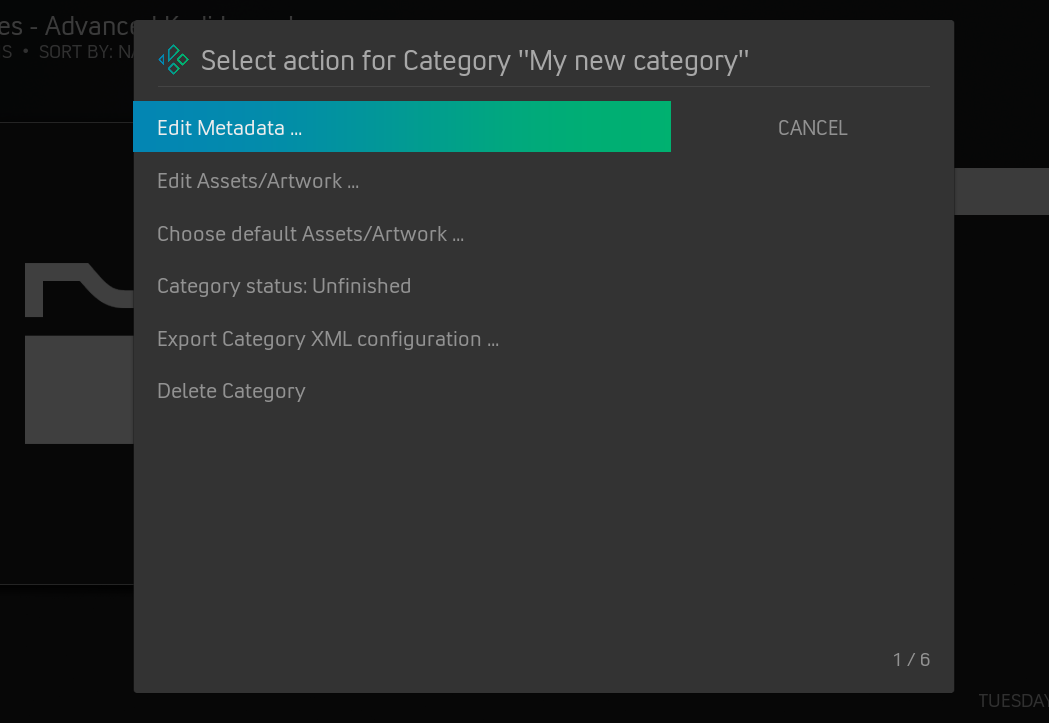
You can change metadata details like the name, year and genre for each category. Follow these steps.
- Go to the category you like to edit and open up the context menu.
- Choose "Edit category".
- Choose "Edit Metadata ...".
- Choose which metadata to edit.
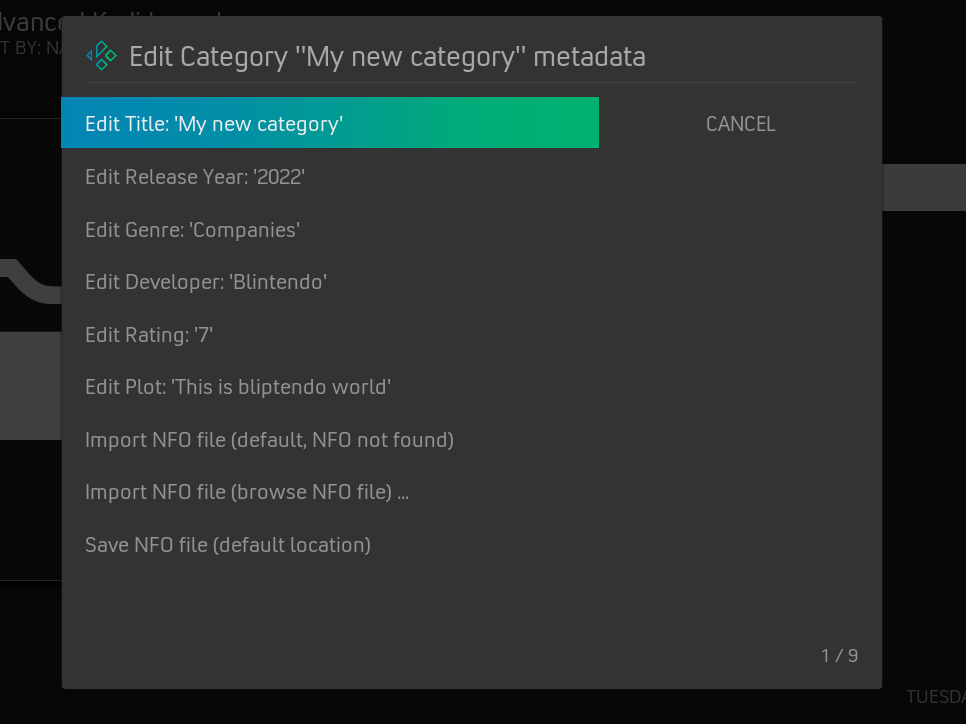
Changes are saved immediately after applying the change. When you go back threw the dialogs (or press the cancel button) back to the original view, it should be updated automatically and the screen refreshed showing the applied changes.
You can import a NFO file that contains all the needed metadata for this entity.
You can change the assets of the category, like the icon and the fanart. Depending on the support by the skin, you can view all of these assets when you select or hover on this particular category. Follow these steps to change the assets.
- Go to the category you like to edit and open up the context menu.
- Choose "Edit category".
- Choose "Edit Assets ...".
- Choose which asset to edit.
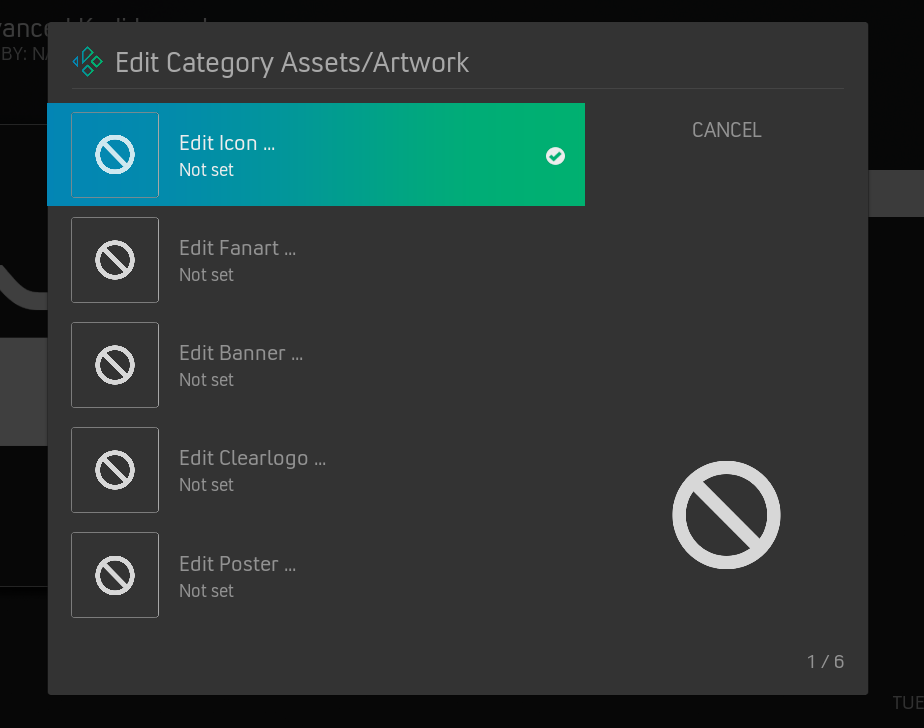
Assets can come from any location you want. By default it will fall back to the default assets directories of the addon. These default directories can be set through the addon settings and by default should point to <kodi-userdata-dir>/addondata/plugin.program.akl/asset-categories/....
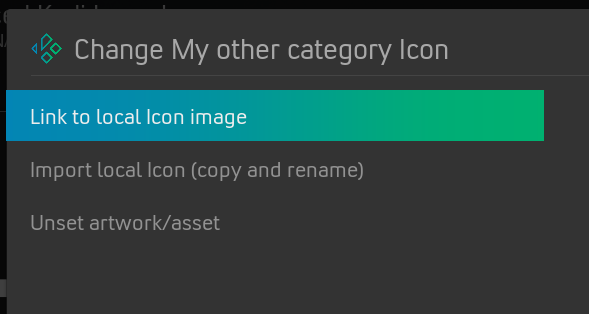
Once you select a type of asset to change you will get the option on how to select the asset to associate. It gives you the following options:
- Link to local image
This will use the direct path of the file you have selected. It will not copy the file to your assets directory. - Import local (copy and rename)
This will copy the file to your assets directory and use the path from there. - Unset artwork/asset
This will remove any previously set path for this asset.
This option gives you to opportunity to switch asset types with eachother when being rendered for the view. In the case a skin only supports showing the Icon asset of the library item, but you want to show the clearlogo asset instead, then you can use this option to link the original clearlogo asset to the icon asset. AKL will swap the actual value or path when rendering the view.
This shows and changes the status flag for this particular Category. When the view is rendered all library items will have a finished/unfinished status flag which points to this particular value. Depending on skin support you can filter on them or it will show a particular image on top of the icons indicating the status.
This will export the category details to a XML file. You can use that for backing up or copying configurations between different Kodi instances.
With this option you will delete the category.