-
Notifications
You must be signed in to change notification settings - Fork 1
Drawing a Colour Wheel
So, you want to get started drawing in KLibs? Thanks to how KLibs is written, it's very easy to get from a fresh project to drawing a shape on the screen. To get started, create a new project called 'DrawTest' by running the command klibs create DrawTest in the folder you want to put it in, then open the experiment.py file for the project.
First, we need to import the KLDraw library so we can use its shapes, and the basic functions for working with the display buffer from KLGraphics. We'll also import the function 'any_key' to allow you to make the experiment wait for your input. To do all this, add the following lines to the top of your experiment.py file:
__author__ = "Your Name"

import klibs
from klibs import P
from klibs.KLUserInterface import any_key # add this line
from klibs.KLGraphics import fill, blit, flip # and this one
from klibs.KLGraphics import KLDraw as kld # and also this one
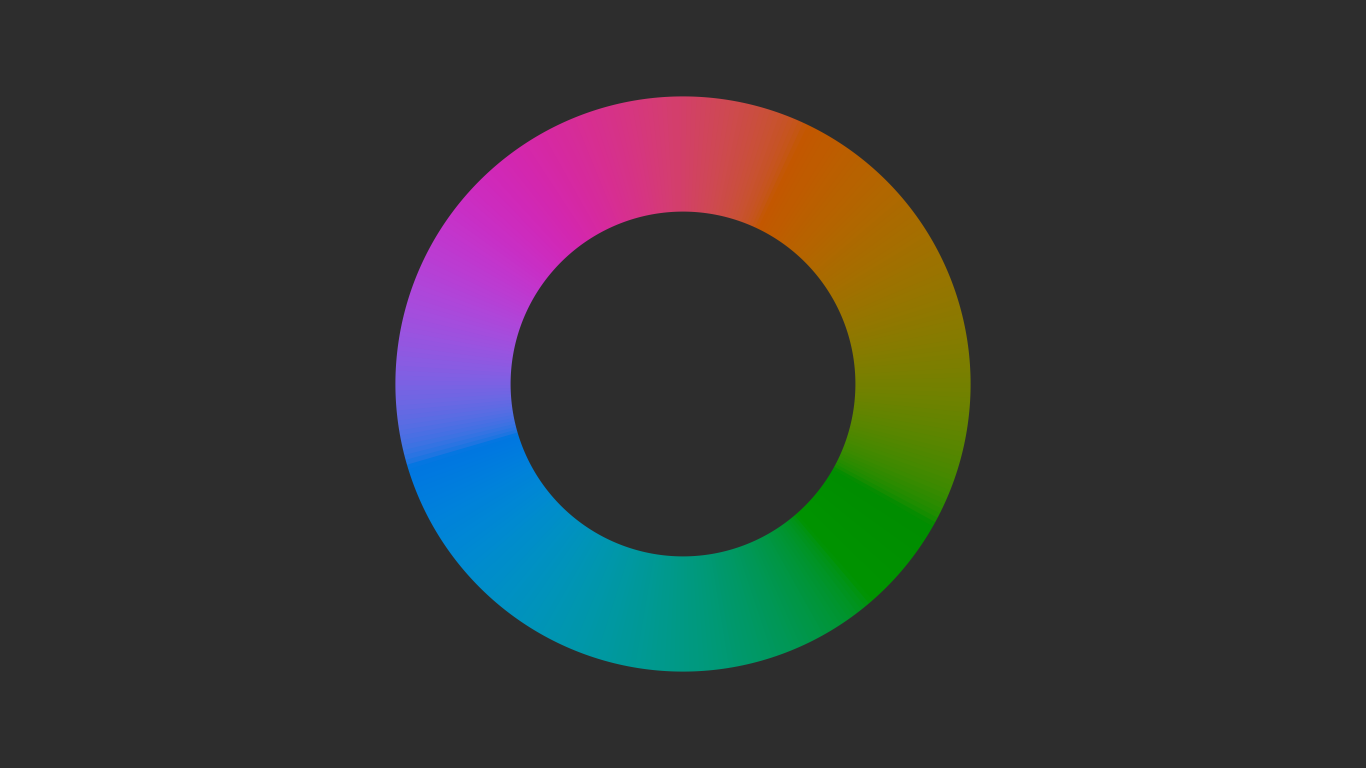
Then, in the setup section of the experiment, assign a shape from KLDraw to a variable. For the purpose of this tutorial we'll use a colour wheel, because it's pretty:
    # Note: make sure to remove the 'pass' line from a function after adding real content to it
    def setup(self):
        # Define wheel diameter as 75% of the height of the screen
        wheelsize = int(P.screen_y*0.75)
        # Create colour wheel object
        self.colour_wheel = kld.ColorWheel(diameter=wheelsize)
Note that we preface the colour wheel variable with the prefix 'self.'. This prefix is required whenever you want to use a variable defined in one function from other functions in the experiment object. For example, the variable 'wheelsize' is not prefaced with 'self.' here. If you tried to use that variable within the function trial() as-is, it would give you an error saying no such variable could be found. By using the 'self.' prefix, we make the varialbe an attribute of the Experiment object, meaning that we can access it from wherever.
Then, to actually draw the shape to the screen so you can see it, add the following lines to the 'trial' function:
    def trial(self):
        # Fill the display buffer with the default fill colour (grey)
        fill()
        # Draw the colour wheel to the middle of the display buffer
        blit(self.colour_wheel, registration=5, location=P.screen_c)
        # Finally, draw the contents of the display buffer to the screen
        flip()
        # Lastly, wait for a keypress or click before continuing
        any_key()
Make sure to leave in the 'return' section at the end of the trial function, as the experiment will crash with an error without it.
Now, before you can run your experiment, you will need to add at least one independent variable to your independent_variables.py file in ExpAssets/Config/ (note: this will likely change soon, so that KLibs can launch without an independent variables set). For the purpose of this tutorial, you can add the following to the file:
# Create an empty Independent Variable Set object
DrawTest_ind_vars = IndependentVariableSet()
# Add a varaible named "wheel_rotation" with an integer type to the set
DrawTest_ind_vars.add_variable("wheel_rotation", int)
# Add some angle values to the "wheel_rotation" variable
DrawTest_ind_vars["wheel_rotation"].add_values(0, 30, 60, 90, 120, 180)
The consequence of doing this, other than allowing your experiment to launch, is that the Experiment object attribute self.wheel_rotation will take on a value selected from the given list on every trial (you can learn more in the Generating Trials manual page). To test this out in this tutorial, you can replace the line 'pass' with the following lines in your experiment.py's trial_prep function:
    def trial_prep(self):
        # Set the rotation of the colour wheel object to the trial's rotation value
        self.colour_wheel.rotation = self.wheel_rotation
        # Pre-render the wheel for faster blitting during runtime
        self.colour_wheel.render()
All done! Now, go to the root of your DrawTest experiment folder in a terminal window if you haven't already (e.g. cd DrawTest) and then try running your project by using klibs run [screensize], replacing [screensize] with the size of your monitor in diagonal inches (e.g. on a 13" MacBook Pro, you would type klibs run 13). This will start the klibs experiment runtime, and after you see the KLibs logo and press any key, you should see a nicely rendered colour wheel that changes rotation every time you press a key on your keyboard.

Well done! You're getting a hang of things already. To quit an experiment once it's launched, you can use either Command-Q on a Mac or Control-Q on Windows or Linux to quit the experiment gracefully.
You'll notice that the experiment exits itself after a couple key presses. This is because by default, KLibs will run a single block of n trials, with n being the product of the number of different possible factors (in this case, we have 1 factor with 6 possible values, so 6 trials). You can manually set the number of blocks and trials per block in the params.py file in ExpAssets/Config.
Python Protip: while launching your experiment for the first time, you may have gotten an error like this:
  File "experiment.py", line 38
    flip()
    ^
IndentationError: unexpected indent
  File "/usr/local/bin/klibs", line 281, in run
    experiment_file = imp.load_source(path, "experiment.py")
This is because Python as a language is super-picky about whether you use tabs or spaces to indent lines because indentation is how you indicate that a loop has started or ended and many other things. If you copy and paste lines of code from the internet into a Python file you've written, it may use a different kind of indentation and confuse the Python interpreter. To avoid this, most text editors have a "convert tabs to spaces" or "convert spaces to tabs" function you can use to make it all consistent. It doesn't matter which one you use (tabs or spaces, that is, but spaces is recommended by the official PEP8 style guide), the important thing is consistency.