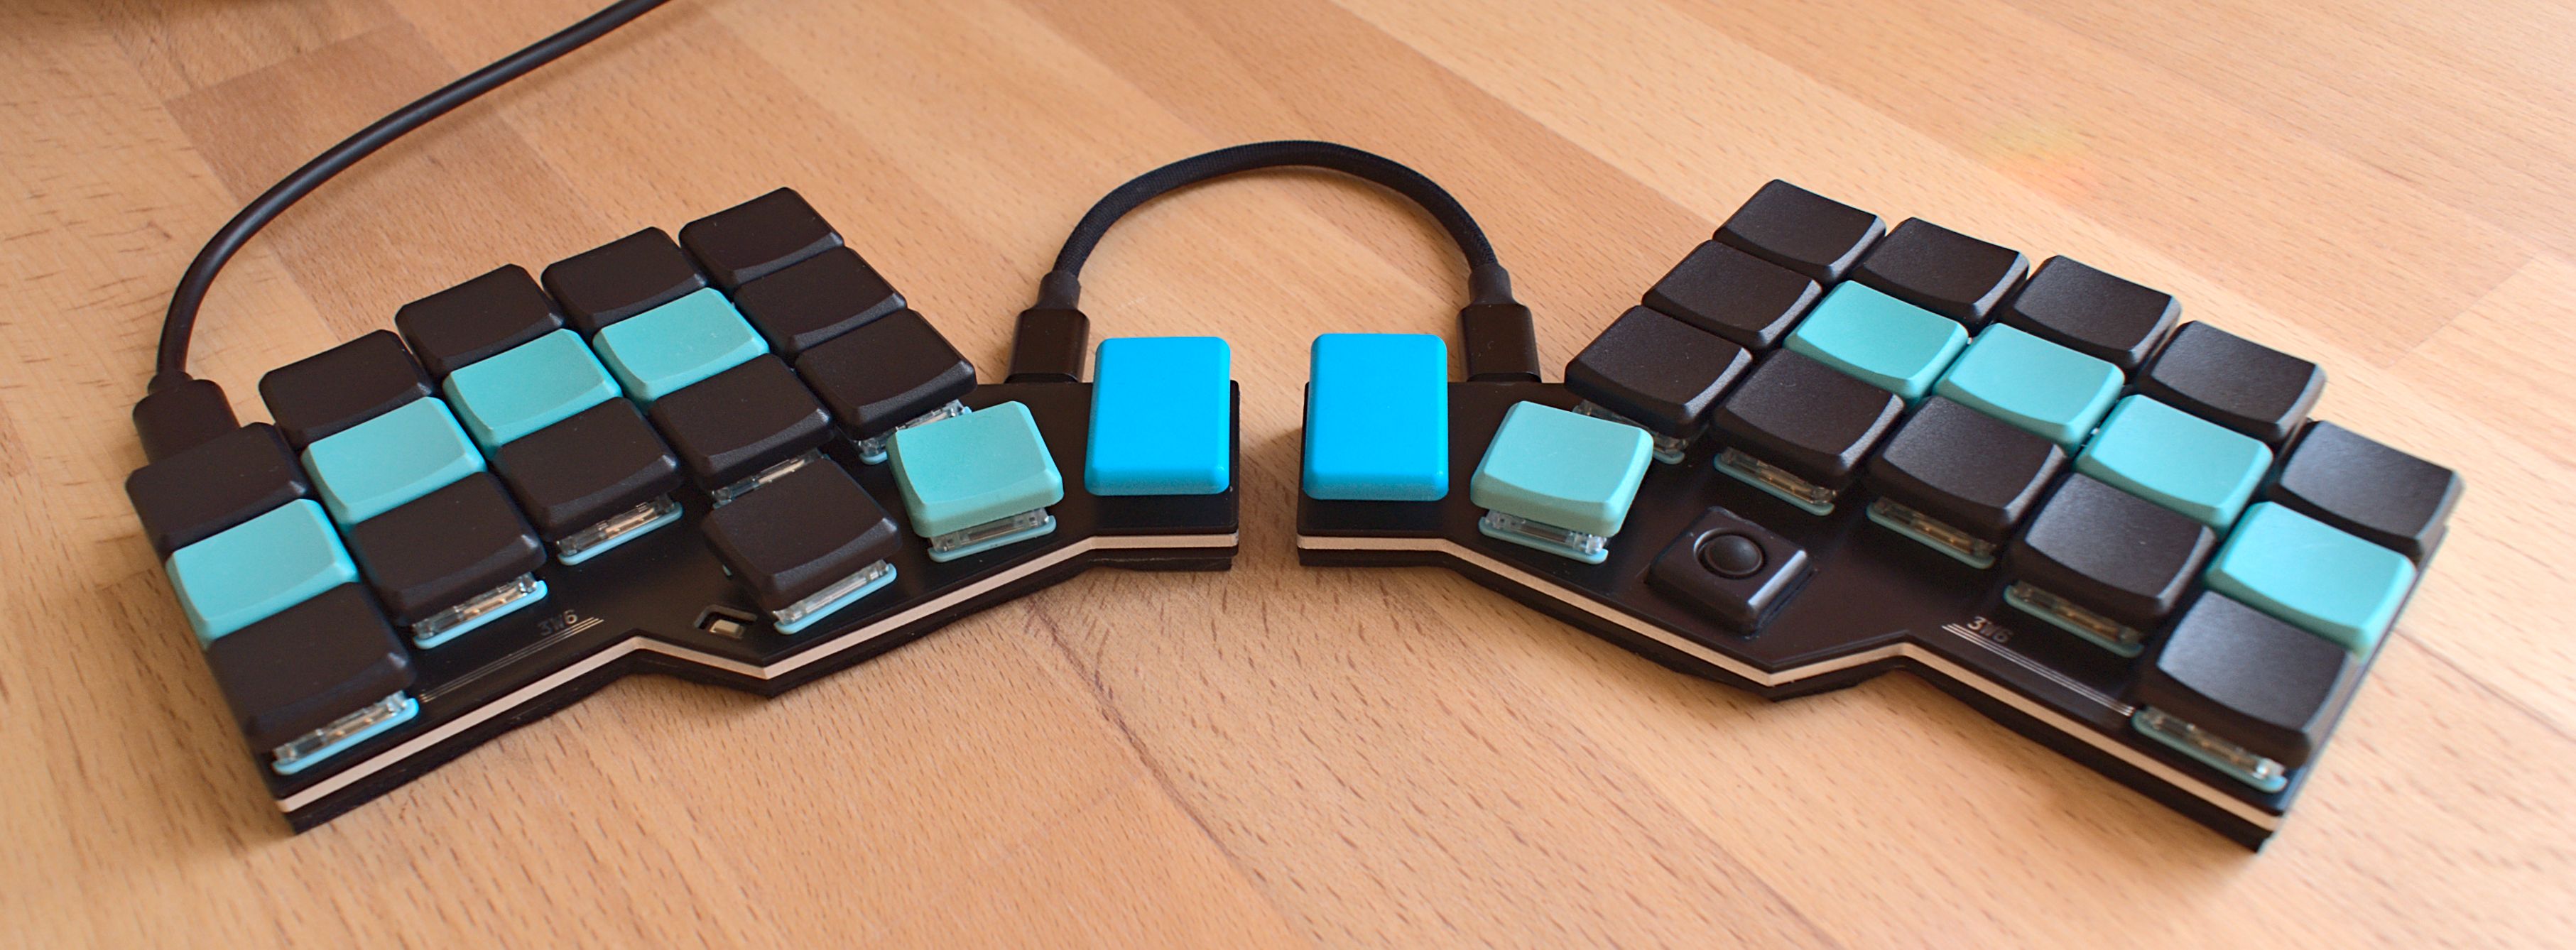
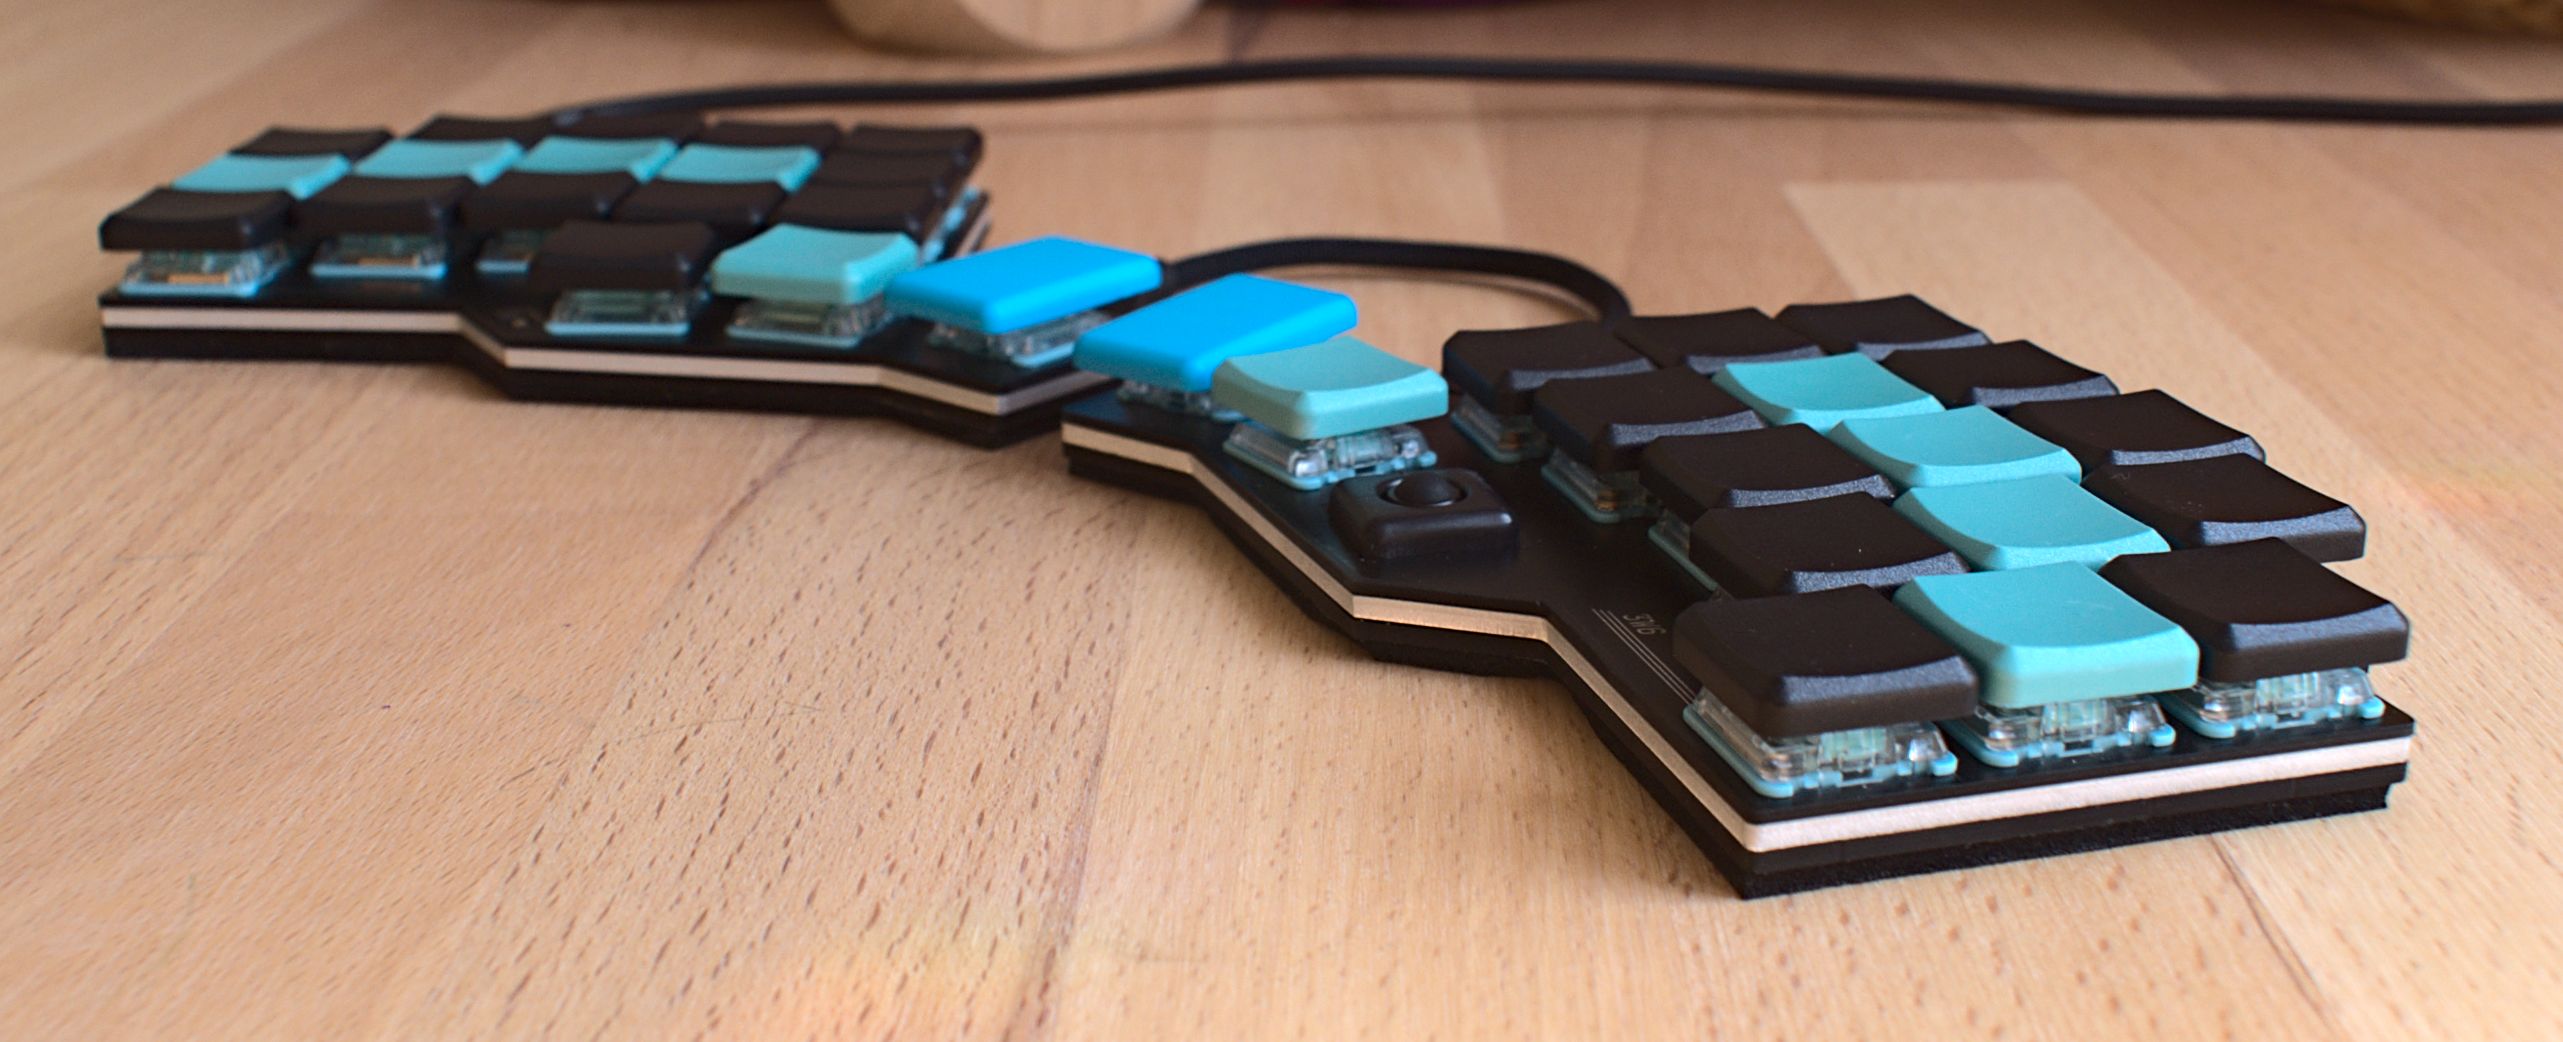
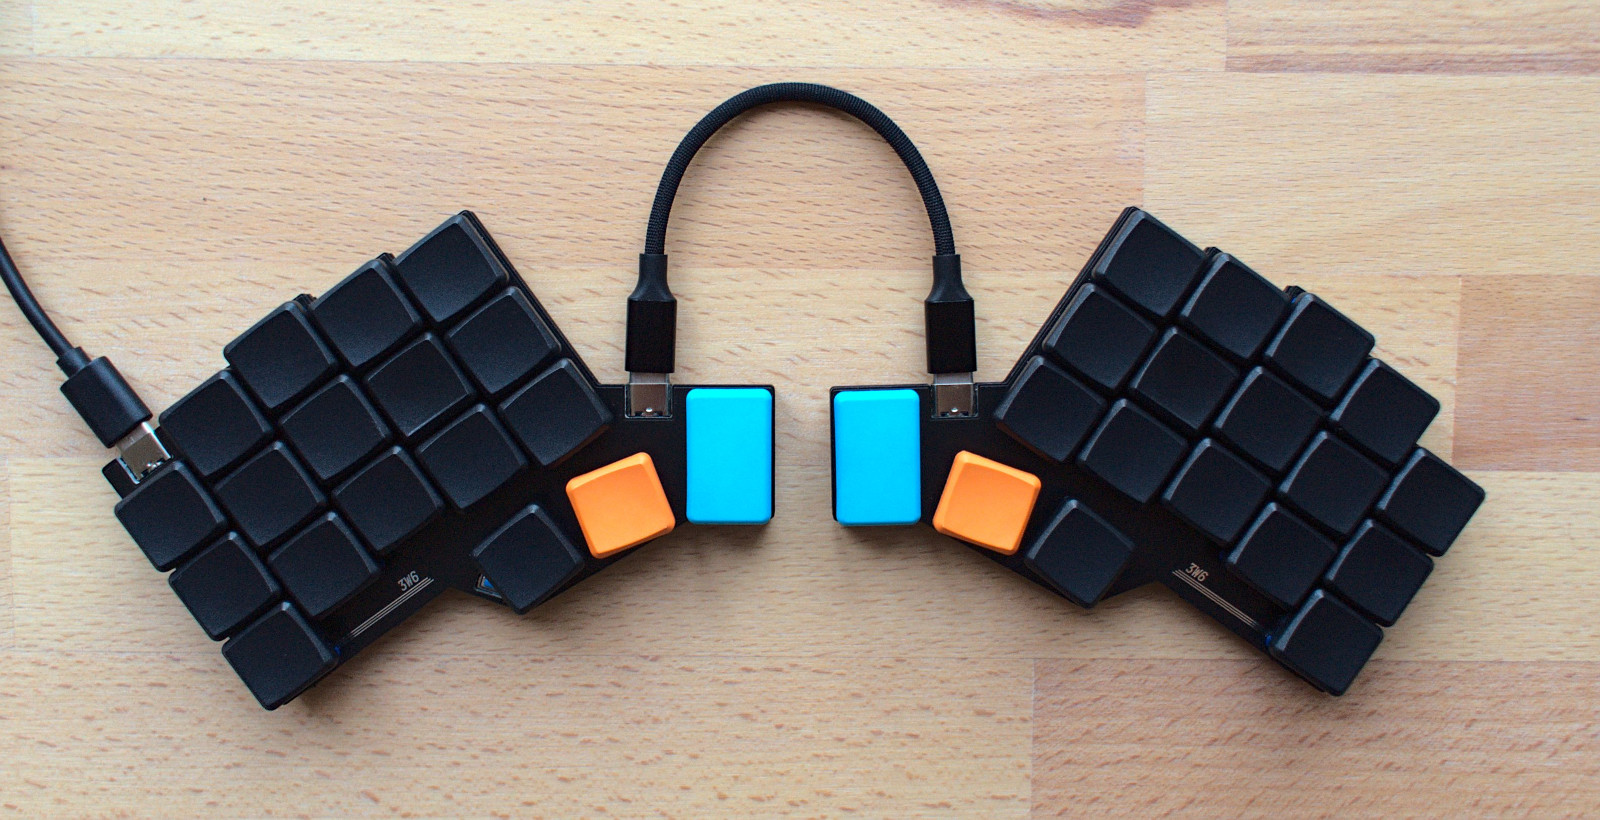
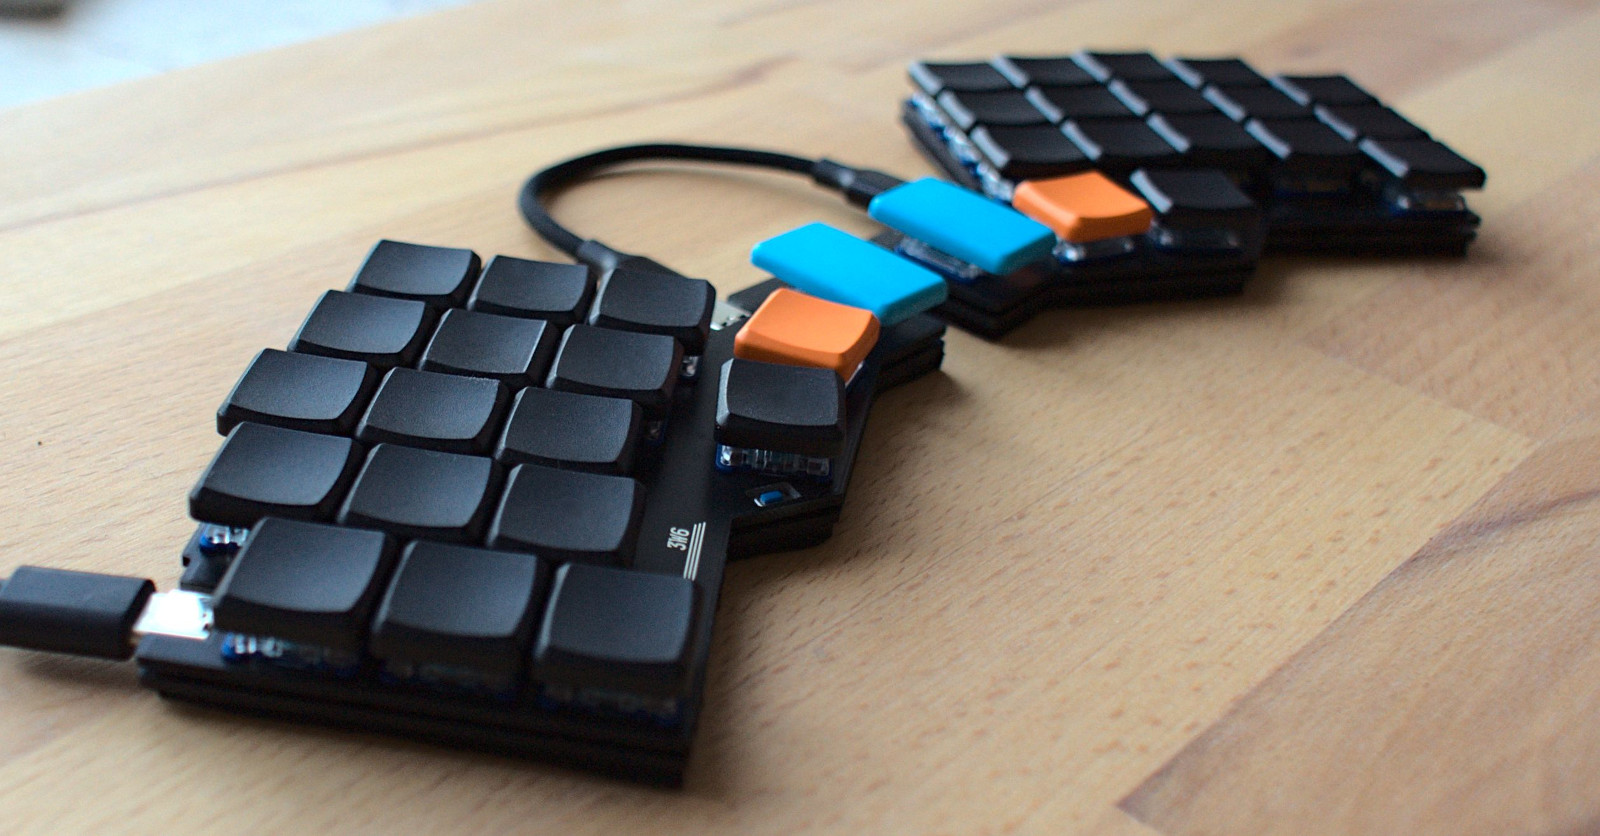
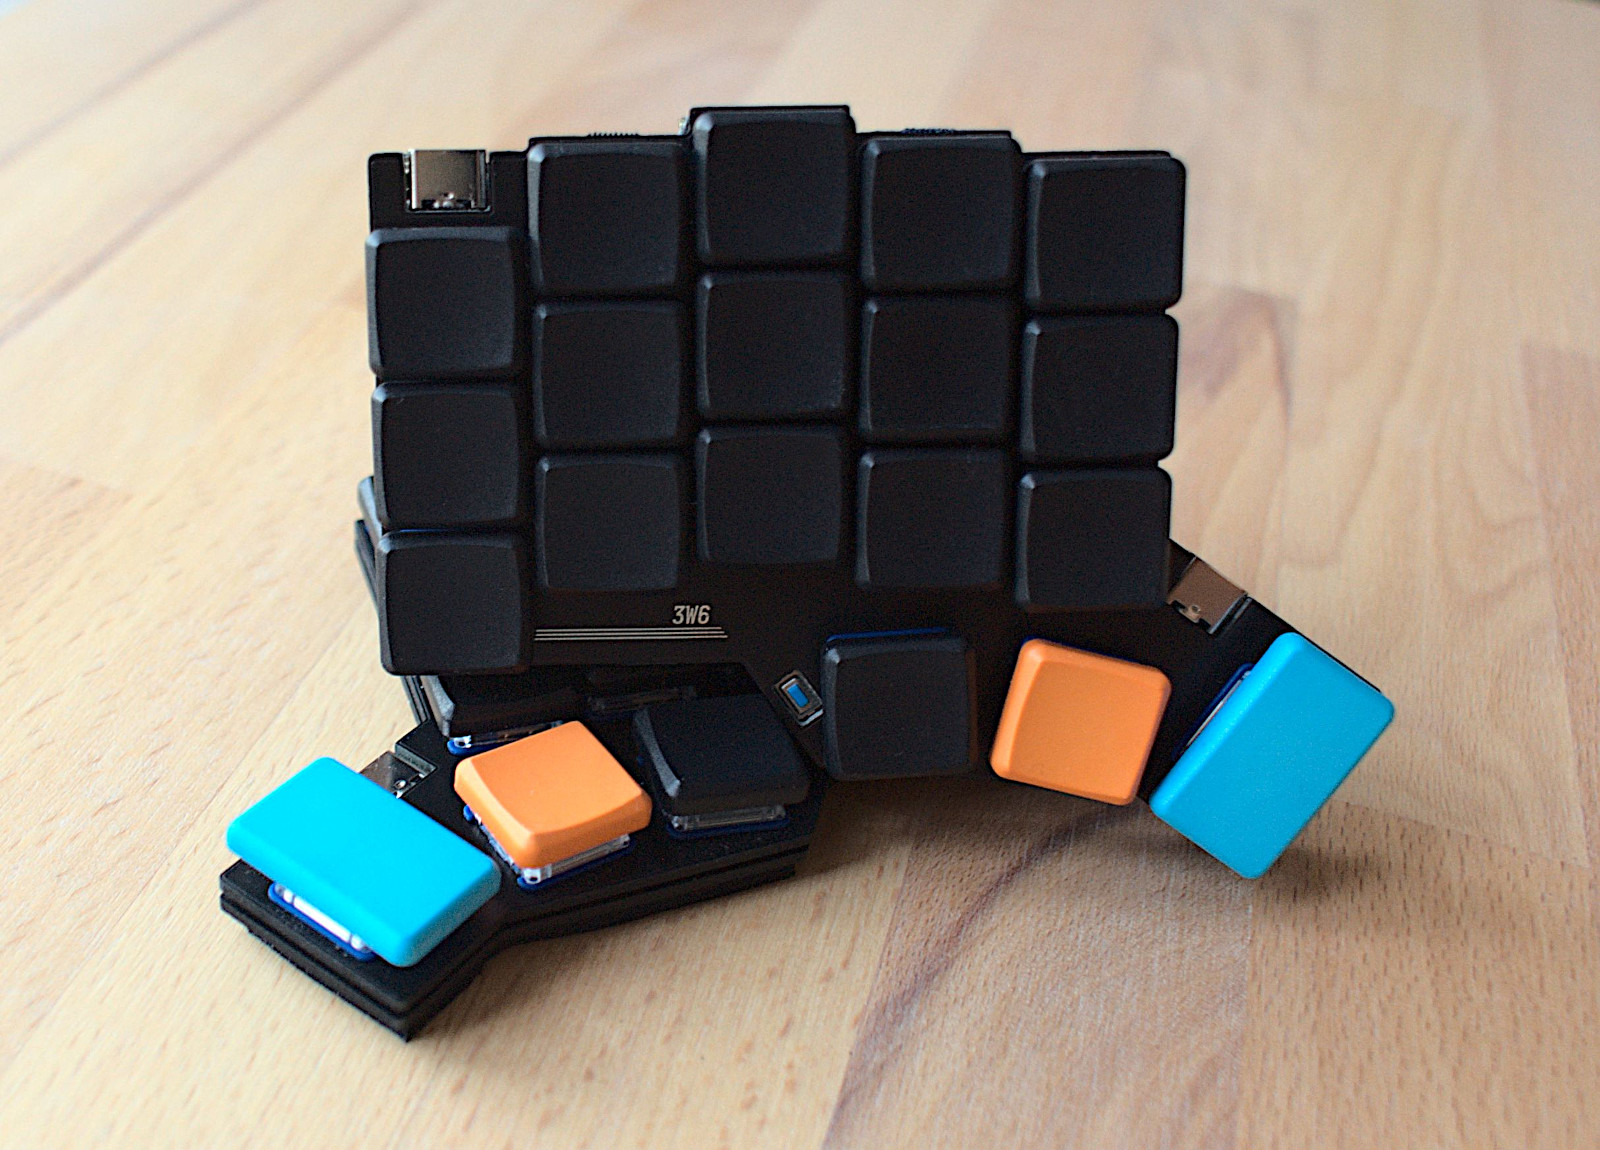
The 3w6 is a low profile, split ortholinear keyboard with 36 keys.
I needed a keyboard for work and wasn't really satisfied with the available alternatives (namely Corne, Kyria and Ferris), mostly because they were rather large and didn't had the spacing I would like.
It's designed to be a no frills, cheap and small keyboard to be taken everywhere.
So no hotswap, no multiple switchtypes, no encoders, no LEDs.
BUT with onboard controllers (so no extra ProMicros, Elite-C), production files including SMT assembly files, and sturdy through hole mounted USB-C connectors.
changes:
- combi footprint to be able to use the AU or MU variant of the AtMega32U4.
- add BOM files for each AU and MU variant, so you can choose the cheaper one.
changes:
- new middle plate (1.6mm, better 2.0mm) instead of diodes. Uses Aluminium PCBs as a cheaper alternative to lasered aluminium.
- pimoroni trackball support (can only be used combined with the new middle plate when used with the plate)
- plate is now 1.2mm thick, to fit the chocs better. Needs middle plate, since the cutouts of the USB-Connectors were left out. There is enough space for them under the plate, when the middle plate is in place.
- added mounting holes to support tenting puck from splitkb.com. Due to insufficient space not all 4 holes are supported, but 3 screws should be enough to hold everything comfortably in position. Can only be used plateless!
- package for the MCU was changed from QFN44 to TQFP44, since the previous one wasn't available. Can now be soldered/replaced by hand if need.
- IO-expander was changed from TCA9555RTWR to TCA9555PWR (alternativly PCA9555PW), since the previous one wasn't available. Package changed from WQFN24 to TSSOP24. Can now be soldered/replaced by hand if need.
- Board can now be soldered by hand if needed (challenging though, 0402 components).
You may also compare the layout with other layouts of other layouts at https://jhelvy.shinyapps.io/splitkbcompare/ .
Or you can print this file to test if you like the layout. Or mount it to some cardboard and test it with your favourite switches.
If you want to build one yourself, grab the Gerber files here and give it a go.
And if 3d printing is your thing, files for plate and midlayer can be found here (made by the great bomtarnes, thanks a lot!)
you may find instructions here:
- rev1 (deprecated): build instructions rev1
- rev2 (current) : build instructions rev2
This keyboard uses QMK firmware. You can find everything you need to build a firmware for this board in the QMK Repository.
Here are some instructions on how to set up your QMK environment and a few notes specifically for the 3w6.
Everything in this repository is free to use however you might see fit. If you want to support me and my projects, please consider linking back to this repository if you build/change/use anything.
If you would like to send me a tip, you could do it here (Please don't feel like you have to).
