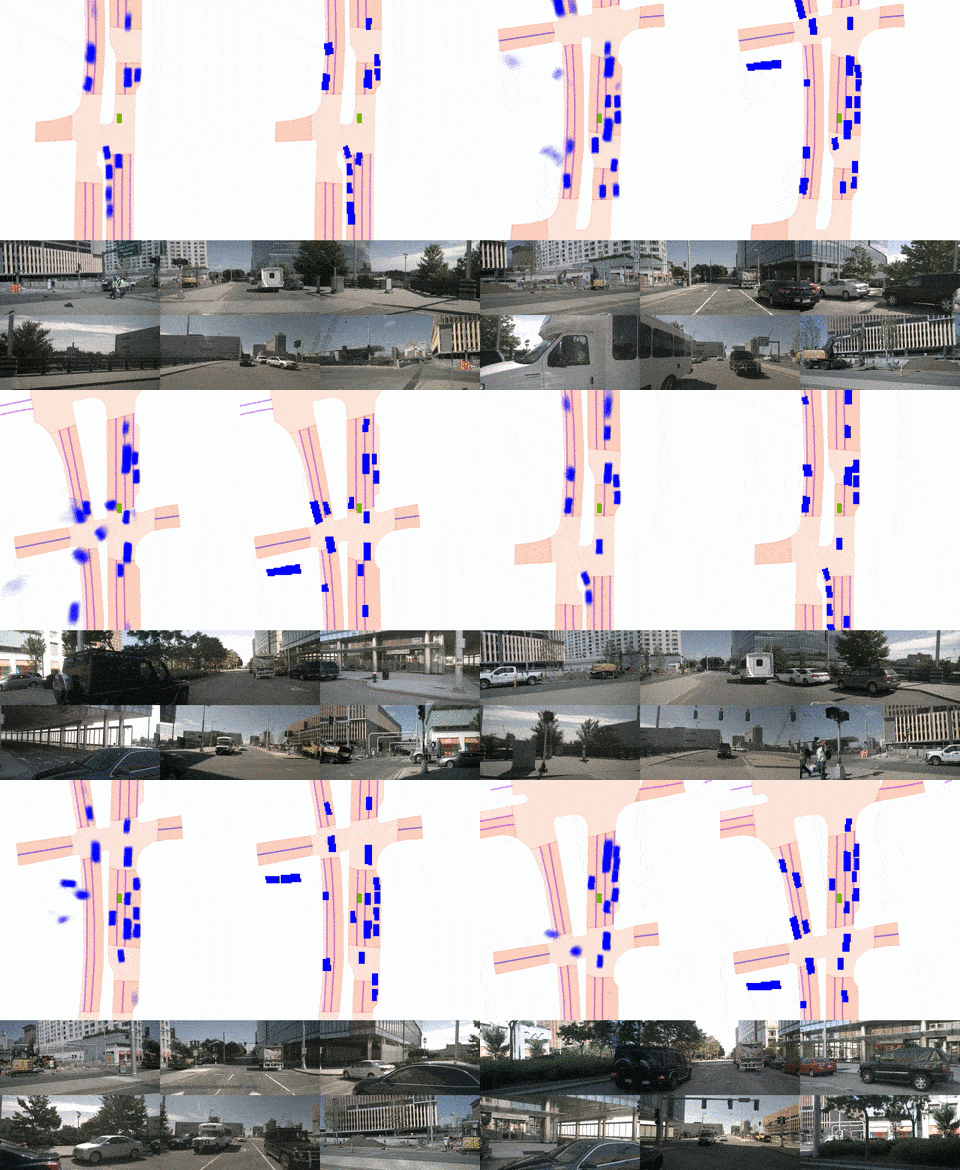
This is the official code release for our arXiv paper on BEV perception.
[Paper] [Project Page]
The lines below should set up a fresh environment with everything you need:
conda create --name bev
source activate bev
conda install pytorch=1.12.0 torchvision=0.13.0 cudatoolkit=11.3 -c pytorch
conda install pip
pip install -r requirements.txt
You will also need to download nuScenes and its dependencies.
To download a pre-trained camera-only model, run this:
sh get_rgb_model.sh
When evaluated at res_scale=2 (448x800), this model should show a final trainval mean IOU of 47.6, which is slightly higher than the number in our arXiv paper (47.4).
To download a pre-trained camera-plus-radar model, run this:
sh get_rad_model.sh
When evaluated at res_scale=2 (448x800) and nsweeps=5, this model should show a final trainval mean IOU of 55.8, which is slightly higher than the number in our arXiv paper (55.7).
Note there is some variance across training runs, which alters results by +-0.1 IOU. It should be possible to cherry-pick checkpoints along the training process, but we recommend to pick max_iters and just report the final number (as we have done).
A sample training command is included in train.sh.
To train a model that matches our pre-trained camera-only model, run a command like this:
python train_nuscenes.py \
       --exp_name="rgb_mine" \
       --max_iters=25000 \
       --log_freq=1000 \
       --dset='trainval' \
       --batch_size=8 \
       --grad_acc=5 \
       --use_scheduler=True \
       --data_dir='../nuscenes' \
       --log_dir='logs_nuscenes' \
       --ckpt_dir='checkpoints' \
       --res_scale=2 \
       --ncams=6 \
       --encoder_type='res101' \
       --do_rgbcompress=True \
       --device_ids=[0,1,2,3]
To train a model that matches our pre-trained camera-plus-radar model, run a command like this:
python train_nuscenes.py \
       --exp_name="rad_mine" \
       --max_iters=25000 \
       --log_freq=1000 \
       --dset='trainval' \
       --batch_size=8 \
       --grad_acc=5 \
       --use_scheduler=True \
       --data_dir='../nuscenes' \
       --log_dir='logs_nuscenes' \
       --ckpt_dir='checkpoints' \
       --res_scale=2 \
       --ncams=6 \
       --nsweeps=5 \
       --encoder_type='res101' \
       --use_radar=True \
       --use_metaradar=True \
       --use_radar_filters=False \
       --device_ids=[0,1,2,3]
A sample evaluation command is included in eval.sh.
To evaluate a camera-only model, run a command like this:
python eval_nuscenes.py \
       --batch_size=16 \
       --data_dir='../nuscenes' \
       --log_dir='logs_eval_nuscenes_bevseg' \
       --init_dir='checkpoints/8x5_5e-4_rgb12_22:43:46' \
       --res_scale=2 \
       --device_ids=[0,1,2,3]
To evaluate a camera-plus-radar model, run a command like this:
python eval_nuscenes.py \
       --batch_size=16 \
       --data_dir='../nuscenes' \
       --log_dir='logs_eval_nuscenes' \
       --init_dir='checkpoints/8x5_5e-4_rad25_18:55:34' \
       --use_radar=True \
       --use_metaradar=True \
       --use_radar_filters=False \
       --res_scale=2 \
       --nsweeps=5 \
       --device_ids=[0,1,2,3]
We maintain consistent axis ordering across all tensors. In general, the ordering is B,S,C,Z,Y,X, where
B: batchS: sequence (for temporal or multiview data)C: channelsZ: depthY: heightX: width
This ordering stands even if a tensor is missing some dims. For example, plain images are B,C,Y,X (as is the pytorch standard).
- Z: forward
- Y: down
- X: right
This means the top-left of an image is "0,0", and coordinates increase as you travel right and down. Z increases forward because it's the depth axis.
We write pointclouds/tensors and transformations as follows:
p_ais a point namedpliving inacoordinates.a_T_bis a transformation that takes points from coordinate systembto coordinate systema.
For example, p_a = a_T_b * p_b.
This convention lets us easily keep track of valid transformations, such as
point_a = a_T_b * b_T_c * c_T_d * point_d.
For example, an intrinsics matrix is pix_T_cam. An extrinsics matrix is cam_T_world.
In this project's context, we often need something like this:
xyz_cam0 = cam0_T_cam1 * cam1_T_velodyne * xyz_velodyne
If you use this code for your research, please cite:
Simple-BEV: What Really Matters for Multi-Sensor BEV Perception?. Adam W. Harley, Zhaoyuan Fang, Jie Li, Rares Ambrus, Katerina Fragkiadaki. In arXiv:2206.07959.
Bibtex:
@inproceedings{harley2022simple,
  title={Simple-{BEV}: What Really Matters for Multi-Sensor BEV Perception?},
  author={Adam W. Harley and Zhaoyuan Fang and Jie Li and Rares Ambrus and Katerina Fragkiadaki},
  booktitle={arXiv:2206.07959},
  year={2022}
}
