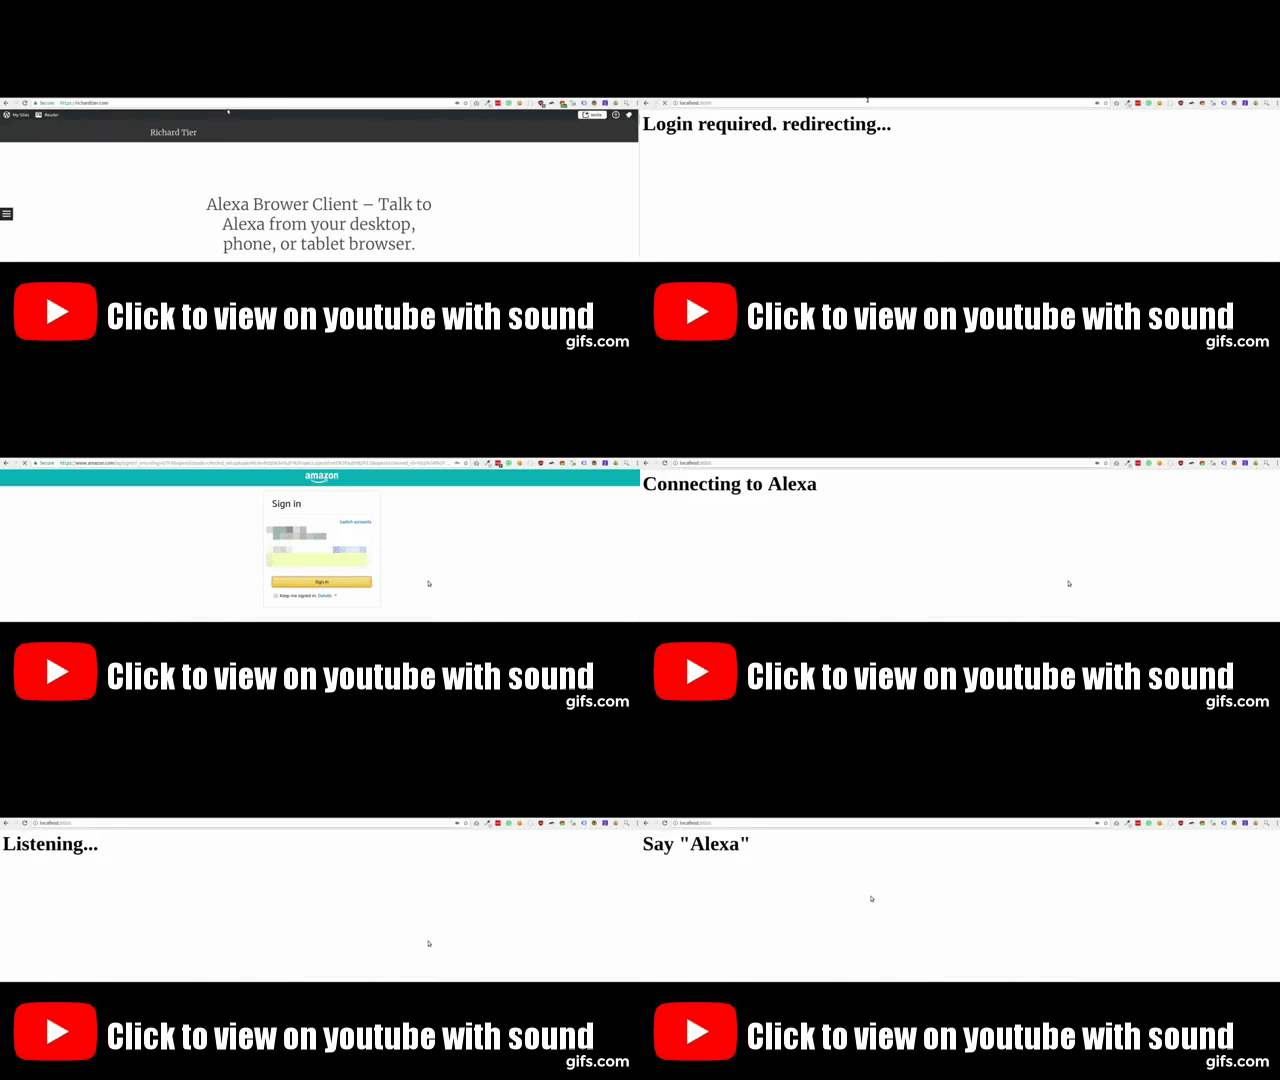
Alexa client in your browser. Django app. Talk to Alexa from your desktop, phone, or tablet browser.
The demo should really be heard, so click the gif below to view it in youtube.
First follow these steps:
$ git clone [email protected]:richtier/alexa-browser-client.git
$ cd alexa-browser-client
$ virtualenv .venv -p python3.6 && source .venv/bin/activate && make test_requirements- Compile snowboy
- Install and run redis
$ make demo- Go to http://localhost:8000 for basic demo, or http://localhost:8000/mixer/ to play with the response audio
pip install alexa_browser_client
Make sure your settings INSTALLED_APPS contains at least these entries:
INSTALLED_APPS = [
    'django.contrib.staticfiles',
    'channels',
    'alexa_browser_client',
]
Snowboy detects when the wakeword "Alexa" is uttered.
You must compile Snowboy manually. Copy the compiled snowboy folder to the top level of you project. By default, the folder structure should be:
.
├── ...
├── snowboy
|   ├── snowboy-detect-swig.cc
|   ├── snowboydetect.py
|   └── resources
|       ├── alexa.umdl
|       └── common.res
└── ...
If the default folder structure does not suit your needs you can customize the wakeword detector.
You must have redis running too, as Django Channels relies on redis.
Add url(r'^', include('alexa_browser_client.config.urls')), to urls.py url_patterns.
Add include('alexa_browser_client.config.routing.channel_routing') to your routing.py channel_routing.
This app uses Alexa Voice Service. To use AVS you must first have a developer account. Then register your product here. Choose "Application" under "Is your product an app or a device"?
Ensure you update your settings.py:
| Setting | Notes |
|---|---|
ALEXA_BROWSER_CLIENT_AVS_CLIENT_ID |
Retrieve by clicking on the your product listed here |
ALEXA_BROWSER_CLIENT_AVS_CLIENT_SECRET |
Retrieve by clicking on the your product listed here |
ALEXA_BROWSER_CLIENT_AVS_DEVICE_TYPE_ID |
Retrieve by reading "Product ID" here |
You will need to login to Amazon via a web browser to get your refresh token.
To enable this first go here and click on your product to set some security settings under Security Profile and, assuming you're running on localhost:8000, set the following:
| setting | value |
|---|---|
| Allowed Origins | https://localhost:8000/refreshtoken/ |
| Allowed Return URLs | https://localhost:8000/refreshtoken/callback/ |
Once you have all the settings configured:
- Run django:
./manage.py runserver - Go to
http://localhost:8000and start talking to Alexa.
The default wakeword is "Alexa". You can change this by customizing the lifecycle's audio_detector_class:
# my_project/consumers.py

import alexa_browser_client
import command_lifecycle


class CustomAudioDetector(command_lifecycle.wakeword.SnowboyWakewordDetector):
    wakeword_library_import_path = 'dotted.import.path.to.wakeword.Detector'
    resource_file = b'path/to/resource_file.res'
    decoder_model = b'path/to/model_file.umdl'


class CustomAudioLifecycle(alexa_browser_client.AudioLifecycle):
    audio_detector_class = CustomAudioDetector


class CustomAlexaConsumer(alexa_browser_client.AlexaConsumer):
    audio_lifecycle_class = CustomAudioLifecycle
Then in your routing.py:
import alexa_browser_client.consumers
from channels.routing import ProtocolTypeRouter, URLRouter
from channels.sessions import SessionMiddlewareStack

from django.conf.urls import url


application = ProtocolTypeRouter({
    'websocket': SessionMiddlewareStack(
        URLRouter([
            url(r"^ws/$", alexa_browser_client.consumers.AlexaConsumer),
        ])
    ),
})
We use SemVer for versioning. For the versions available, see the PyPI.
This project uses Voice Command Lifecycle and Alexa Voice Service Client.

