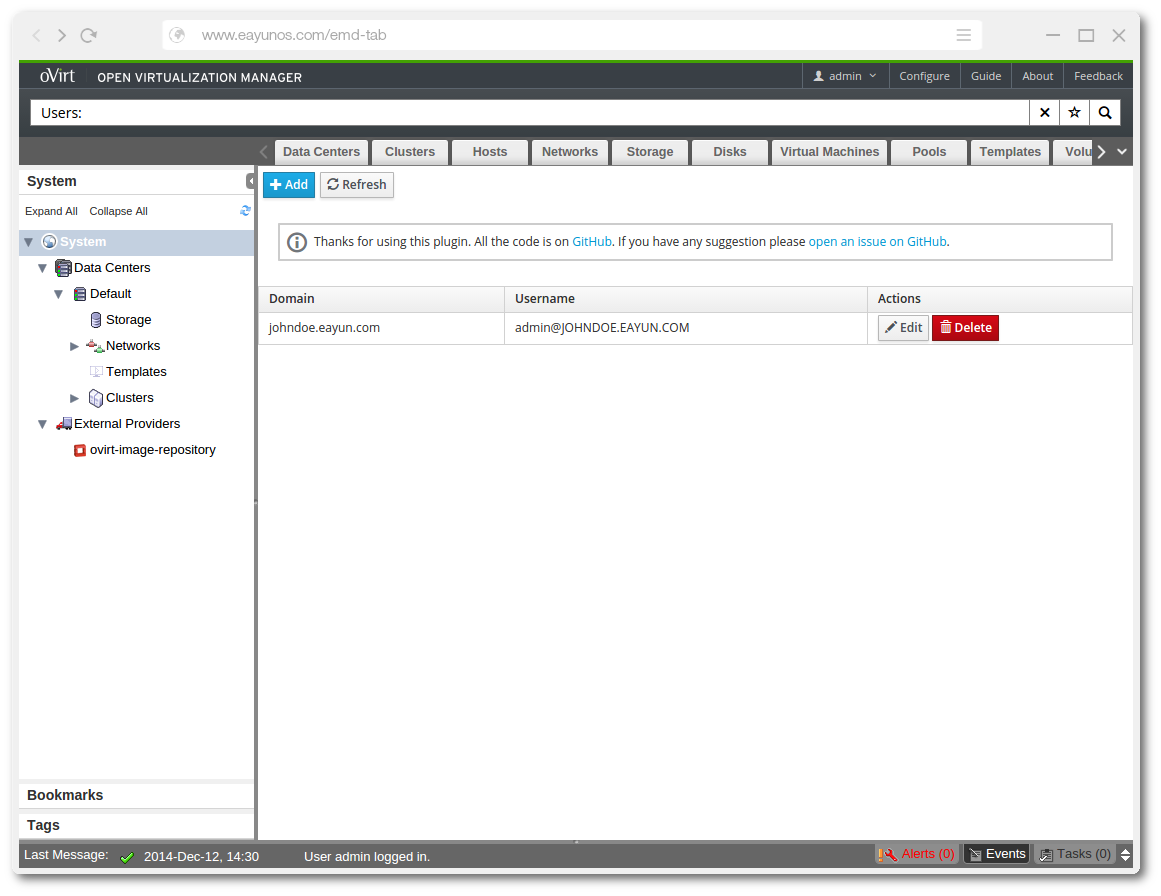
A Simple way to manage your authentication Domains in oVirt WebAdmin
- oVirt-Engine 3.5+
- Copy all what is inside the directory
/UIPluginto the directory/usr/share/ovirt-engine/ui-pluginson the ovirt-engine server. - Change
https://0.0.0.0with the address of the ovirt-engine server in the config fileemdplugin.jsonhere :"config": {"allowedMessageOriginsJSON":{"allowedMessageOrigins": "https://0.0.0.0"}}
💡 It is recommended to enter the ip address of your machine and its domain name in case it is possible to use both: "config": {"allowedMessageOriginsJSON":{"allowedMessageOrigins": ["https://<IP_ADDRESS>", "https://<DOMAIN_NAME>"]}}
- Copy the file ovirt-plugin-emd.conf in the directory
/etc/httpd/conf.don the server and run$service httpd restart. - Copy the file
Servlet/engine-manage-domains/target/engineManageDomains.warto the directory/usr/share/ovirt-engine-jboss-as/standalone/deploymentson the server. - Go to
/usr/share/ovirt-engine-jboss-as/binand run$./standalone.sh.
💡 For more precisions, the installation process is describe for each release in its notes or on the wiki page Installation
You will find all the material to understand this plugin in its Github Wiki.
However, here are some useful pages to start with:
This plugin has been designed and developed with the help of those amazing projects:
- AngularJS v1.3.0
- Patternfly v1.0.5
- Font Awesome v4.2.0
- RESTEasy 2.3.1.GA
The template of the mockups is coming from the Flat Browser - PSD mockup from Design Crazed.
You have multiple options to contact us about this plugin:
- Open an issue on Github
- Send us a mail at
eayunos at eayun.com - Reach us on IRC Freenode #ovirt-china


