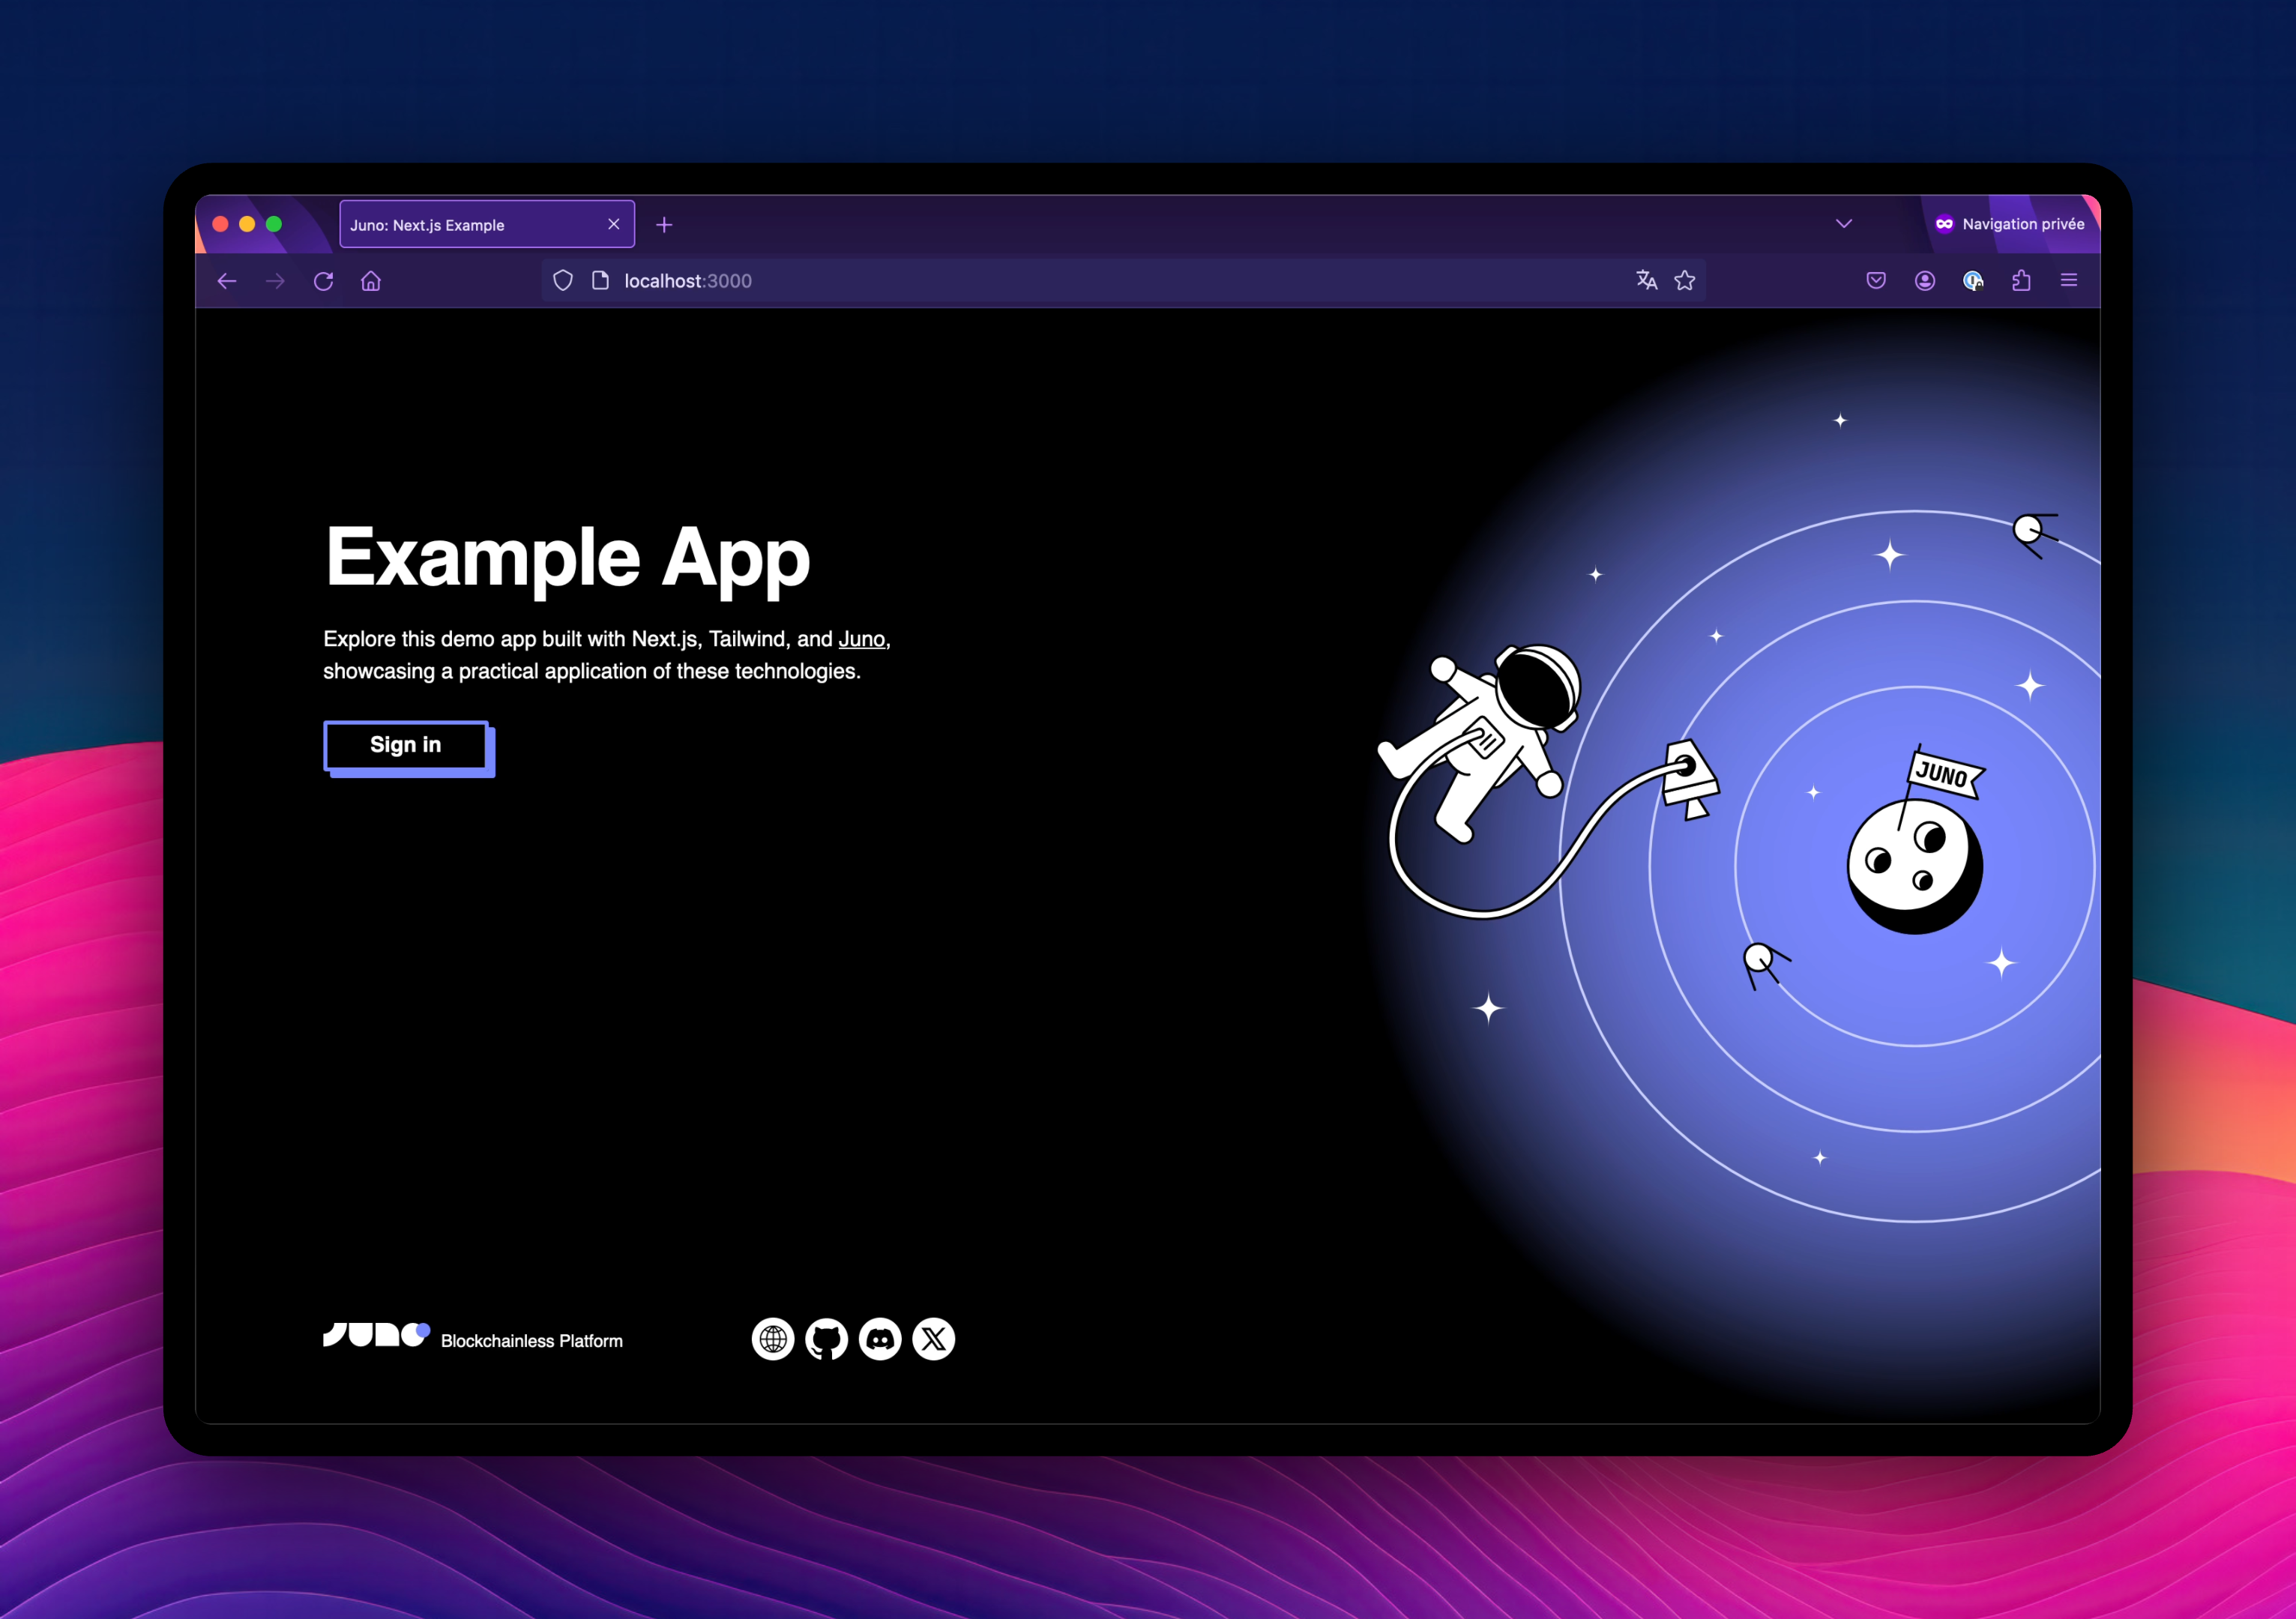
This repository provides code samples and instructions to guide attendees in discovering Juno during a workshop.
Clone the repository and install the dependencies:
git clone https://github.com/junobuild/workshop
cd workshop
npm ciWe are developing a note-taking app, and the core functionality is already in place. However, we still need to integrate Juno, which we plan to implement during the workshop.
By following the steps below and replacing the provided snippet, we will be able to implement the app and learn about building on Web3 simultaneously.
Before we can integrate Juno into the app, we’ll need to create a satellite. This process is explained in detail in the documentation.
New developers will also need to sign in to Juno's console and may even need to create an Internet Identity.
Once the satellite is created, we can initialize Juno with its ID.
First, configure the satellite ID in the juno.config.mjs file.
TODO: find and replace STEP_1_CONFIGURATION
import { defineConfig } from "@junobuild/config";

/** @type {import('@junobuild/config').JunoConfig} */
export default defineConfig({
  satellite: {
    // TODO: STEP_1_CONFIGURATION
    id: "replace-satellite-id",
    source: "dist",
  },
});
Then, enable the initialization of the library within the application.
TODO: find and replace STEP_2_INITIALIZATION
await initSatellite();To securely identify users anonymously, they will need to sign in.
TODO: find and replace STEP_3_AUTH_SIGN_IN
import { signIn } from "@junobuild/core";

await signIn();
To get to know the user’s state, Juno provides an observable function called authSubscribe(). We can use it as many times as required, but I find it convenient to subscribe to it at the top of an app.
TODO: find and replace STEP_4_AUTH_SUBSCRIBE
import { authSubscribe, type User } from "@junobuild/core";

const sub = authSubscribe((user: User | null) => console.log(user));
Users should obviously also be able to sign out.
TODO: find and replace STEP_5_AUTH_SIGN_OUT
import { signOut } from "@junobuild/core";

await signOut();
Storing data on the blockchain with Juno is done through a feature called “Datastore”. Follow the instructions in the documentation to create a collection, which can be named accordingly (“notes”).
Once our collection is created, we can persist data on the blockchain using the setDoc function.
TODO: find and replace STEP_6_SET_DOC
await setDoc({
  collection: "notes",
  doc: {
    key,
    data: {
      text: inputText,
    },
  },
});To fetch the list of documents saved on the blockchain, we can use the listDocs function.
TODO: find and replace STEP_7_LIST_DOCS
const { items } = await listDocs({
  collection: "notes",
});As for the documents, to upload assets we will need first to create a collection in the “Storage”. We can be name it “images”.
Once our collection is set, we can upload a file on chain using the uploadFile function.
TODO: find and replace STEP_8_UPLOAD_FILE
const { downloadUrl } = await uploadFile({
  collection: "images",
  data: file,
  filename,
});
In this particular workshop, we also want to save a reference within the document to its related asset.
TODO: find and replace STEP_9_ADD_REFERENCE
await setDoc({
  collection: "notes",
  doc: {
    key,
    data: {
      text: inputText,
      ...(url !== undefined && { url }), // <--- We add this reference
    },
  },
});After we have developed and built our application, we can launch it.
We recommend using GitHub Actions to continuously deploy real applications, but for the sake of this workshop, we will do this manually. That means we need to install the Juno CLI.
npm i -g @junobuild/cliOnce the installation is complete, we log in to grant access from our terminal to our satellite.
juno loginFinally, we deploy our project.
juno deployCongratulations! Your dApp has been launched on chain 🎉.
