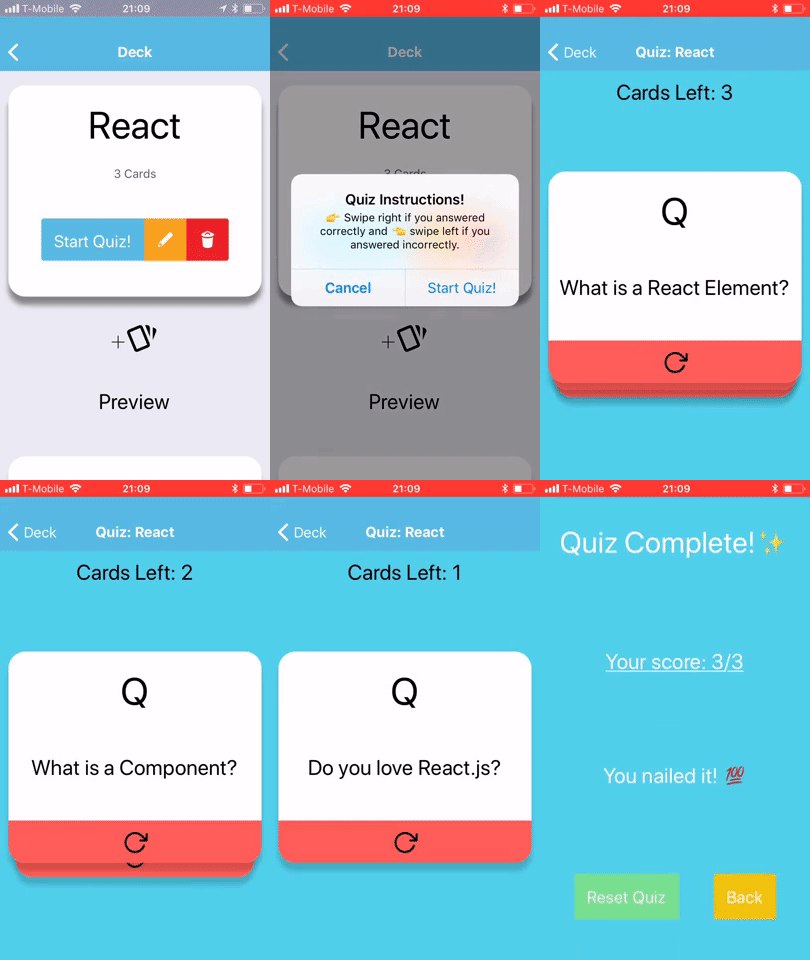
This project is a part of Udacity’s React Nanodegree. Important note to the user: I chose to do an iOS only mobile application. So if you do not have an iOS device you will have to use an iPhone simulator on your Mac.
- Run
git clone https://github.com/iwakoscott/mobile-flashcards.gitor download a.zipfrom the Github repository. - Run
yarn installto download dependencies.
Installing this application onto a simulator or your actual phone is quite simple using Expo.
- Make sure you have the Application downloaded on your iPhone. If you don’t already have the Expo Application downloaded on your iPhone, click here. The cool thing about Expo is that after downloading the application, you don’t even need to sign up for an account to get your app up and running on your iPhone.
- After downloading the App on your iPhone, head over to your terminal and
cdintomobile-flashcardsdirectory that you cloned. - Once you are in
mobile-flashcardsrunexp start && exp send -s <your-phone-number-or-email>. Theexp send -s <your-phone-number-or-email>is required for iOS devices which will send a link to your iPhone via email or text. Once you get the link, click the link and the app will magically open on your iPhone✨.
This requires Xcode already installed on your laptop: Xcode - Apple Developer
- Within the root directory of
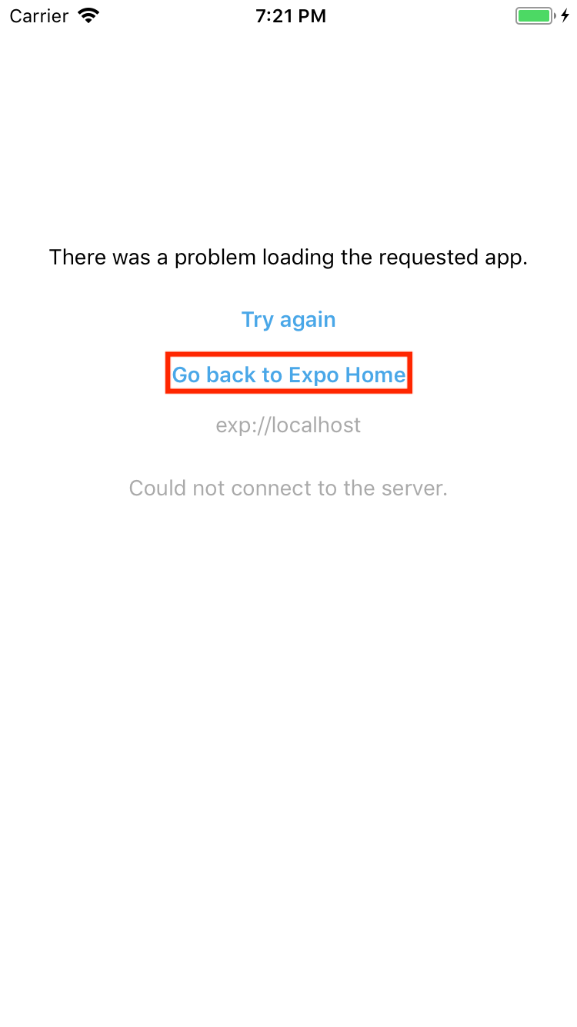
mobile-flashcards, runexp ios && exp start - This will open up the Expo app in Xcode’s iPhone simulator. It may work out of the box, however, I ran into some issues getting the simulator to open up my Application in Expo. You may be presented with this error in the simulator:
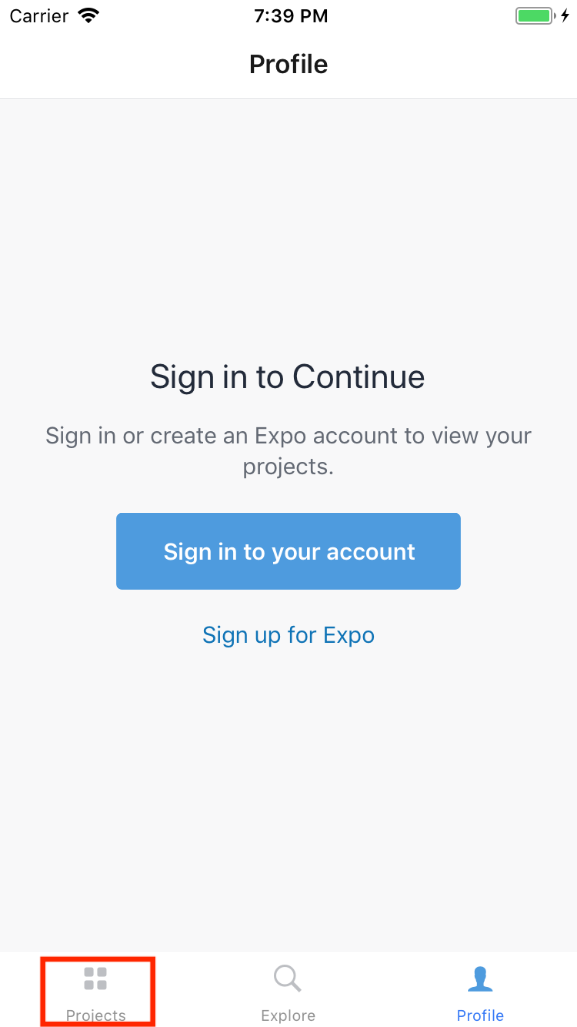
If so, click on the “Go Back to Expo Home“ button (outlined in red in the screenshot) and then click the “Projects” tab in the lower left corner (again outlined in red in the screenshot below)
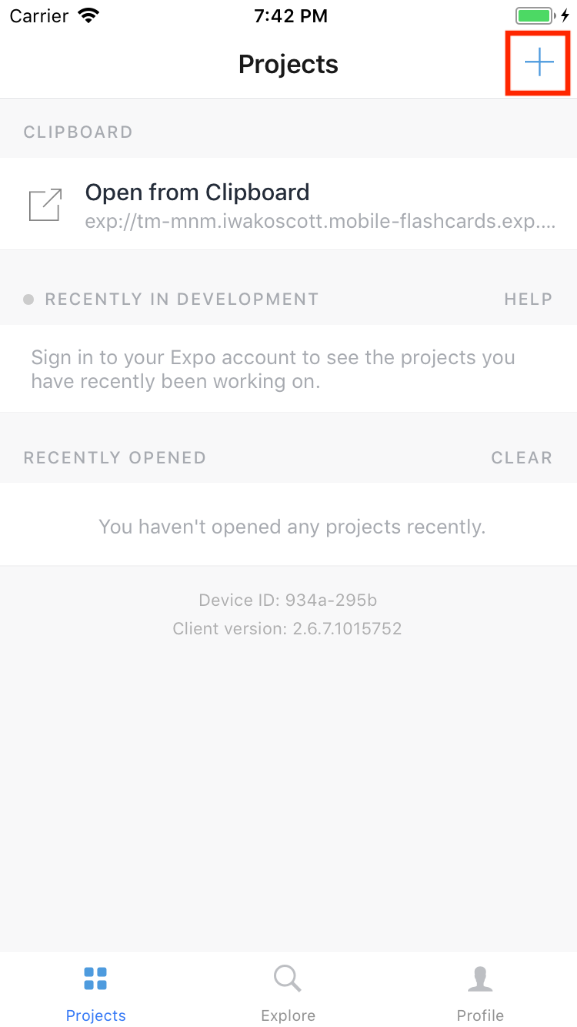
Then, in the upper right corner click the “+” icon.
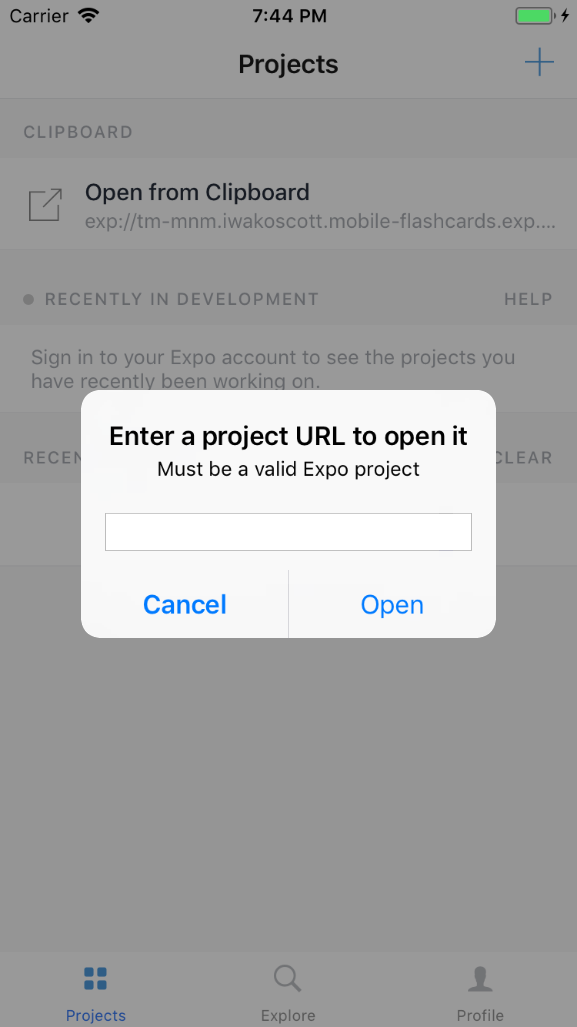
And then you will be presented with the following dialogue:
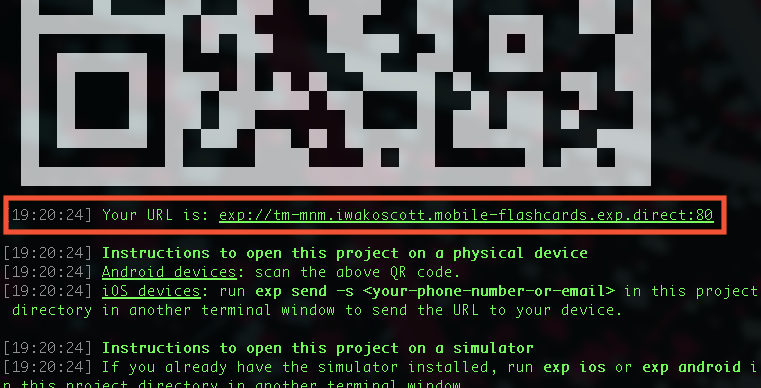
Go back to your terminal and copy the url located immediately underneath the QR code. Your URL may be a little bit different than the one listed in the screenshot below.
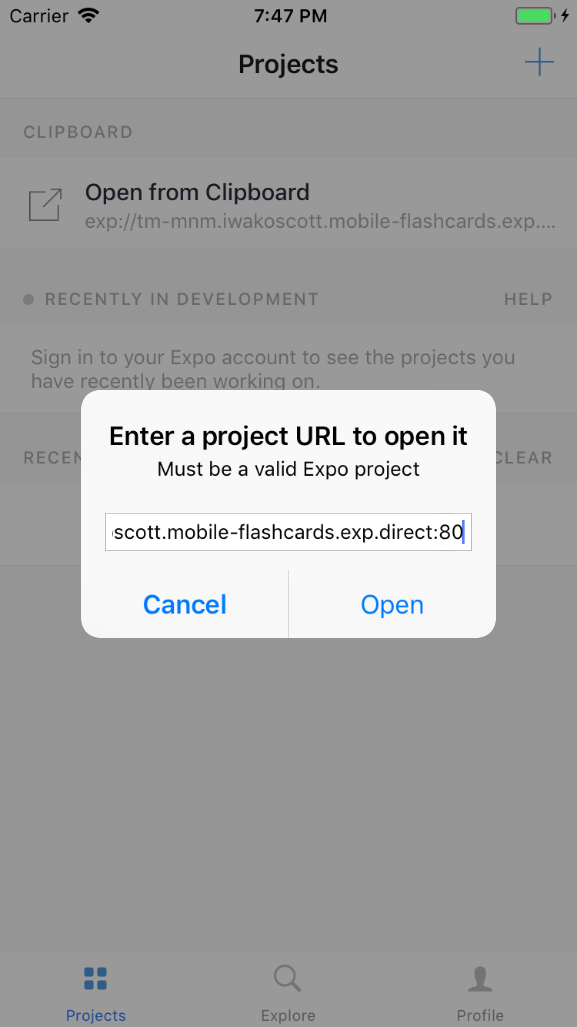
Paste the URL into the dialogue open in the simulator and then click “Open” and the application should start! ✨
