Setup your iOS simulator permissions from previous snapshots
'SimulatorSetup' is a script which allows you to apply a previously captured simulator state to your iOS simulator prior to running your tests. This allows you to run tests which would otherwise require manual simulator setup prior to running the tests.
SimulatorSetup has been able to capture and restore the following simulator states:
- Settings.app Facebook Account information
- Permissions to access Photos, and Contacts
- Dismissal of the Keyboard emoji information notice
States that can't be pre-configured by SimulatorSettup (Broken as of iOS8.4+):
- User Notification permissions (required to show remote or local notifications to the user)
'SimulatorSetup' currently supports iOS8.*, but is expected to work on iOS9 with minor modification.
You use SimulatorSetup as follows:
- Manually setting up your simulator in the state you want to capture
- i.e. with the states you want to capture setup (permissions given, Facebook account logged in in Settings.app etc)
- Take an iOS simulator snapshot by manually copying and storing simulator internal folder structure
- Store the snapshot folder structure with in your project with your tests
- Configuring Xcode to restore this simulator snapshot before you run your Acceptance Tests (or Unit Tests run as Application tests)
- Run your application in the simulator
- Perform the require app and simulator steps to setup your simulator state as you want it to be snapshotted.
- Background your app
- Exit the simulator (important to ensure all state written to disk)
- In Finder, navigate to
~/Library/Developer/CoreSimulator/Devices/ - Open most recently modified folder, like
2D723676-AFDD-4AF1-91C4-3F2774318F2A - Confirm iOS version in device.plist matches your expectation
- Select and copy the following folders from
data/Library:
AccountsBackBoardDataAccessIdentityServicesKeychainsPassesTCC
- In Finder, navigate to your projects folder
- Create a folder in your project root ($PROJECT_ROOT) called
SimulatorLibraryOverride8 - Paste folders into your newly created
SimulatorLibraryOverride8folder.
Note: Storing SimulatorLibraryOverride8 elsewhere will require editing of SetupSimulator.sh
- Copy SetupSimulator.sh into your project (these instructions will assume the folder is located in your $PROJECT_ROOT)
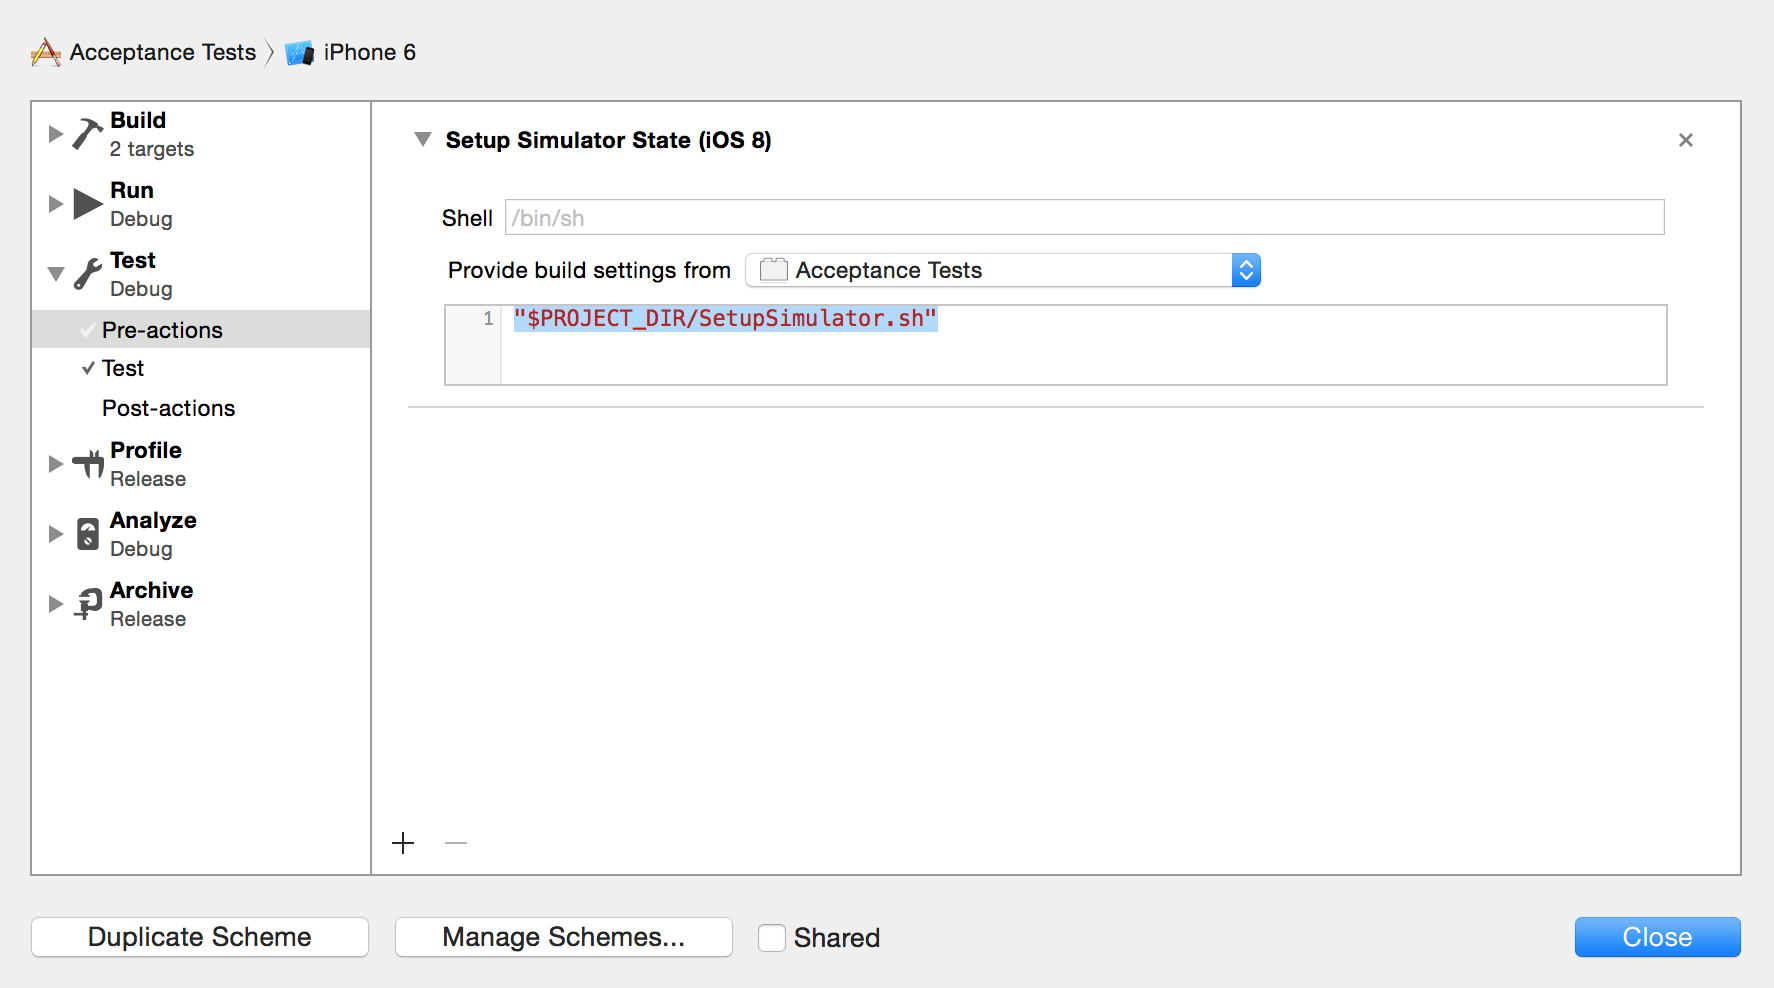
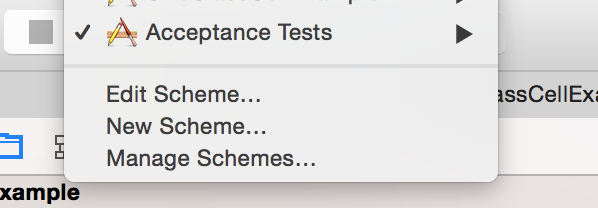
- Edit your Xcode scheme which runs your tests
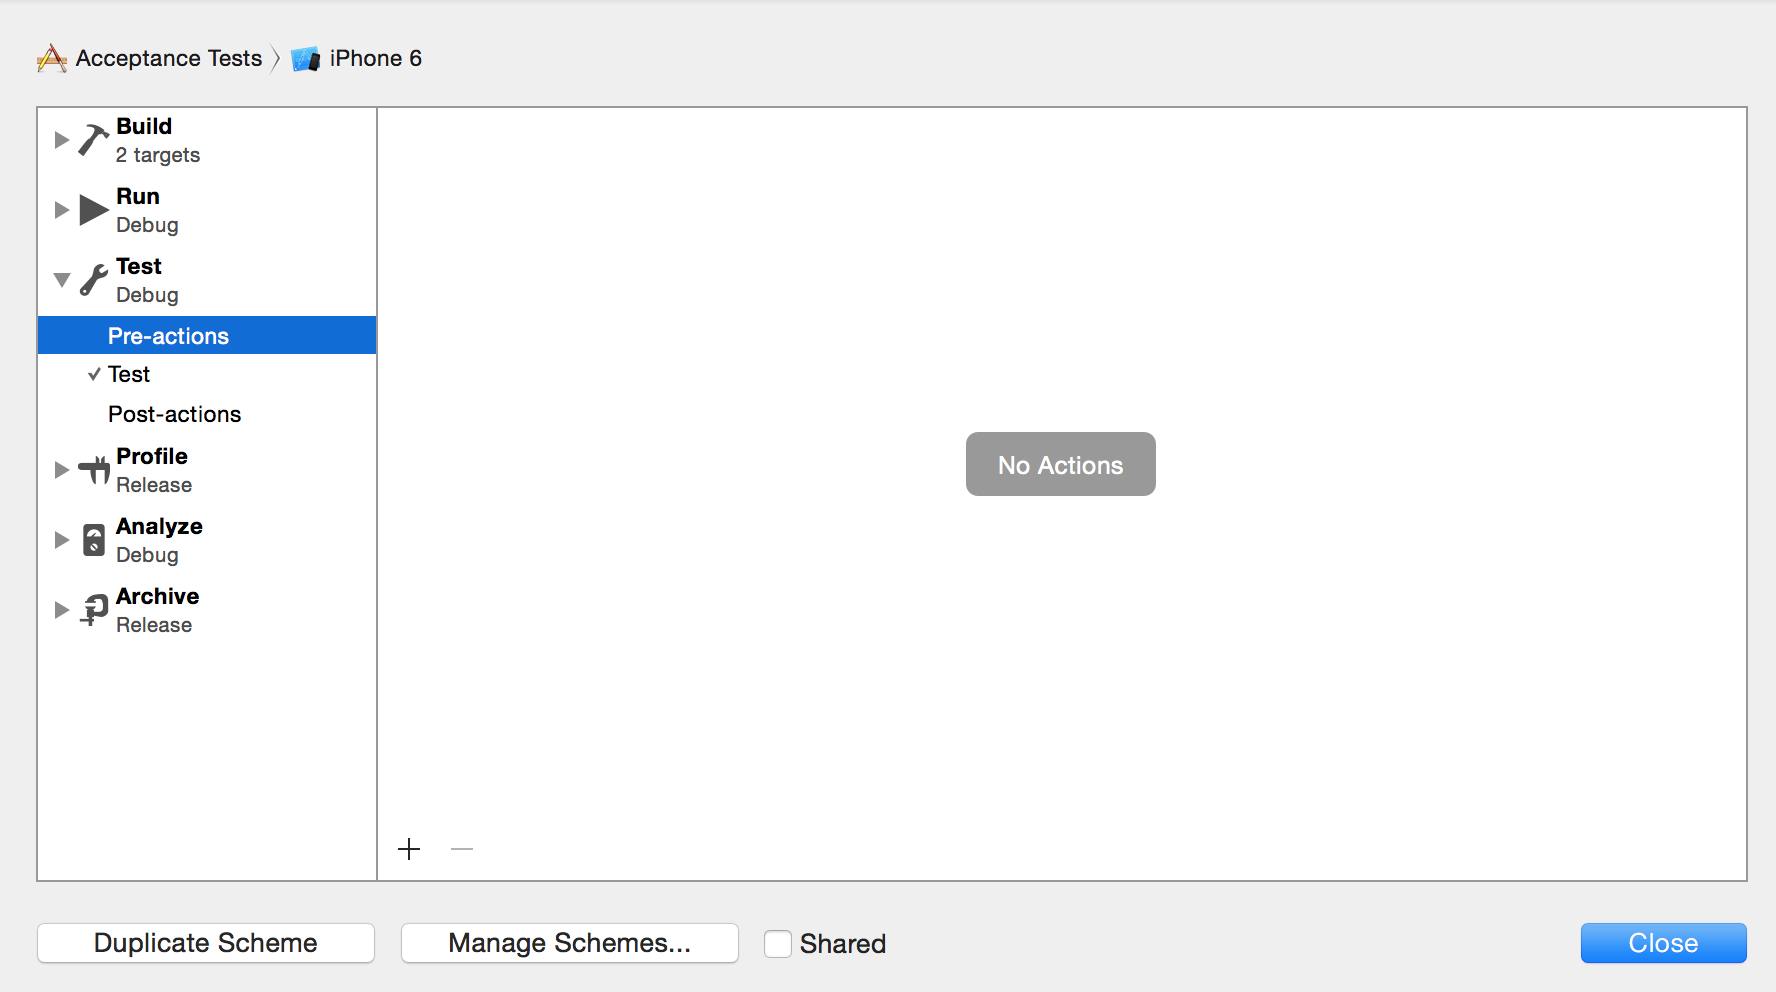
1. Select 'Test from the left column 1. Click the arrow '>' to expand out the sub-elements of 'Test'
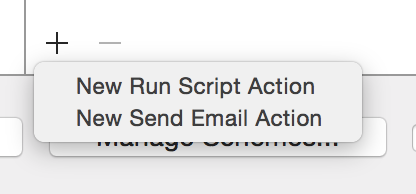
1. Click on 'Pre-actions', then press the plus button '+' then select 'New Run Script Action'
1. Replace `Type a script or drag a script file from your workspace to insert its path` with `"$PROJECT_DIR/SetupSimulator.sh"`  1. Press close
Now when you build and run your tests, prior to their execution your simulator will be configured using your snapshot.
This snapshot and setup is done from a blackbox perspective without knowledge or understanding of internal iOS simulator operation. As a result there is a chance it could cause your simulator to get into a broken state. Although typically the any issues can be recovered via a simulator reset, or Xcode re-install, please remember this code is provided as is without warrantee (See License for full details)
Paul Zabelin (https://github.com/paulz)


