-
Notifications
You must be signed in to change notification settings - Fork 125
java ci
The Java server-side of My Thai Star is an devon4j-based application. As long as Maven and a Java 8 are going to be needed, the Pipeline should have those tools available as well.
This Pipeline is called MyThaiStar_SERVER_BUILD, and it is located exactly in the same PL instance’s folder than MyThaiStar_FRONTEND_BUILD. Let’s see how the Pipeline’s flow behaves.
Check those Pipeline stages with more detail:
-
Declarative: Checkout SCM
Gets the code from https://github.com/devonfw/my-thai-star . This step is not defined directly in our pipeline, but as it is loaded from the repository this step should always be done at the beginning.
-
Declarative: Tool Install
The My Thai Star application works with JDK11. In this step, if JDK11 is not installed, we install it and then put the JDK folder into PATH.
tools { jdk 'OpenJDK11' } -
Loading Custom Tools
In this step we load the tools that can not be loaded in the previous step. As My Thai Star is delivered as docker container, in this step we load docker as custom tool.
tool dockerTool
-
Install dependencies
This step will download all project dependencies.
mvn clean install -Dmaven.test.skip=true
-
Unit Tests
This step will execute the project unit test with maven.
mvn clean test
-
Dependency Checker
Execute the OWASP Dependency Checker in order to validate the project dependencies. It will generate a report that can be used in SonarQube
dependencyCheck additionalArguments: '--project "MTSJ" --scan java/mtsj --format XML', odcInstallation: 'dependency-check'
dependencyCheckPublisher pattern: ''
-
SonarQube analysis
The code is evaluated using the integrated PL instance’s SonarQube. Also, it will wait for the quality gate status. If the status is failing, the pipeline execution will be stopped.
withSonarQubeEnv(sonarEnv) { sh "mvn sonar:sonar" } def qg = waitForQualityGate() if (qg.status != 'OK') { error "Pipeline aborted due to quality gate failure: ${qg.status}" } -
Deliver application into Nexus
Store all artifacts into nexus.
mvn deploy -Dmaven.test.skip=true
-
Create the Docker image
Create the docker image and then publish the image into a docker registry.
In order to easily reuse the pipeline in other java projects, all variables have been defined in the block environment. All variables have the default values that Production Line uses, so if you’re going to work in production line you won’t have to change anything. Example:
environment {
    // Directory with java project
    javaDir = 'java/mtsj'

    // SonarQube
    // Name of the SonarQube environment
    sonarEnv = "SonarQube"

    // Nexus 3
    // Maven global settings configuration ID
    `globalSettingsId = 'MavenSettings'`
    // Maven tool id
    `mavenInstallation = 'Maven3'`

    // Docker
    dockerRegistryCredentials = 'nexus-api'
    dockerRegistryProtocol = 'https://\'
    dockerTool = 'docker-global
}-
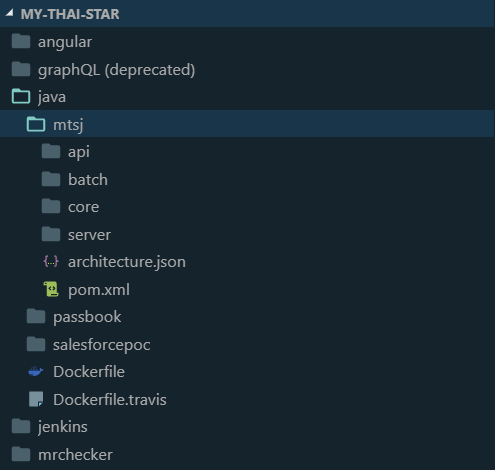
java Dir: Relative route to java application. In My Thai Star this is the
java/mtsjfolder. The actual directory (.) is also allowed. -
sonar Env: Name of the SonarQube environment. SonarQube is the default value for PL.
-
global Settings Id: The id of the global settings file.
MavenSettingsis the default value for PL. -
maven Installation: The name of the maven tool. Maven3 is the default value for PL.
The only extra thing that needs to be added to the Java server-side is some information that determines where the artifact of the project is going to be stored in Nexus. This is going to be a section in the main pom.xml file called <distributionManagement>. This section will point to the PL instance’s Nexus. Let’s have a look at it. It’s already configured with the PL default values.
<distributionManagement>
    <repository>
      <id>pl-nexus</id>
      <name>PL Releases</name>
      <url>http://nexus3-core:8081/nexus/content/repositories/maven-releases/</url>
    </repository>
    <snapshotRepository>
      <id>pl-nexus</id>
      <name>PL Snapshots</name>
      <url>http://nexus3-core:8081/nexus3/repository/maven-snapshots</url>
    </snapshotRepository>
</distributionManagement>-
-
Technical design
-
Data model
-
Server Side
-
Client Side
-
-
Security
-
Testing
-
Server Side
-
Client Side
-
End to end
-
-
UI design
-
CI/CD


