You will need the following tools:
Follow these steps to get your development environment set up: (Before Run Start the Docker Desktop)
- Clone the repository
- Once Docker for Windows is installed, go to the Settings > Advanced option, from the Docker icon in the system tray, to configure the minimum amount of memory and CPU like so:
- Memory: 4 GB
- CPU: 2
- At the root directory which include docker-compose.yml files, run below command:
docker-compose -f docker-compose.yml -f docker-compose.override.yml up -d-
Wait for docker compose all microservices. That’s it! (some microservices need extra time to work so please wait if not worked in first shut)
-
You can launch microservices as below urls:
-
Catalog API -> http://host.docker.internal:8000/swagger/index.html
-
Basket API -> http://host.docker.internal:8001/swagger/index.html
-
Discount API -> http://host.docker.internal:8002/swagger/index.html
-
Ordering API -> http://host.docker.internal:8004/swagger/index.html
-
Shopping.Aggregator -> http://host.docker.internal:8005/swagger/index.html
-
API Gateway -> http://host.docker.internal:8010/Catalog
-
Rabbit Management Dashboard -> http://host.docker.internal:15672 -- guest/guest
-
Portainer -> http://host.docker.internal:9000 -- admin/admin1234
-
pgAdmin PostgreSQL -> http://host.docker.internal:5050 -- [email protected]/admin1234
-
Elasticsearch -> http://host.docker.internal:9200 -- To Be Develop
-
Kibana -> http://host.docker.internal:5601 -- To Be Develop
-
Web Status -> http://host.docker.internal:8007 -- To Be Develop
-
Web UI -> http://host.docker.internal:8006
- Launch http://host.docker.internal:8007 in your browser to view the Web Status. Make sure that every microservices are healthy.
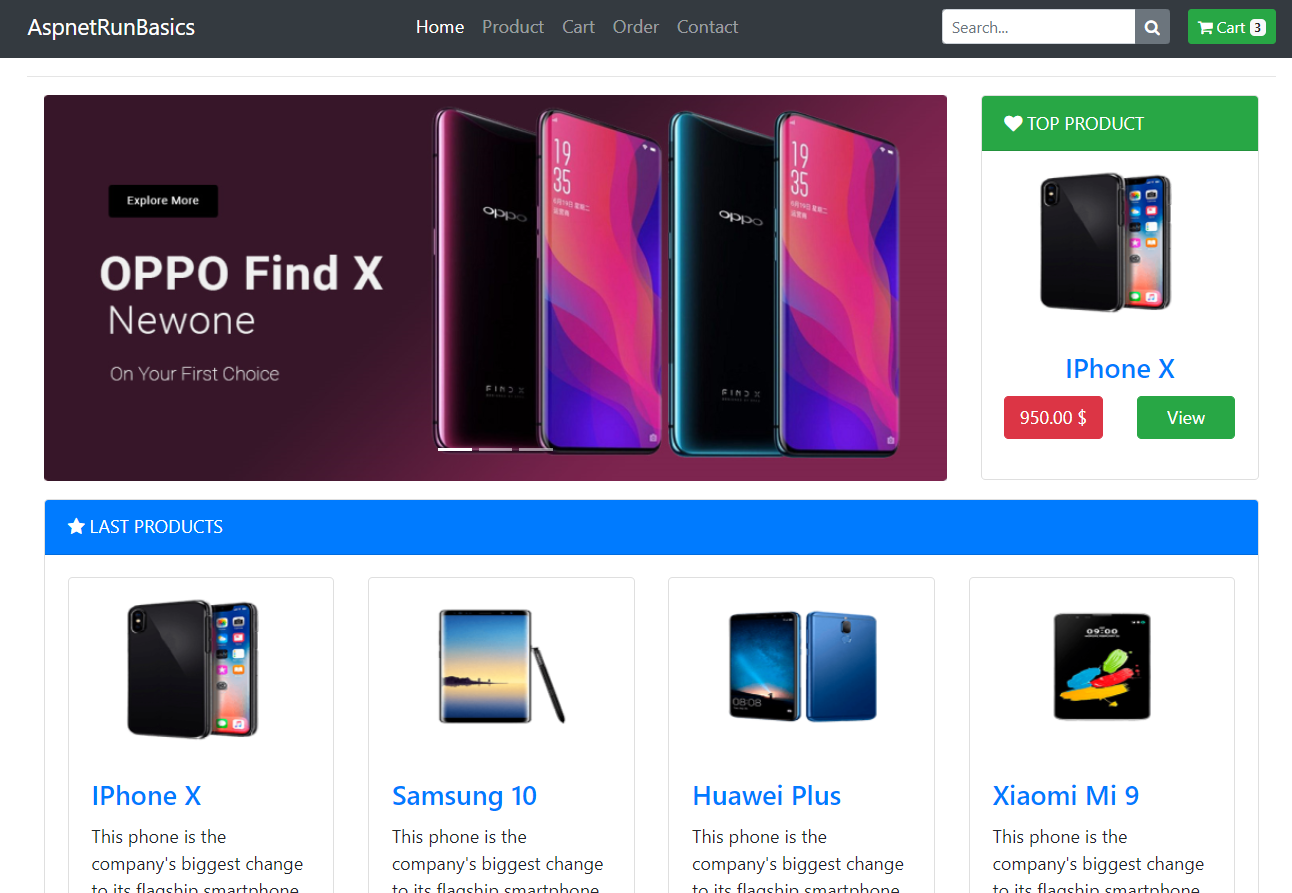
- Launch http://host.docker.internal:8006 in your browser to view the Web UI. You can use Web project in order to call microservices over API Gateway. When you checkout the basket you can follow queue record on RabbitMQ dashboard.
Note: If you are running this application in macOS then use
docker.for.mac.localhostas DNS name in.envfile and the above URLs instead ofhost.docker.internal.
