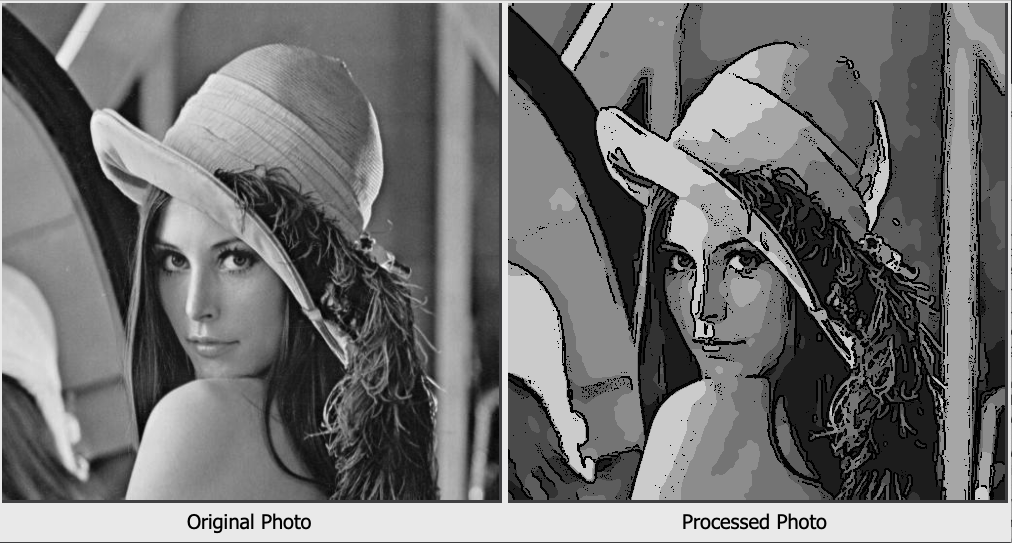
This project implements a simple image processing graphic user interface (GUI) that performs wide varieties of classical image processing (blur, smooth, edge detection, quantization, etc.) Users will be able to select different test images from image libaray or uploading their local images to perform desired image processing effect. Users can also download processed image to local or apply selected effect on their webcam to produce desired realtime image processing effect.
git clone https://github.com/WinstonChenn/image-processing-app.git
cd image-processing-app
conda env create --name [ENV-NAME] -f environment.yml
conda activate [ENV-NAME]
python src/main.py
Graphic User Interface (GUI)
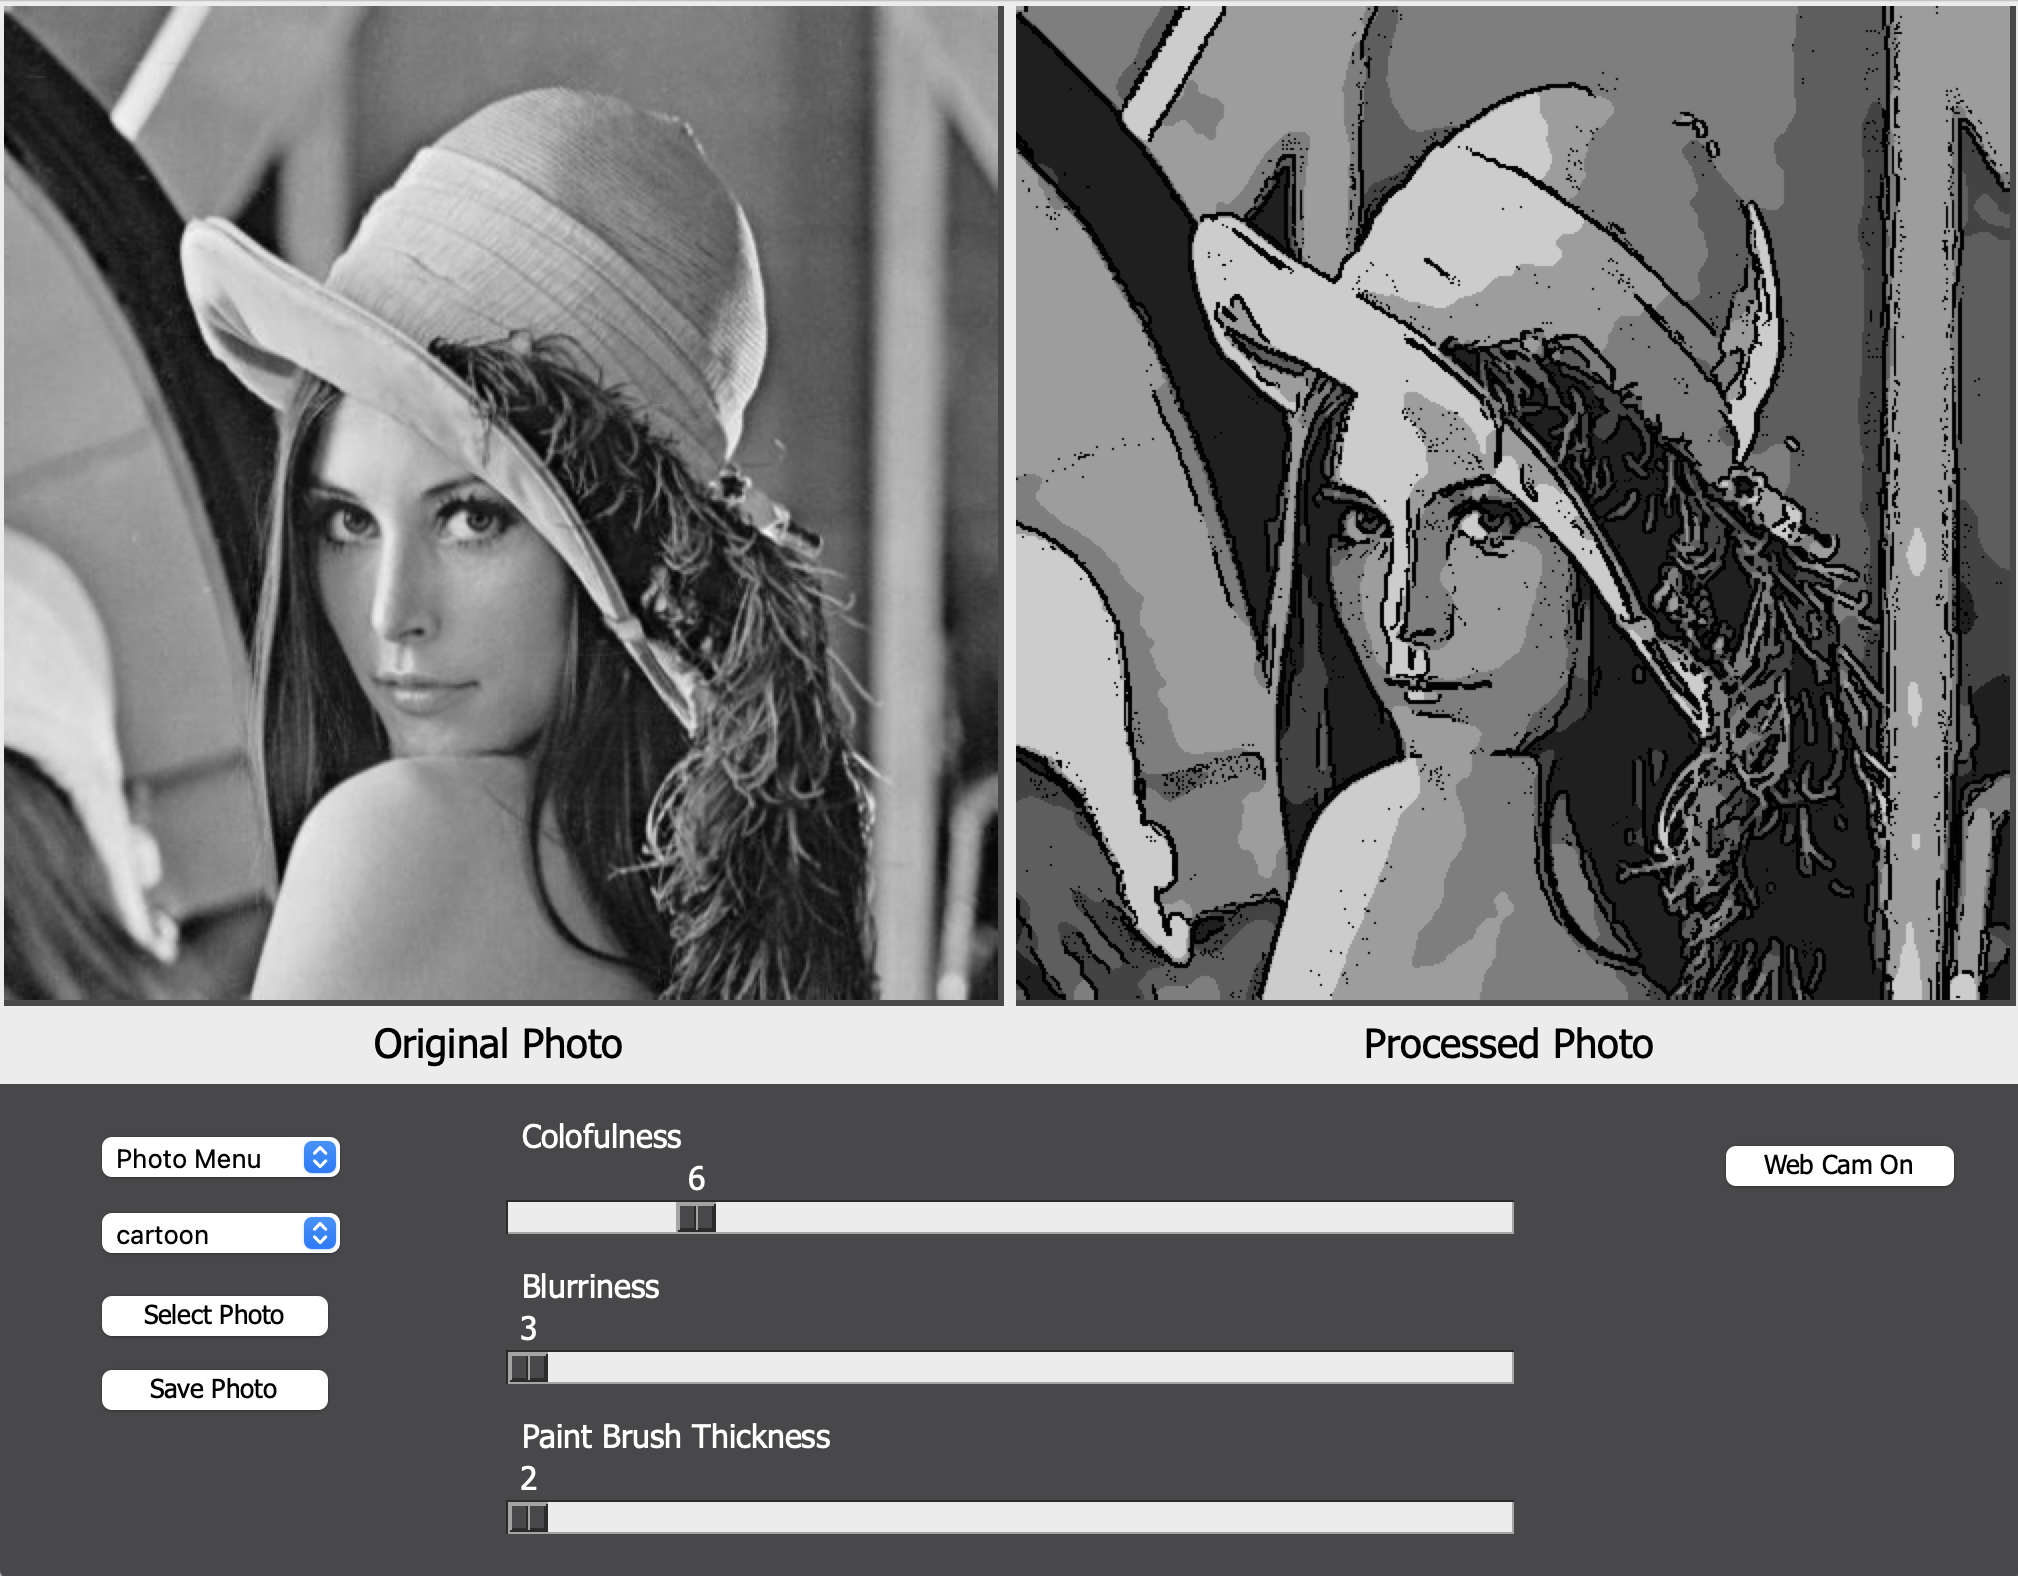
The GUI of this image process app is entirely built with Python and Tkinter. The Python codes responsible for creating this GUI layout can be found in src/app/__init__.py and src/app/control_panel.py The GUI can be roughly separated into three sections.
-
The display section
The display section is in top part of the image processing app GUI. It is responsible for displaying the original image and processed images. This section provides a direct comparison between original and processed images, which allows users to easily see the result of applied filter.
-
Primary control panel
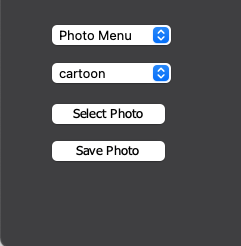
The primary control panel locates at the lower left corner of the GUI. It is designed to provide users with high-level image processing app functionalities, such as selecting different photos, choosing different image processing effects, and saving processed photos.

-
Secondary control panel
The secondary control panel locates at the lower right corner of the GUI. It provides functionalities specific to the image processing effects that users selected from the primary control panel. This panel provides various widgets that allows user to manipulate the parameters of the image processing filter that they are applying. Therefore different image processing effects will result in different wigets layout.
Additionally, I also provides the "Web Cam On" button that allows user to apply the selected filter with current parameter to a real-time video stream from their webcam.

Image Processing Effects
Currently 6 image processing effects are implemented. 5 of them are classical image processing filters and one of them is a composite image filter that generates cartoon effect. The Python codes for implementing these filters are in src/app/filter_operations.py
- Classical image filters
Currently I implemented the following classical image filters: gaussian blur, bilateral filter, sobel gradient fiter, canny edge detection filter, quantization filter. The core algorithms of each filter are implemented by OpenCV and most of the scripts insrc/app/filter_operations.pyinvovles connecting OpenCV's filter API with GUI's parameter control widgets. - Cartoon effect filter
The cartoon effect filter is a composite filter composed of bilateral filter, luminance qunatization filter, difference of gaussian(DoG) edge detection filter. The detail of how to combining these filters is summarized in the instruction below:- Applying recursive bilateral filters to generate smoothed images
- Applying luminance quantization on smoothed images to generate quantized images
- Applying DoG edge detection filter on smoothed images to generate edge images
- Negate the edge images
- the edges will have dark values in the negated image (to simulate trace).
- Combining quantized image with negated edges using "Min" function
- Min function preserves the edge pixels, which tend to have near 0 values.
