-
Notifications
You must be signed in to change notification settings - Fork 0
GuideGettingStarted
The jUDDI project is an open source implementation of the UDDI specification. The registry implementation is a WebArchive (war) juddiv3.war which is deployable to any JEE container. The application exposes a WebService API which can be accessed using any generic SOAP client, the juddi-gui or, if you are looking to integrate the UDDI api in your application, the Java or .NET version of the juddi-client.
jUDDI is written in Java and minimally requires
-
JDK1.6+, although jUDDI should run on JDK1.6, please use the latest JDK if possible
optionally
-
Maven 3.0.3+ if you want to run the examples
-
A Relation Database, to replace Derby
The versions mentioned above are minimal versions and it is recommended to use the latest version available. By default jUDDI ships and uses a Derby database. After evaluation you probably want to move to a more full featured database.
At the jUDDI download page http://juddi.apache.org/releases.html, you have the chioce of two distributions; the juddi-client distro or the juddi-distro, where the latter includes both client and server. Each distribution contains signed binaries, source, examples and documentation. It you are not sure which distribution to download, then take the juddi-distro since it contains everything which is by far the easiest way to get going.
After downloading and unpacking of the juddi-distro, you can start the preconfigured tomcat server by going into the juddi-distro-<version> directory and running startup
$ cd apache-tomcat-<version>/bin
$ ./startup.sh
Once the server is up and running can make sure the root data was properly installed by browsing to http://localhost:8080/juddiv3
You should see the screen show in jUDDI welcome page, the jUDDI Welcome Page.
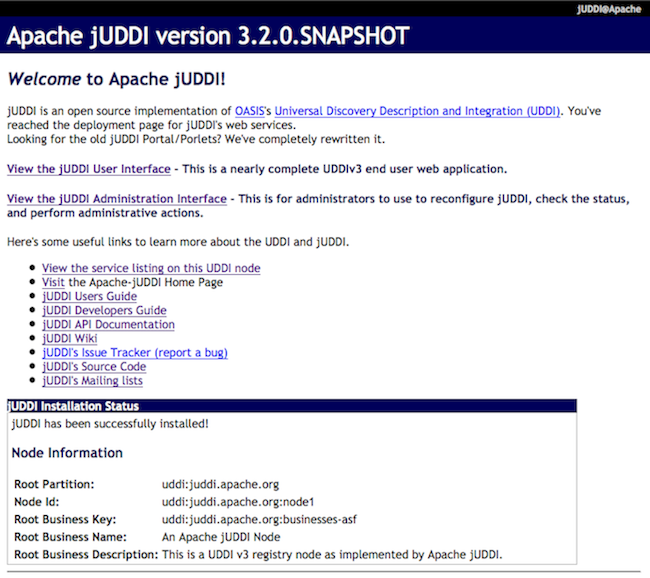
Before continuing please check the jUDDI instalation Status on this page and make sure it says: "jUDDI has been successfully installed!". If the page won’t load or the status is anything else please check the apache-tomcat-x.x.x/logs/juddi.log and if you need help you can contact us via the jUDDI user mailing list. Also note that it created a root partition, using seed data. You can modify or add to the seed, for that see GuideRootSeedData.asciidoc.
The juddi admin console runs at http://localhost:8080/juddiv3/admin and requires a login with the role of uddiadmin via the basic authentication popup dialog box. Check the apache-tomcat-x.x.x/conf/tomcat-users.conf file for the password of the uddiadmin user. Please change the password before going live.
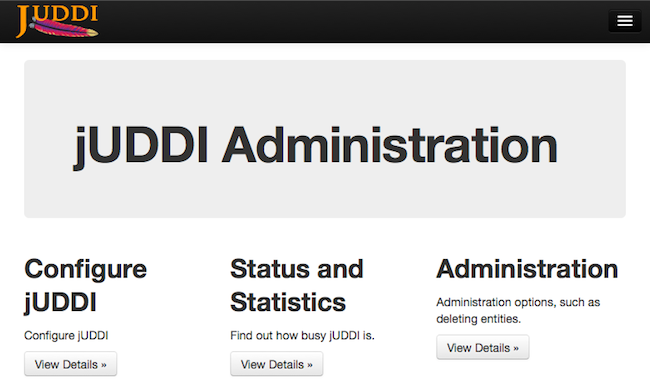
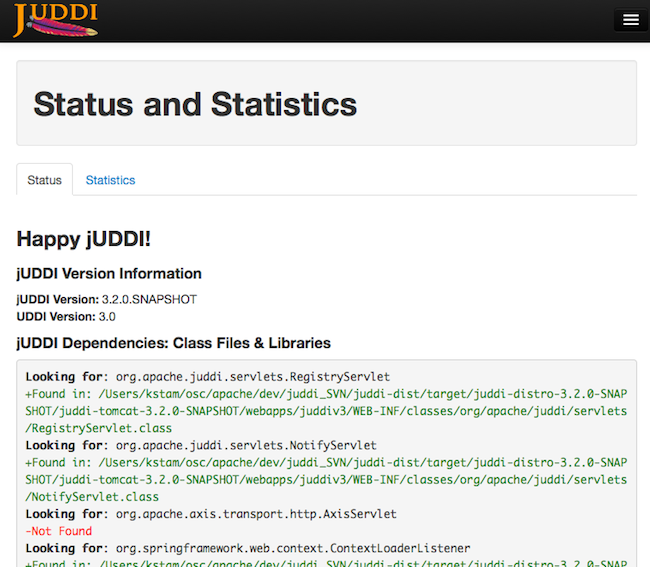
By popular demand we brought back the happy jUDDI!' page. Just click on Status and Statistics page. By default we run on CXF, so it is normal if says the AxisServlet is not found. There should be no other red on this page.
By default jUDDI ships with 2 publishers: root and uddi. Root is the owner of the repository, while the uddi user is the owner of all the default tmodels and categorizations. Please use the root user to log into the form login in the admin console.
|
Important
|
Please use the root user to log into the form login in the admin console. |

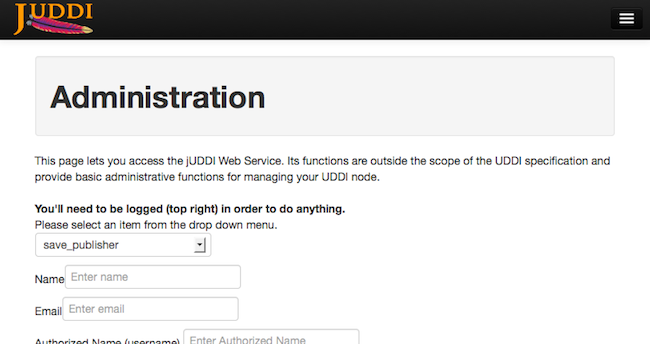
You will now be able to do more then simple browsing. Navigate to the Administration and select save_publisher from the dropdown. This will allow you to add your own publisher.
OK now that we have verified that jUDDI is good to go we can inspect the UDDI WebService API by browsing to http://localhost:8080/juddiv3/services
You should see an overview of all the SOAP Services and their WSDLs.
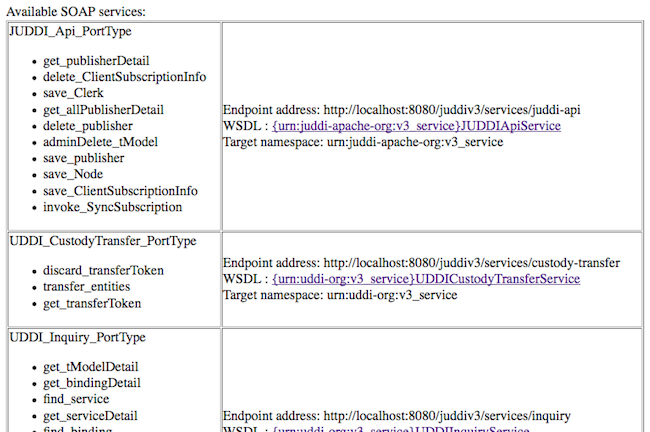
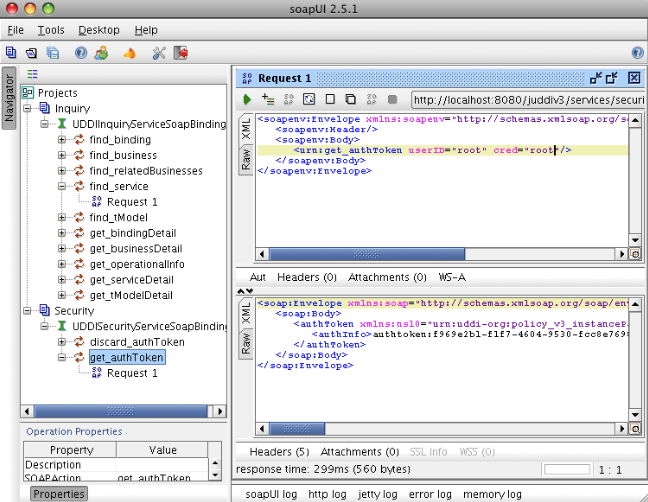
The services page shows you the available endpoints and methods available. Using any SOAP client, you should be able to import the wsdls into a tool like SoapUI as shown in Getting an authToken using SoapUI and send some sample requests to jUDDI to test:
|
Tip
|
Try obtaining an authToken for the publisher you created earlier. |
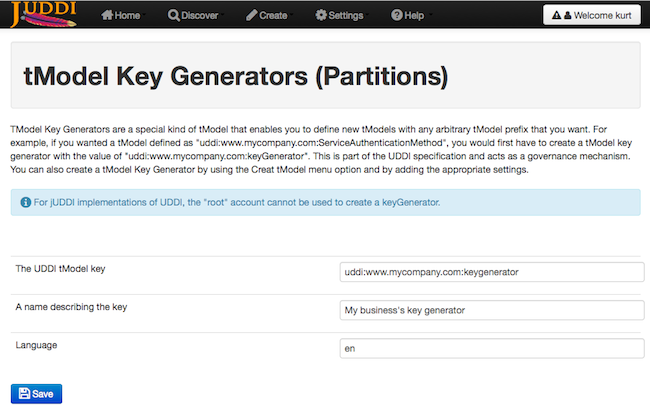
Navigate to http://localhost:8080/juddi-gui/ to get to the jUDDI-GUI. Please use the Form Login and use the credentials of the publisher you created above. You can browse around, but really the first thing that needs to be done is to create a Key Generator or Partition at http://localhost:8080/juddi-gui/tmodelPartitions.jsp. A Key Generator is needed to save human readable, universally unique UDDIv3 keys. Please read more about UDDI v3 formatted keys, but the short story is that UDDI v3 keys are formatted like: uddi:<domain>:name. For example, if you wanted a tModel defined as "uddi:www.mycompany.com:serviceauthenticationmethod", you would first have to create a tModel key generator with value "uddi:www.mycompany.com:keygenerator".
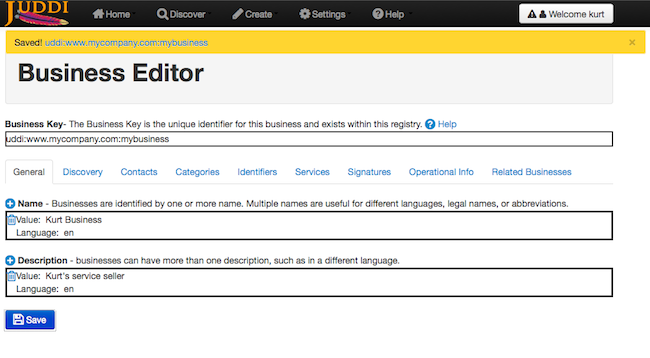
Next create your business using the key generator format you just registered. For example in Create Business we use a businessKey of uddi:www.mycompany.com:mybusiness.
See the Client and GUI Guide Guide.asciidoc for more details on how to use the GUI.
The jUDDI distribution ships with a lot of demos to get yourself more familiarized with the features of jUDDI. You are encouraged to go over the demos and follow the instructions in the README files. To ensure the demos work they use the root publisher. In practice you should not be using the root publisher for this, but rather your own publisher you created above. To reference your own publisher simply update the uddi.xml file in each demo. For more details on running the demos see the Client and GUI Guide Guide.asciidoc.
The jUDDI blog at http://apachejuddi.blogspot.com/ has examples as well as screencasts. This can be a useful resource to learn about some new feature or to simply get started.
Here’s the change log for version 3.2
-
A new end user interface based on Twitter’s Bootstrap
-
A new administrative user interface based on Twitter’s Bootstrap with in browser monitoring
-
A client side subscription callback API
-
Client distribution package
-
Many more examples
-
WADL to UDDI mappings
-
All credentials are now encryptable with command line tools
-
Removal of the porlet services
-
Deployment templates for Jboss EAP 6+
-
Client side digital signature support
-
REST style interface for Inquiry API
-
Added many more tModels to the base install
-
More documentation