A simple script for retreiving and dealing with climate data from the Comet T6540 Climate sensor written in Python. It's written for Python 3, but can be made to work in Python 2 with minor modifications to the uses of URLlib.
Table of Contents
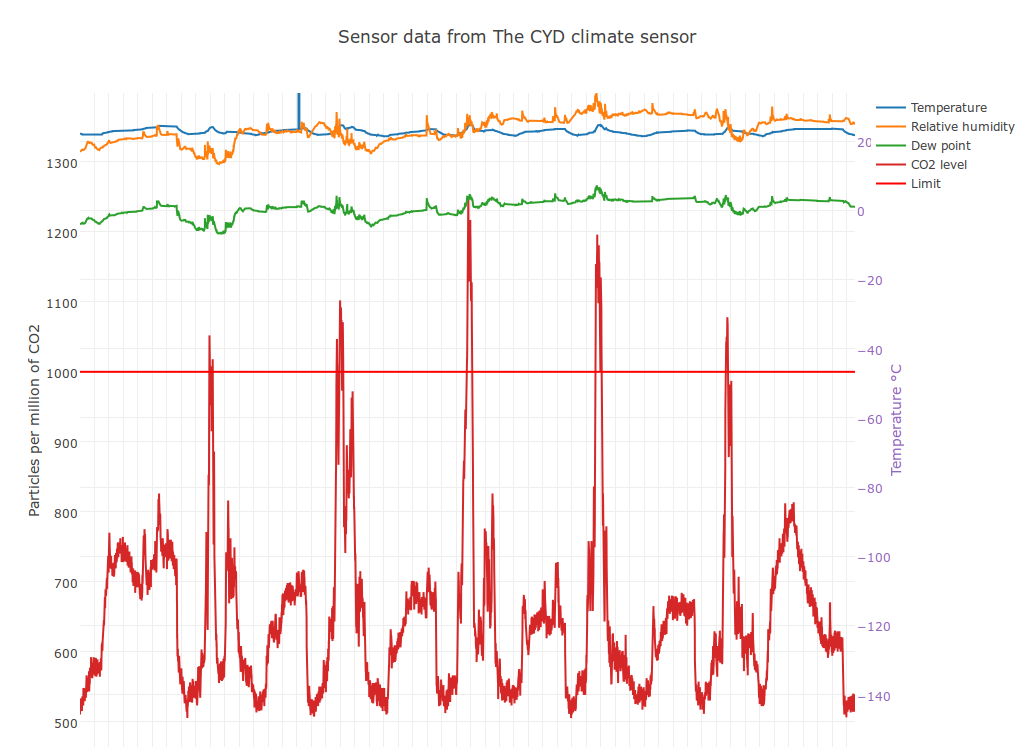
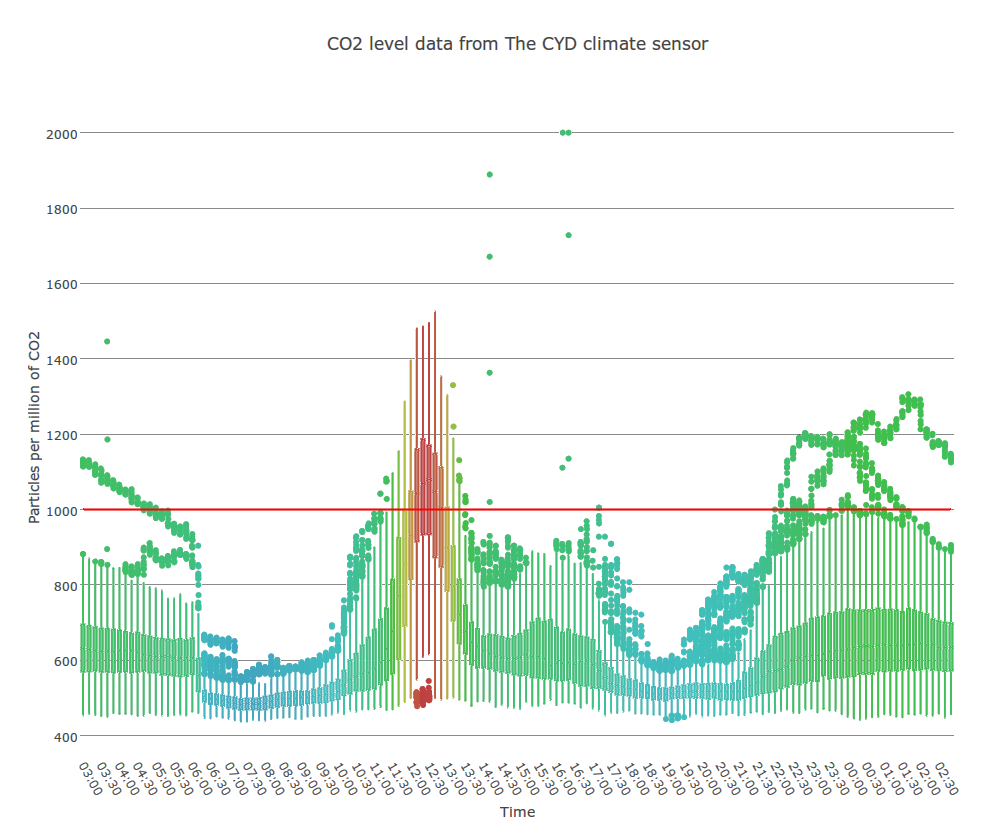
Collect and make your climate data into beautiful interactive graphs!
| Line Graph | Statistical Box Plot |
|---|---|
 |
 |
This project depends on the python module click and the python package manager pip. On Ubuntu they are installed by running:
sudo apt-get install python3-click python3-pipOn all Linux distributions click can be installed through pip, though it's always recommended to use the distribution package manager since those usually come with the promise of semi-automatic security updates. Dependency installation through pip is detailed in installation.
To install from source first install the dependencies detailed above and then run the following:
git clone https://github.com/Rovanion/comet-sensor.git
cd comet-sensor
sudo pip3 install -r requirements.txt
sudo pip3 install .In order to fetch sensor data from your Comet web sensor run the following:
comet-sensor fetch http://url.to.web.sensorSince at least the T6540 only keeps 1000 data points you should do this at least samples_per_day/1000 times a day. Sample rate can be found in the general settings for your web sensor.
Example: The sample rate is once every minute. We should then fetch at least every 0.7 day or once every 16th hour.
But since the sensor clears its memory on reboot it's always safer to fetch more frequently.
You can then use the dump command to export all the gathered data, by default to a file called all_data.csv in the current working directory:
comet-sensor dumpIn order to get help on producing graphs, please see:
comet-sensor plot --help
The two example graphs are produced with the following two commands:
comet-sensor -d some-data-folder/ plot -t line -l 1000 -g none
comet-sensor -d other-data-folder/ plot -t box -l 1000 -g day -i 4
You are herby licensed to use this program and all of it's components under the GNU General Public License version 3. A complete copy of the license is available in the LICENSE.txt file and can also be viewed on the GNU website.
Development requires a couple additional dependencies (see also additional pip dependencies after virtualenv is set up):
sudo apt-get install virtualenv pep8 pylint python3-pytest python3-yamlIt's recommended to use virtualenv for development which allows for setup and other possibly system damaging procedures without actually running the risk of doing so. To set up the virtual environment for the first time, stand in the source code folder and run:
virtualenv -p /usr/bin/python3 envThen activate the environment, this is the only thing you need to do on consecutive shells you want to develop in:
source env/bin/activateYou can test that you are in the virtualenv by checking that the following command results in a path which ends in your source code folder.
which pythonYou're now ready to install the additional python dependencies into your virtual environment using pip:
pip3 install -r development-requirements.txtIn order to escape the virtualenv one can either close the terminal or run:
deactivateTo install the development version of comet-sensor on your folder into your newly created virtualenv, make sure that you didn't just deactivate it, run:
pip3 install --editable .To keep everything nice and clean we should also lint our code before commiting it, still standing in the root of the source code folder:
ln -s `which pre-commit.git-lint.sh` .git/hooks/pre-commitBefore submitting any pull requests the code should be run through the linter as described under Development but also pass all the existing test. Running these on your local machine is as simple as:
py.test tests/