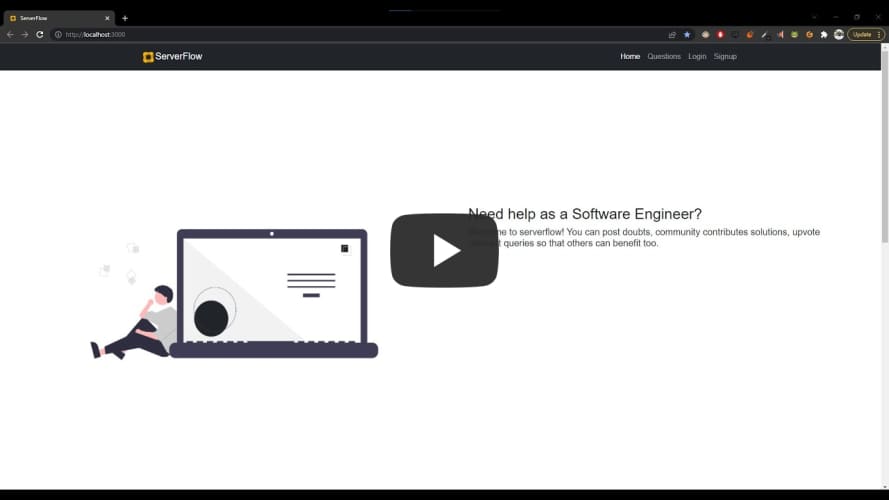
- Demo may be behind latest release, please checkout the website for the latest features.
Serverflow is a platform where Software Engineers and Developers come to solve their doubts and contribute to the open-source community.
We ensure to promote a healthy environment and help our users stay strong and motivated.
All you have to do is start posting your doubts!
This project follows Conventional Commits.
- Questions-console to display all questions.
- Signup and Login functionalities via Email-Password and Google Authentication via Google APIs.
- Solution to 'Forgot Password' via email for resetting the password.
- Protected routes that only authorized users can access.
- Searching and posts filtering via tags functionalities.
- User dashboard to show user information and their posts.
- Adding a post with heading, content and technology tags.
- Updating a post by the author.
- Upvoting or downvoting a post based on relevance.
- Deletion of a post by the author.
- Adding solutions under a post/question.
- Upvoting or downvoting solutions based on relevance.
- Deletion of a comment/solution by the author.
- Solution with highest upvotes moves up. (Sorted solutions)
- Single click
clear filterfunctionality. - Notification toasts throughout the application.
- Update comment/solution by the author.
- Parsing support for markdown text in posts and comments.
-
Drop a ⭐ on the GitHub repository.
-
Download Git (when you install Git, Git Bash also gets installed by default)
-
Download and install a code/ text editor.
- Recommended-
-
Download Node Js and npm(Node package manager) (when you install Node, npm also gets installed by default)
-
Install Yarn via npm (Since this project is using yarn) -
npm install --global yarn
If you want to work with npm itself, delete yarn.lock file and run npm install in the root of the project.
- Clone the repository by running command
git clone https://github.com/<your user-name>/serverflow.git
in your git bash.
-
Run command
cd serverflow. -
Run this command to install all dependencies for the project.
yarn
- Make an account on Firebase and initiate a new project. Create a Firestore DB and switch on Email and Password as well as Google authentication.
- Refer to the .env.example file to create a
.env.localfile by running
touch .env.local
in your command prompt, and add your Firebase API keys to it.
- Run this command to start the project.
yarn start
-
This project uses Husky with Lint-staged for pre-commit hooks thus linting of code will automatically be done when you commit.
-
For manual linting of code, run command
yarn lint. -
Run command
yarn testto run all unit tests. -
Run command
yarn test:watchto run all unit tests inwatchmode. -
Run command
yarn czto make use of Commitizen CLI for Conventional Commits.
This project was bootstrapped with Create React App.
In the project directory, you can run:
Runs the app in the development mode.
Open http://localhost:3000 to view it in the browser.
The page will reload if you make edits.
You will also see any lint errors in the console.
Launches the test runner in the interactive watch mode.
See the section about running tests for more information.
Builds the app for production to the build folder.
It correctly bundles React in production mode and optimizes the build for the best performance.
The build is minified and the filenames include the hashes.
Your app is ready to be deployed!
See the section about deployment for more information.
Note: this is a one-way operation. Once you eject, you can’t go back!
If you aren’t satisfied with the build tool and configuration choices, you can eject at any time. This command will remove the single build dependency from your project.
Instead, it will copy all the configuration files and the transitive dependencies (webpack, Babel, ESLint, etc) right into your project so you have full control over them. All of the commands except eject will still work, but they will point to the copied scripts so you can tweak them. At this point you’re on your own.
You don’t have to ever use eject. The curated feature set is suitable for small and middle deployments, and you shouldn’t feel obligated to use this feature. However we understand that this tool wouldn’t be useful if you couldn’t customize it when you are ready for it.
You can learn more in the Create React App documentation.
To learn React, check out the React documentation.


