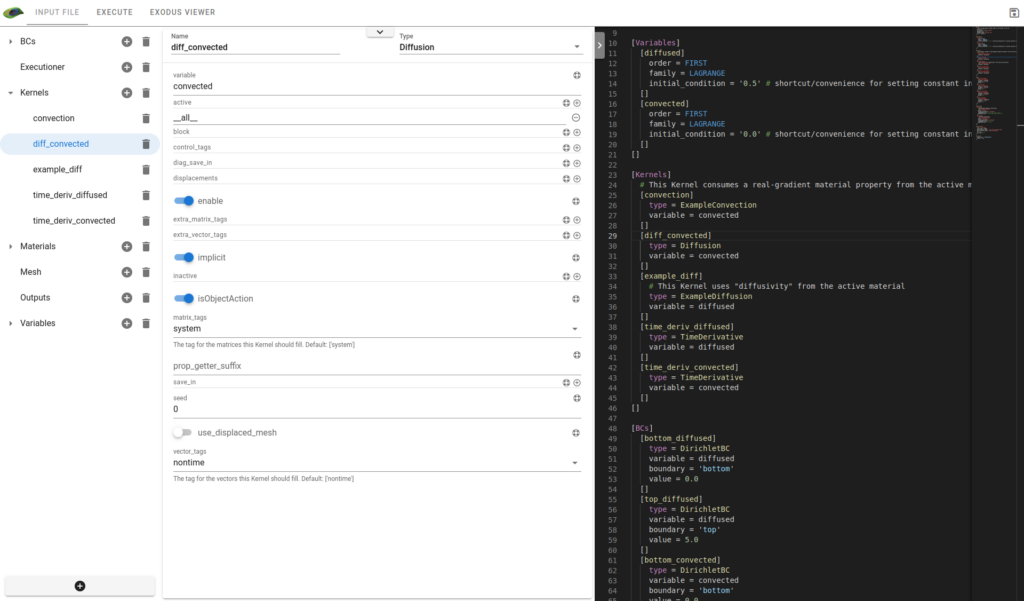
MOOSE GUI developed using Trame from Kitware Inc.
Free software: Apache Software License
curl -L -O https://github.com/conda-forge/miniforge/releases/latest/download/Mambaforge-MacOSX-arm64.sh
bash Mambaforge-MacOSX-arm64.sh -b -p ~/mambaforge3
export PATH=$HOME/mambaforge3/bin:$PATH
You will probably have to move the code that was generated in ~/.bash_profile to ~/.zshrc.
Then after terminal restart add INL channel
conda config --add channels https://conda.software.inl.gov/publicmkdir peacock-work
cd peacock-work
git clone --recursive [email protected]:Kitware/peacock.git
git clone --recursive https://github.com/idaholab/moose.gitCreate venv with mamba locally
mamba install python=3.10
mamba create -n moose python=3.10 moose paraview -y
mamba activate moose
pip install peacock-trame
Test application on a moose example
peacock-trame -I ./moose/examples/ex08_materials/ex08.iClone and build the moose language server
git clone [email protected]:idaholab/moose-language-support.git
cd moose-language-support
npm run compile
Install middleware packages
cd /path/to/peacock/lang-server
npm i
Point to compiled language server when running app
peacock-trame -I ./ex08.i -L /path/to/moose-language-support/server/out/server.jsInstalling peacock using the local files
pip install -e ./peacockBuilding the client code
cd vue-components
npm i
npm run build
cd -
Run the application assuming the same layout as previously described
cd ./moose/examples/ex08_materials
make
peacock-trame -I ./ex08.i