Warning
This free service is being discontinuined. This repository will remain archived. https://support.mailchannels.com/hc/en-us/articles/26814255454093-End-of-Life-Notice-Cloudflare-Workers
Send emails through MailChannels for FREE using Cloudflare Workers!
Back in 2022, Cloudflare announced a partnership with MailChannels to make sending emails on Cloudflare Workers free. This means that you can send up to 100,000 emails per day for FREE (as long as you have a domain)!!
- A domain
- A Cloudflare account with a free Workers & Pages plan
- OpenSSL
SPF (Sender Policy Framework) is a DNS record you can add to your domain to provide a list of servers that are allowed to send from your domain. This increases the likelihood of mail getting delivered and stops bad actors from sending mail on your behalf.
If you already have an SPF record, you can just add MailChannels' relay to it:
include:relay.mailchannels.netIf you do not have an SPF record set up, you can add the following TXT record to the root of your domain:
v=spf1 include:relay.mailchannels.net ~allDKIM (DomainKeys Identified Mail) is an email authentication method that cryptographically signs sent mail to prove to mail receivers that the mail was sent by you. Similar to SPF, this increases the likelihood of mail getting delivered and stops bad actors from sending mail on your behalf.
You can use the following OpenSSL command to create a private DKIM key (the private key will be saved to dkim_private.pem):
openssl genrsa -out dkim_private.pem 2048Then, you can use the following OpenSSL command(s) to derive a public DKIM key (the public key will be printed in your terminal):
openssl rsa -in dkim_private.pem -pubout -outform der 2>/dev/null | openssl base64 -Aopenssl rsa -in dkim_private.pem -pubout -outform der 2> nul | openssl base64 -AYou can now create a TXT DNS record on your domain containing your DKIM public key. The name of the DNS record should be mailchannels._domainkey, and the value should be:
v=DKIM1; p=<DKIM public key>Important
Save your private DKIM key for later.
You may want to look at setting up DMARC on your domain if you wish to have stricter sending policies and/or to get delivery reports.
- Head over to Workers & Pages under your Cloudflare account in the Cloudflare Dashboard.
- Click 'Create Worker'.
- Give the Worker a name of "email-worker" or something similar, then deploy the Worker with the default 'Hello World' script.
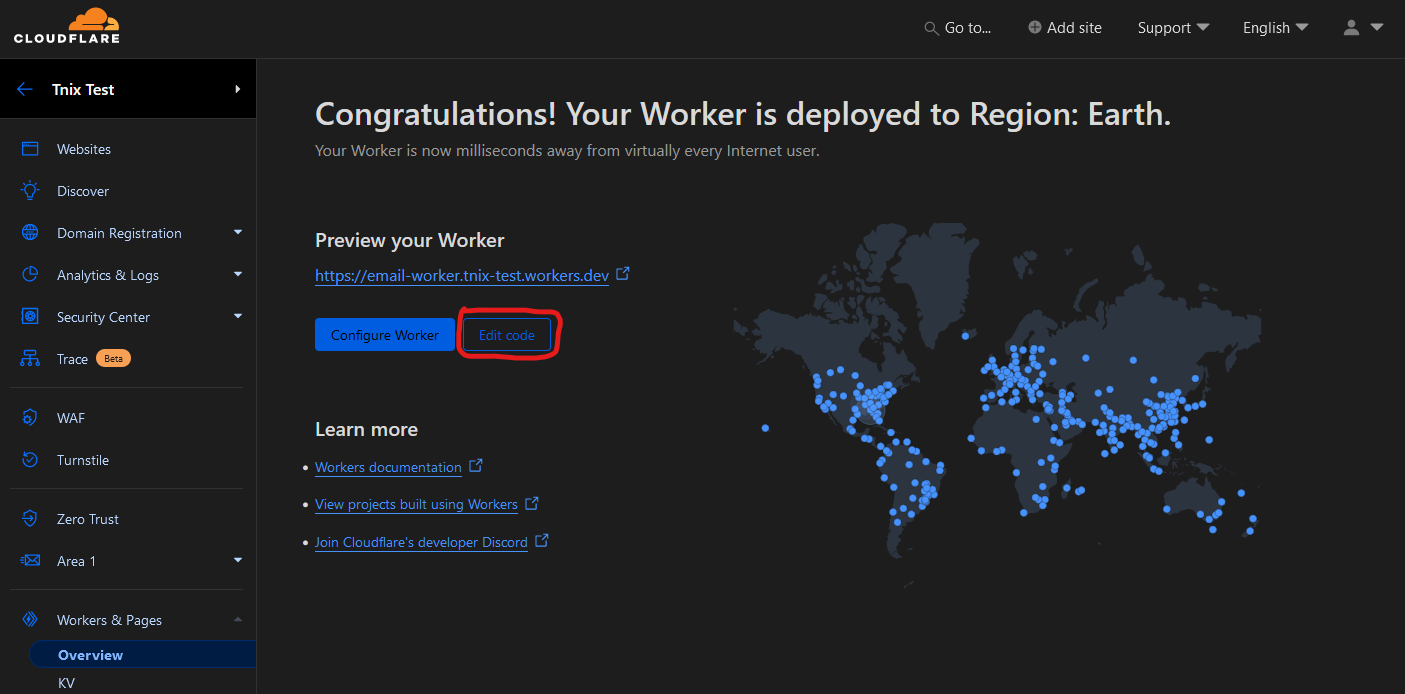
- Once the Worker has been deployed, record the URL it gives you, and then click 'Edit code'.
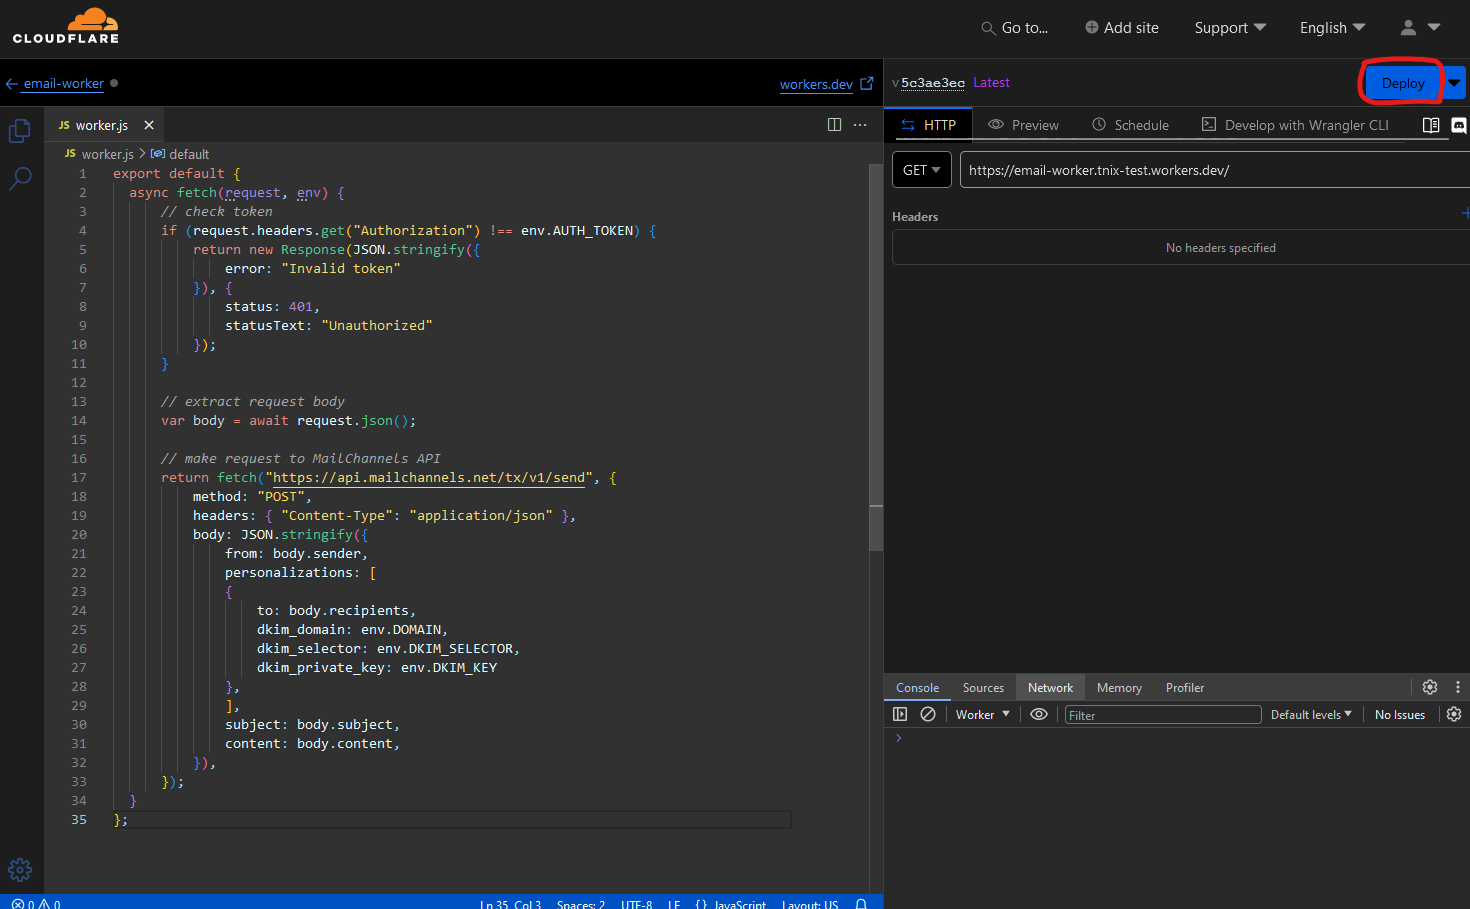
- Paste the code from worker.js into the script and then click 'Deploy'.
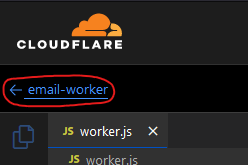
- Return to the Worker Overview after the Worker deploys.
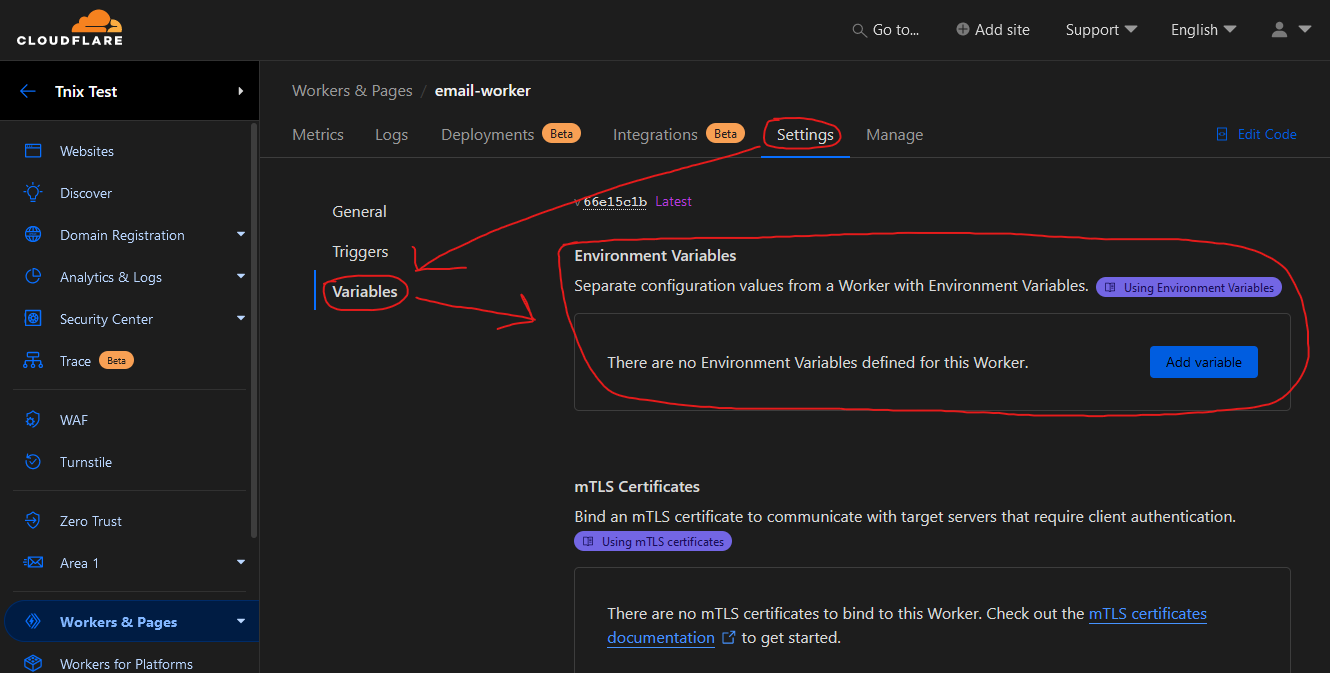
- Go to 'Environment Variables' under 'Settings'.
- Add the following environment variables:
| Name | Value |
|---|---|
| AUTH_TOKEN | [a securely random string] |
| DOMAIN | [the domain you want to send emails from] |
| DKIM_SELECTOR | mailchannels |
| DKIM_KEY | [your private DKIM key (inside of dkim_private.pem)] |
| SENDER_EMAIL | [the address you want to send emails from] |
| SENDER_NAME | [the sender name you ] |
Important
All of these variables are required.
Warning
SENDER_EMAIL must be an address ending with @DOMAIN.
Warning
This is required to start sending emails.
MailChannels have an extra protection against spoofing called 'Domain Lockdown™'. All you need to do to configure Domain Lockdown™ is create a TXT DNS record on your domain containing what Cloudflare accounts are allowed to send from your domain.
The TXT DNS record should be named _mailchannels, and should have the following value:
v=mc1 cfid=<Cloudflare Workers Subdomain> cfid=<your domain>Your Cloudflare Workers Subdomain is listed in the right sidebar of the Cloudflare Workers Overview page. It will be something like tnix.workers.dev.
Note
It may take a while for MailChannels to accept your requests as it may take a while for DNS records to propagate.
POST <email worker domain>| Name | Description |
|---|---|
| Authorization | The token in the AUTH_TOKEN Worker environment variable. |
application/json
| Name | Description | Optional |
|---|---|---|
| The email address you want to send this email to. | ||
| name | The name of the person you want to send this email to. | |
| subject | The subject of the email. | |
| text | The plain text of the email body. | ✓ |
| html | The HTML text of the email body. | ✓ |
You should get a 202 Accepted response if the email was successfully sent.
Note
This will only work if you are using Cloudflare for your domain's DNS.
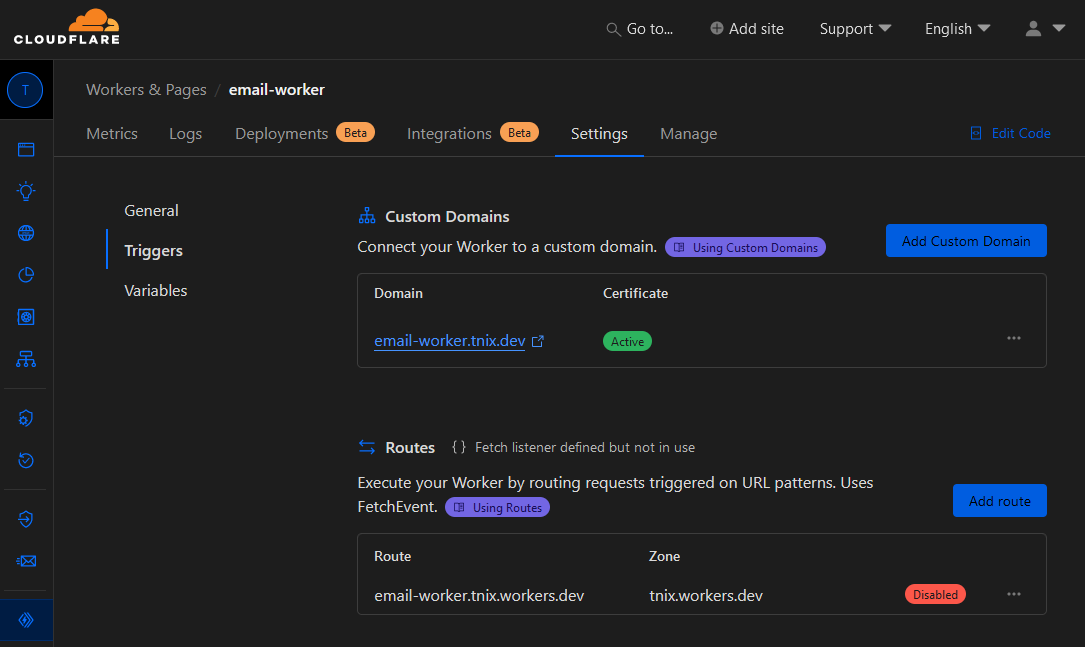
I recommend adding a custom domain to your Worker and disabling the default .workers.dev trigger. This will allow you to set up WAF rules to block requests that do not come from your server, which will prevent others from wasting your daily Worker requests and add more security to your Worker.
