- Tarot Ironman 650 Frame
- Sunnysky Brushless Motor x 4
- HobbyKing ESC x 4
- Pixhawk Flight Controller
- RPLidar A2
- 11x47 Propellers x 4
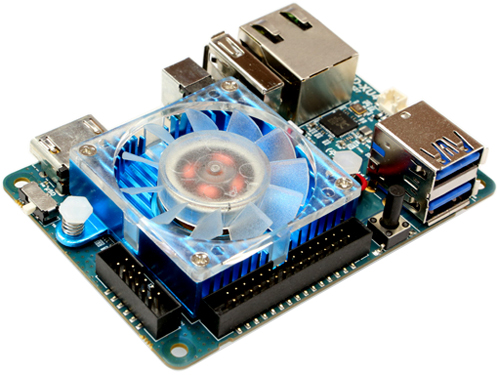
- Odroid XU4
- Teraranger One
- PX4 Flight Stack
- ROS Kinetic
- Ubuntu 16.04
- MAVROS
- Cartographer
Product Page
Accurate and fast distance sensor, uses IR time of flight to capture distance.
Product Page
Cheap and effective LIDAR


- Power on System by plugging in LIPO
- Check Odroid power up by status LED (blue light flashing)
- Disable safety by pressing the red safety button until LED turns from flashing to solid red
- Open Terminal or Terminal Emulator and SSH into Odroid via following
# NOTE: Both Odroid and client must be on CMU or CMU-SECURE network
ssh odroid@efang_odroid.wv.cc.cmu.edu
# Password if prompted is: odroid- Once SSH session started, source workspace
source ros-odroid-cmu.sh
cd sandbox/quadcopter
source devel/setup.bash- Repeat steps 3 & 4 for a new terminal window, else use TMUX or screen to open a new window (guide here)
- In one terminal, start MAVROS and preparatory ROS nodes
roslaunch hallway_navigator cartographer_mavros.launch- In the other terminal, start cartographer and associated ROS nodes
roslaunch hallway_navigator cartographer_slam.launch- (Optional) On client side computer (laptop), establish ROS network (script modification described below)
source ros-odroid-cmu.sh-
(Optional) use
rvizto view mapping and localization -
Arm the drone and perform liftoff in MANUAL mode
-
switch to POSITION mode once in desired position
- Script for establishing client side ROS network is given here, alter
ROS_IPas seen fit - During testing always grab onto the drone in case of unexpected behavior
- Do not connect the Pixhawk via its micro-USB port to a computer while it is also powered by battery
- installing QGroundControl can be helpful as a ground station


