-
Notifications
You must be signed in to change notification settings - Fork 307
How to deploy social stream to heroku
Heroku is a powerful cloud specifically design to deploy your rails apps and make them public, scalable and highly available.
In this short how-to we are going to show you how you can start testing a node of social stream deploying it to heroku.
Let's get started!
1.) Requirements
For obvious reasons you are going to need a heroku account. Visit http://heroku.com
2.) Installing social stream (the classic way)
Now that you have accounts in github and heroku you are ready to start.
Create a new rails application:
rails new myawesomesocialstream
Look for your Gemfile and add this line:
gem 'social_stream'
Now run:
bundle update
rails generate social_stream:install
rake db:migrate
Your app is now ready to be executed locally with:
rails server
But this time we are aiming higher, to the cloud!
**3.) Git **
Git and heroku are highly related, in fact you will push a local git repository to heroku:
Enter your project folder:
cd myawesomesocialstream
and execute: (of course you are going to need git sudo apt-get install git or http://git-scm.com)
git init
git add .
git commit -m "social stream ready to go"
Before the next step you need to make sure that you have an SSH public key ready in take a look at: in windows: http://help.github.com/msysgit-key-setup/ mac: http://help.github.com/mac-key-setup/ or linux: http://help.github.com/linux-key-setup/
4.) Heroku
We are almost there, install the heroku gem:
sudo gem install heroku
Inside your app folder execute:
heroku create --stack cedar
The first time you create an app you will be asked your heroku username & password.
Finally execute:
git push heroku master
heroku run rake db:migrate
And you're done!!
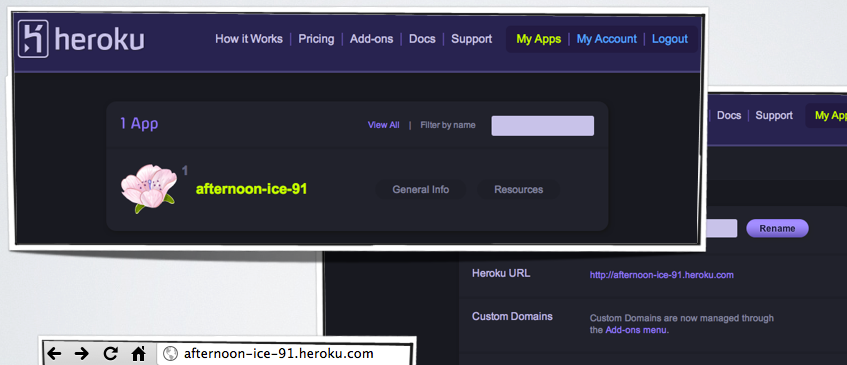
If everything went as expected you can now login to your heroku account -> My apps and see something like this:

Check out the result at: http://demo-social-stream.herokuapp.com/