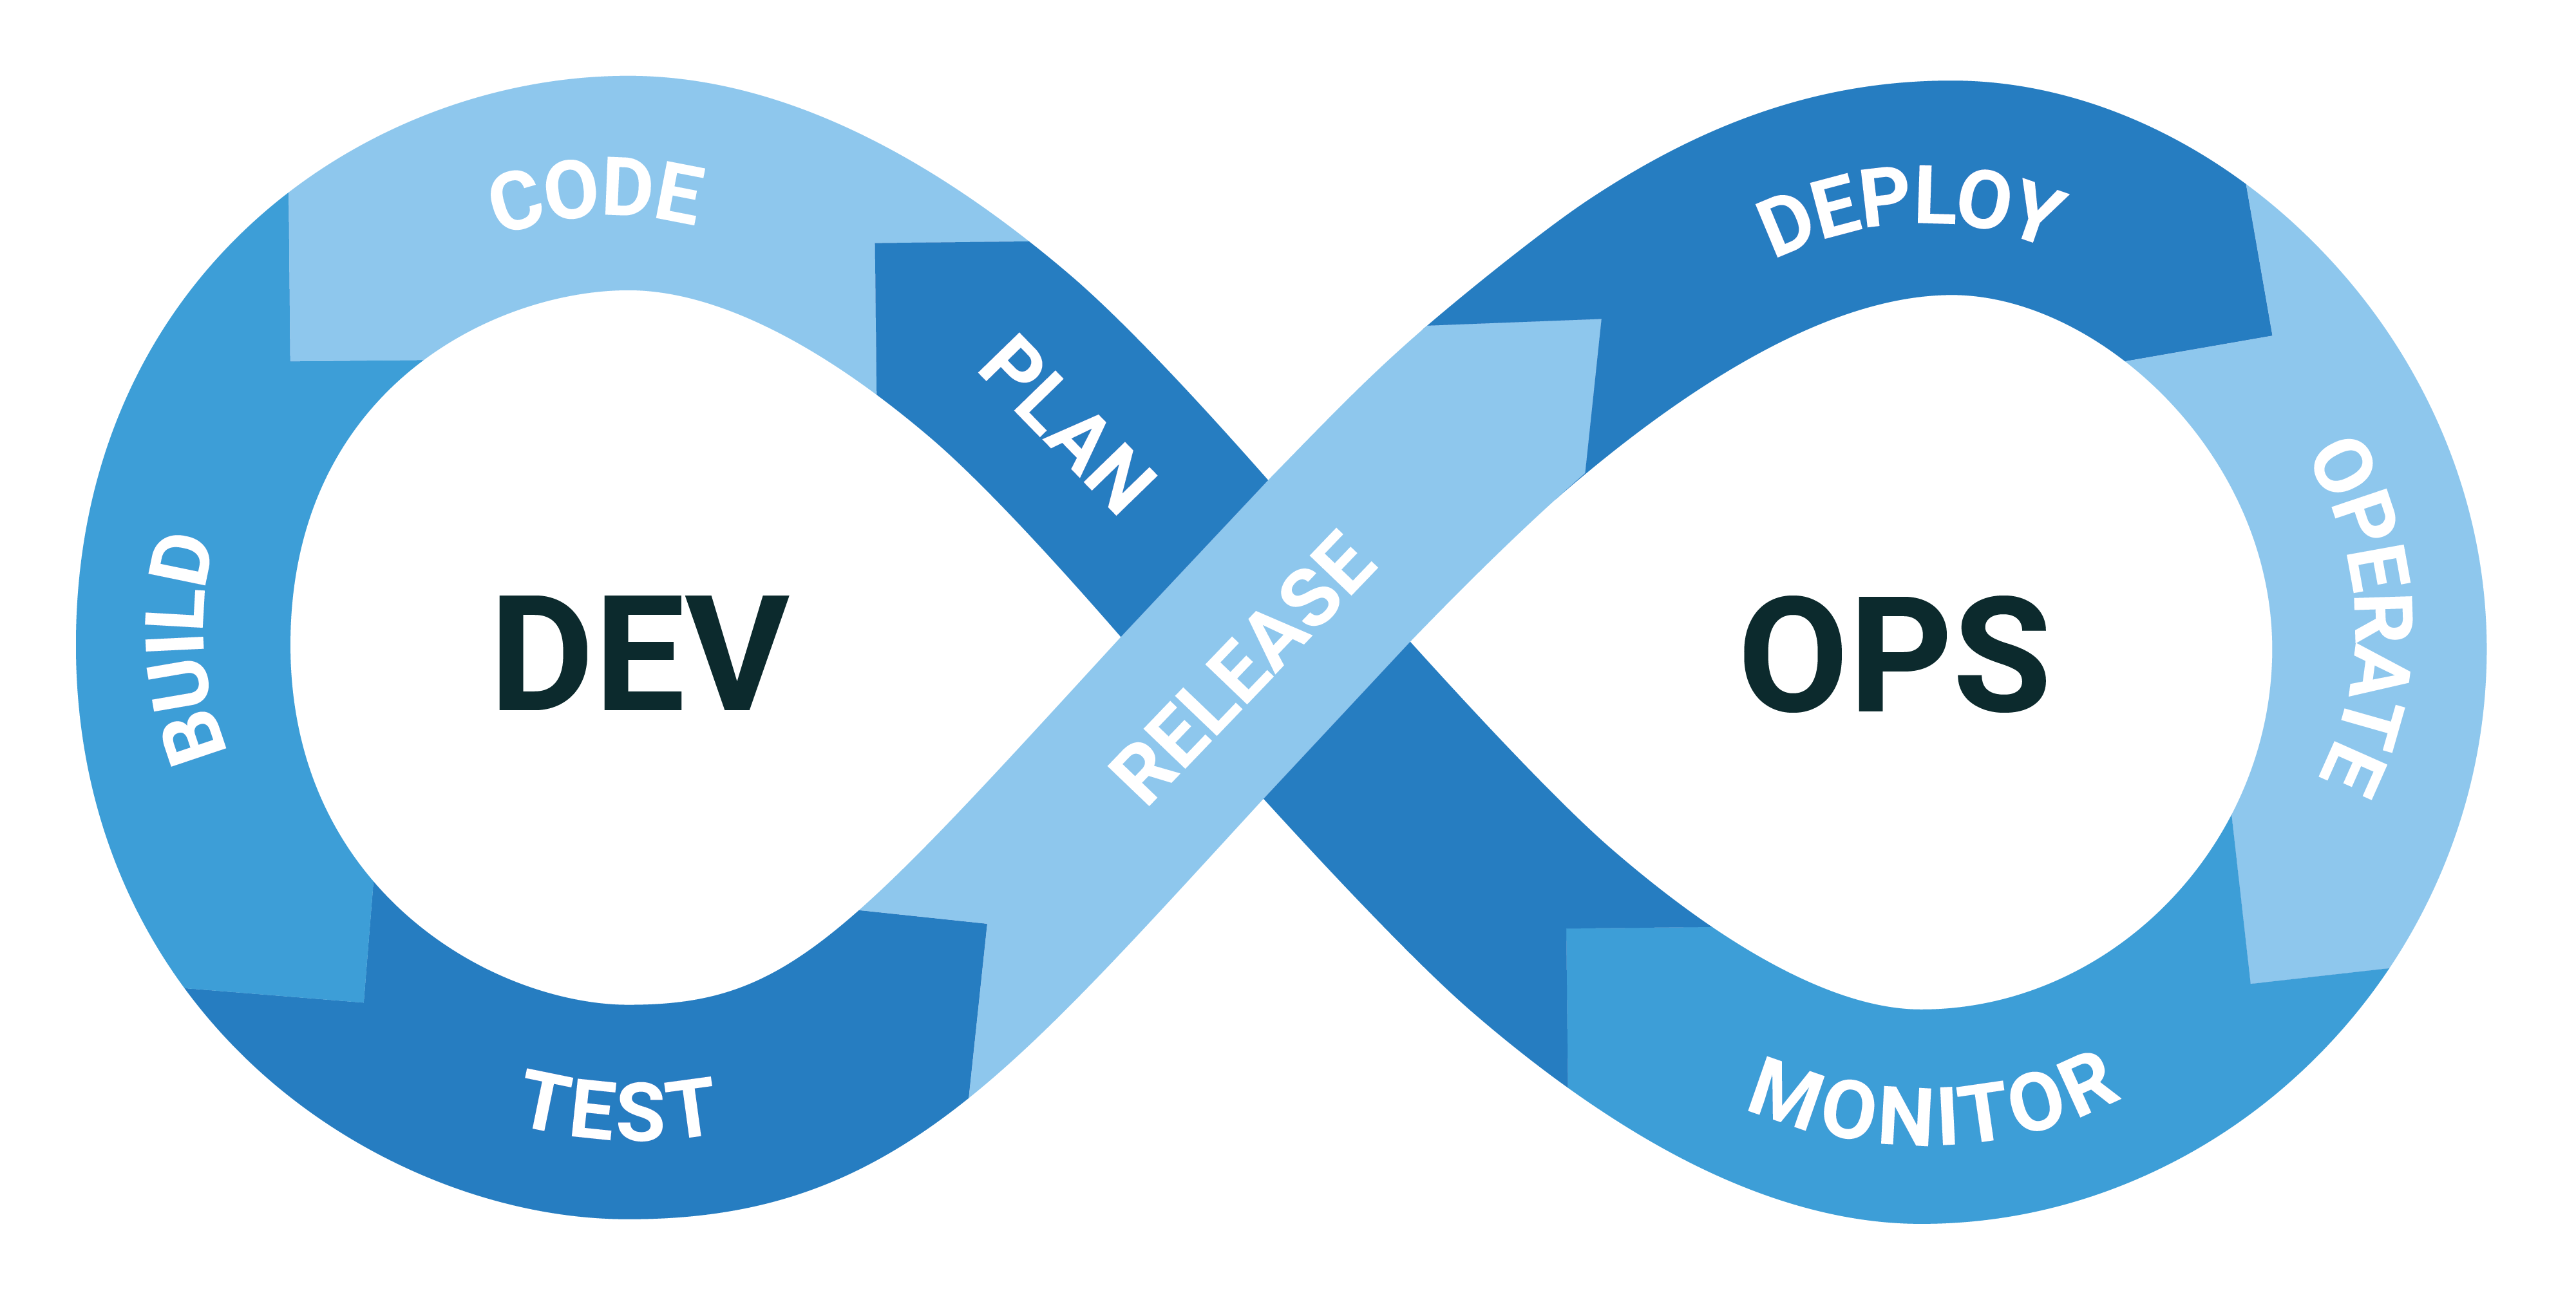
DevOps, short for Development and Operations, is a set of practices aimed at improving collaboration and efficiency between software development (Dev) and IT operations (Ops) teams. There are several reasons why you should choose to adopt DevOps:
-
Faster Time to Market: DevOps practices enable faster development, testing, and deployment of software. This speed would allow you to release new features and updates more frequently.
-
Improved Collaboration: DevOps encourages collaboration and communication between different teams involved in the software development lifecycle.
-
Increased Stability and Reliability: By automating processes such as testing, deployment, and infrastructure management, DevOps helps maintain the stability and reliability of applications and systems.
-
Enhanced Quality: Continuous Integration (CI) and Continuous Deployment (CD) practices in DevOps ensure that code changes are regularly tested and integrated, reducing the chances of introducing bugs or issues into the software.
Overall, DevOps aims to create a more agile, efficient, and collaborative environment, allowing you to deliver high-quality software faster and more reliably. DevOps has really helped our team because it automatically ran our tests and then seamlessly deployed the main/production version of code right onto the server - enhancing our development as the team could always access the most up-to-date version of the database.
First, familiarize yourself with GitHub Actions. Next, you need some server to deploy to, we used EC2. After that, you need to add the GitHub Actions Secrets, view the following image to see where to add the Secrets:
You need to add the following Secrets:
EC2_HOST- This is the server host name (DNS) to SSH.
- For example ec2-3-19-73-191.us-east-2.compute.amazonaws.com
EC2_PRIVATE_KEY- This is the private key for GitHub Actions to SSH.
- If you are using EC2, this link will be helpful for you to create one.
EC2_USERNAME- This will vary with the type of OS you are using for your server.
- In our case we used Ubuntu and for Ubuntu instances, the default username is
ubuntu
PG_PASSWORD- This is currently set to
csc301. If you wish to change it, you can do so in the following file:deliverables/yres_scheduler/yres_scheduler_database/docker-compose.yml.
- This is currently set to
Finally, you need to expose/open the following web socket ports to the public on your server:
1234- For the backend server.3000- For the frontend server.5432- For the PSQL Docker database.5500- [Optional] If you choose to use the testing database (highly recommended)
If you are using EC2, here are the instructions to do so in the link.
Now you are done the with DevOps setup.
The process is fairly simple and is illustrated by the following diagram:
Essentially we have 4 GitHub Workflows:
CI.ymlis triggered on any code push or PR to themainbranch. It makes sure the server builds properly and runs all the backend tests usingnpm test.deployBackend.ymlis triggered by any code push tomain. It is responsible for transferring the code to the server, then deploying the backend server, and finally testing the server connection to make sure the deployment was successful.deployDB.ymlis triggered by any code change to the database schema pushed tomainon the following pathdeliverables/yres_scheduler/yres_scheduler_database/yres_schema.sql. It is responsible for transferring the code to the server, then deploying the Docker container housing the database, and finally testing the connection.deployFrontend.ymlis triggered by any code push tomain. The responsibility and steps are the exact same asdeployBackend.yml.
Note that if any step within the workflow encounters an issue, the entire workflow will fail and be indicated by a red X. Conversely, successful completion of each step, including code transfer, tests, deployment, etc., will be represented by a green check mark. Also Note: Before any deployment of the scripts make sure to teardown any existing deployed server/process that is currently running.


