Integration for Red Hat OpenShift Local clusters. It will help you install and set up the environment, and allows you to control the lifecycle and configuration from Podman Desktop. Some of the features available in the extension include:
- Start/Stop/Restart/Delete OpenShift Local clusters
- Change the OpenShift Local cluster preset
- Update the OpenShift Local version
You need to have a working Podman Desktop installation. Each preset of OpenShift Local has their own requirements, please check the documentation for more information.
- Microshift (experimental)
Provides a lightweight and optimized environment with a limited set of services. - OpenShift
Provides a single node OpenShift cluster with a fuller set of services, including a web console (requires more resources).
To pull container images from the registry, a pull secret is necessary. You can get a pull secret by navigating to the dashboard and clicking the Obtain pull-secret or opening the Red Hat OpenShift Local download page in your browser.
- Open Podman Desktop.
- Go to the Extensions page:
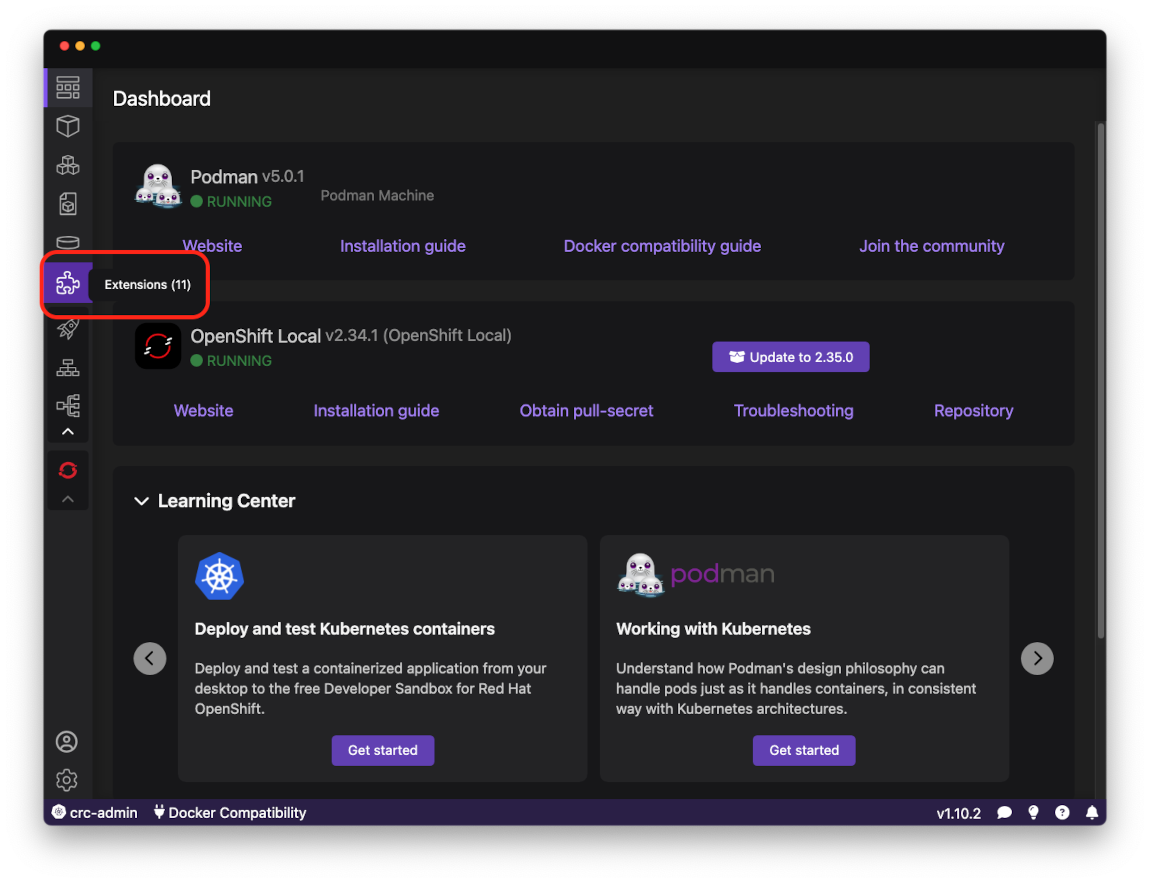
- Now you have two options:
-
Switch to the Catalog tab and click on the
Installicon in theRed Hat OpenShift Localextension item: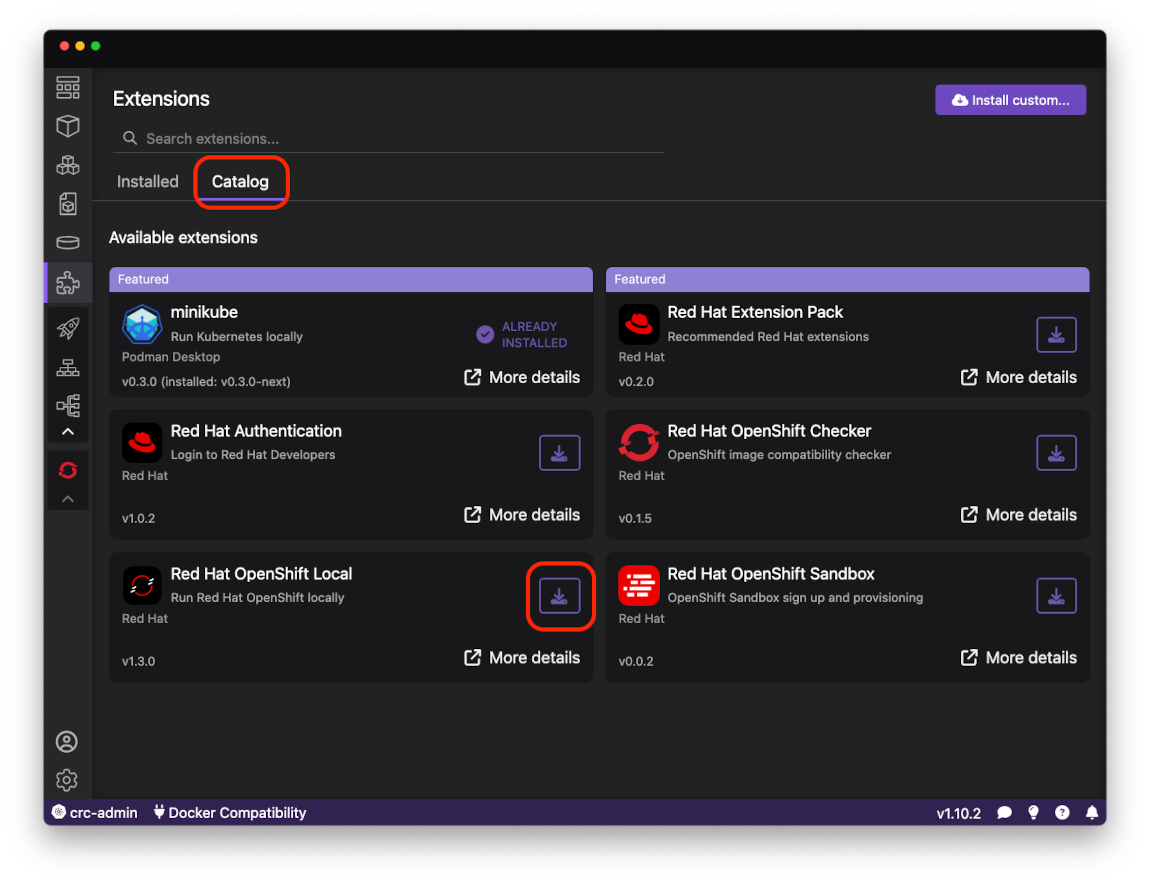
-
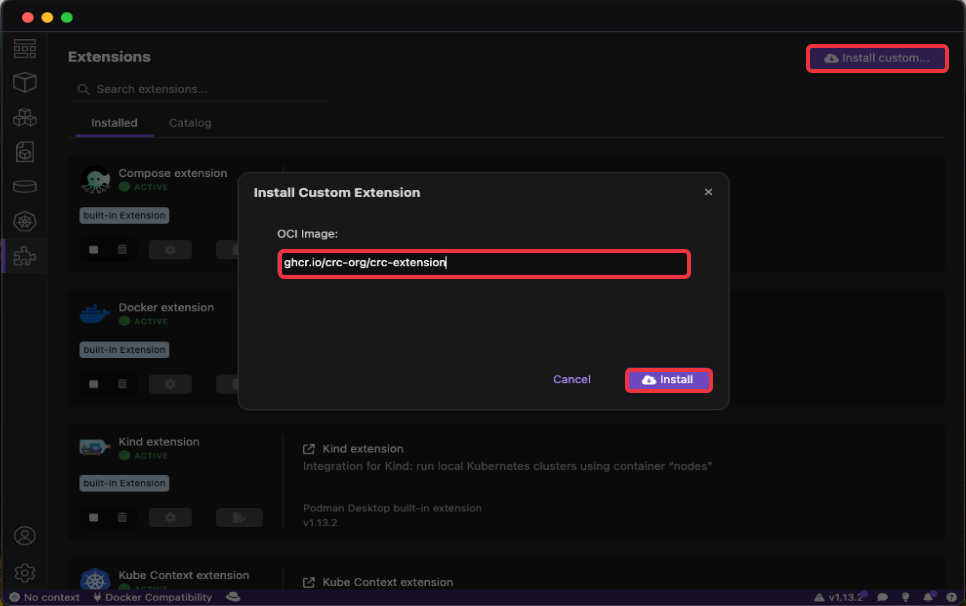
Or click on the
Install custom...button on the upper right corner, enterghcr.io/crc-org/crc-extensionin theOCI Imagefield, and click onInstall:This second approach is useful to get older versions or development releases.
-
If you don't have OpenShift Local installed in your system already, Podman Desktop can handle it for you.
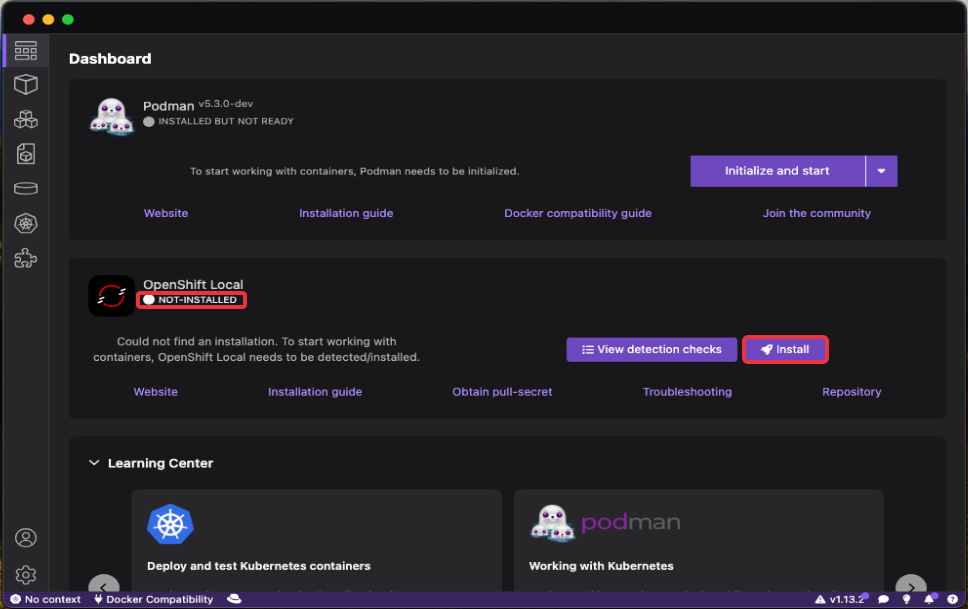
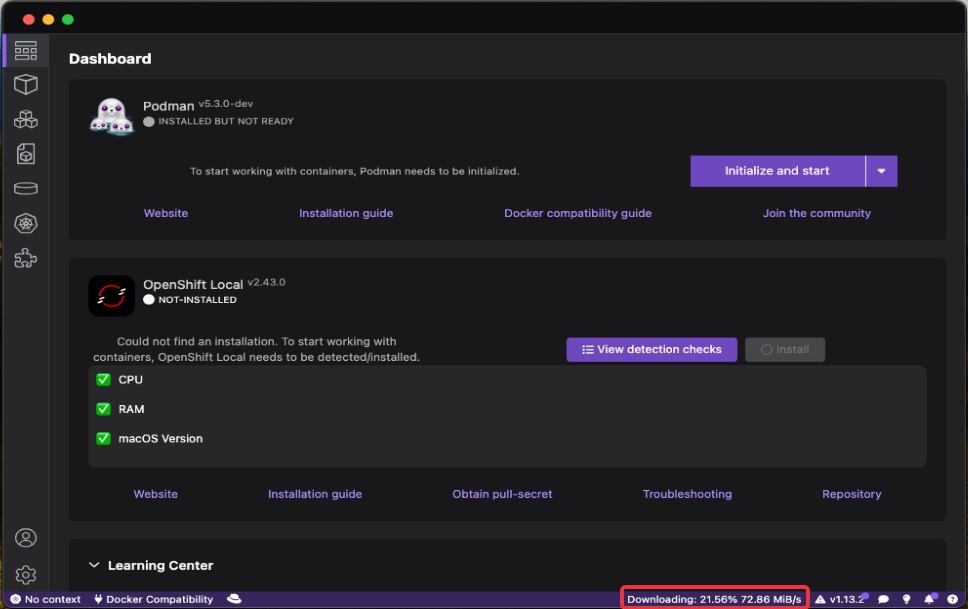
Go to the Dashboard page, and in the OpenShift Local section you will find the NOT-INSTALLED label. Click on the Install button:
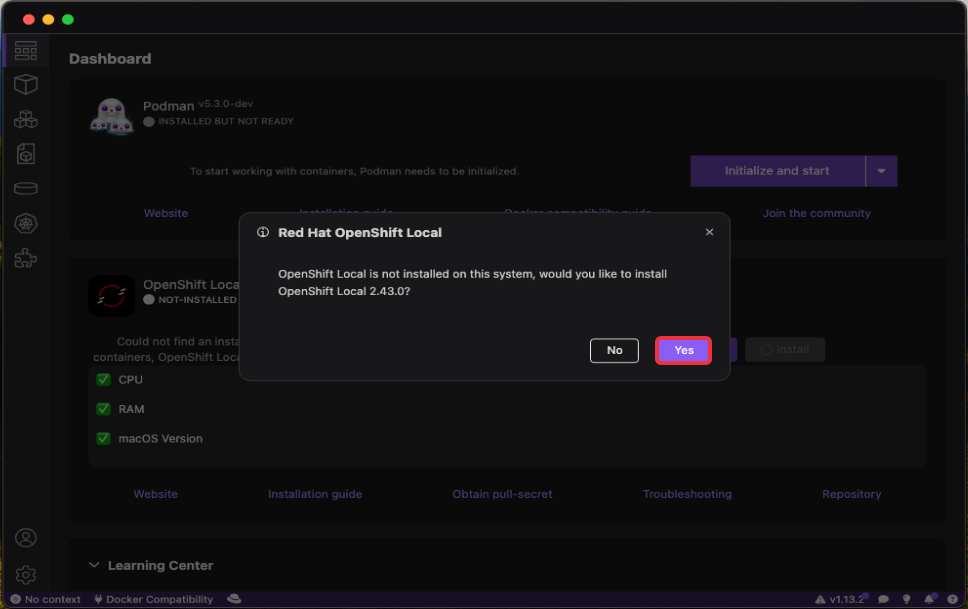
A dialog will appear, click on the Yes button:
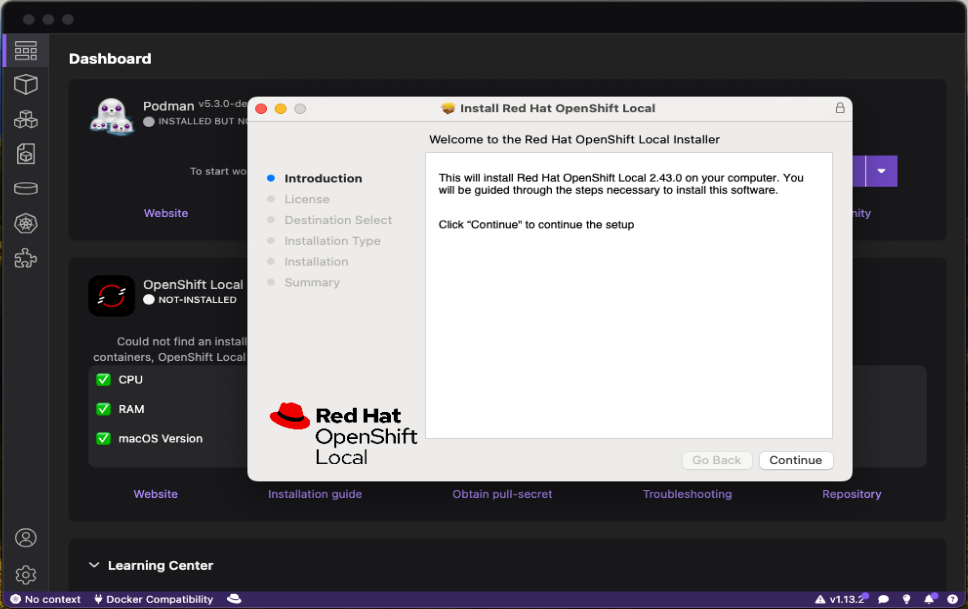
Follow the OpenShift Local installation wizard, picking the options that suit your needs:
You can check the progress on the download of the binaries on the bottom of the interface:
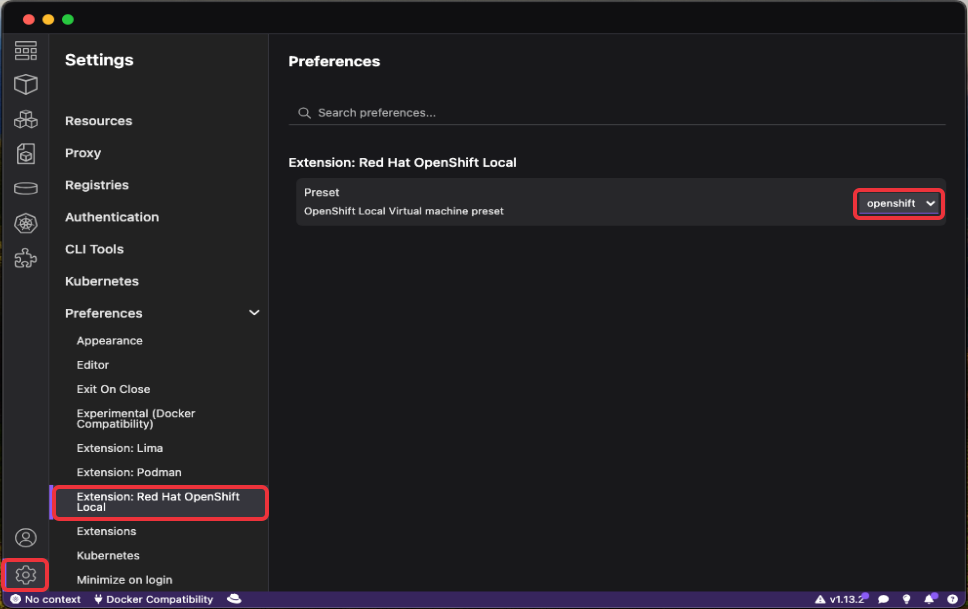
Once installed, you can configure the default Preset parameter used to create the OpenShift Local Cluster in the extension's Settings page:
To create a new OpenShift Local cluster, you have three options:
-
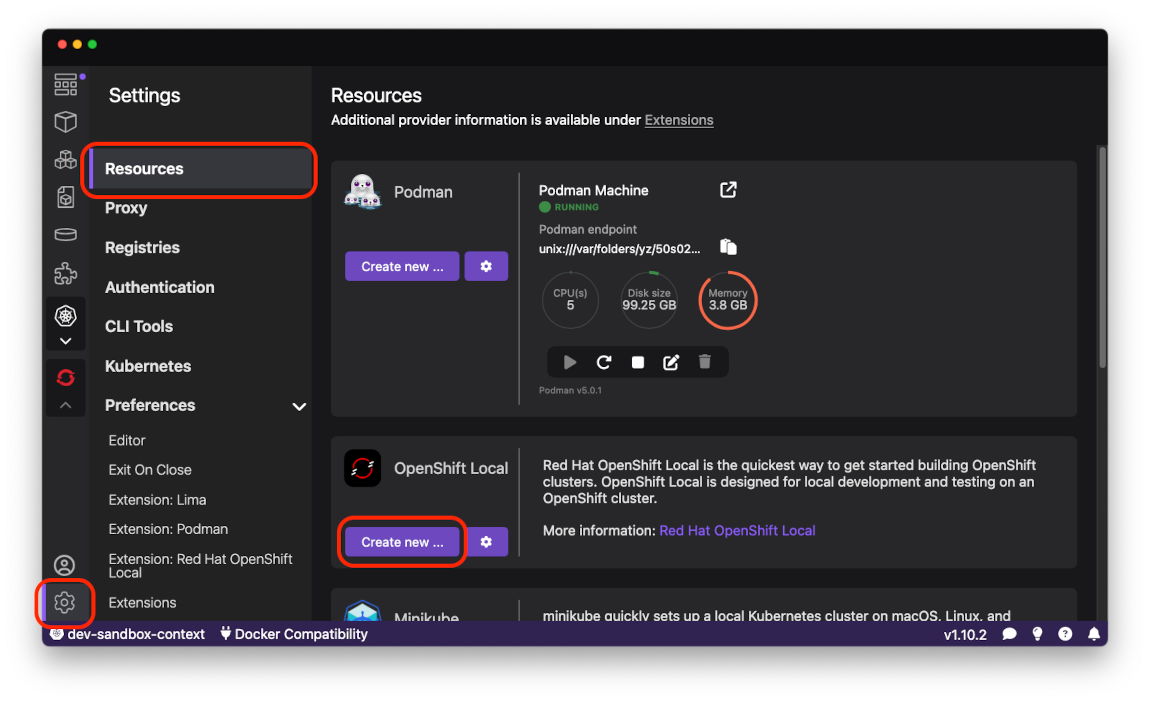
Switch to the Resources tab on the Settings page and press the
Create new ...button:Then, in the newly opened dialog, configure the cluster to your needs and click on the
Createbutton: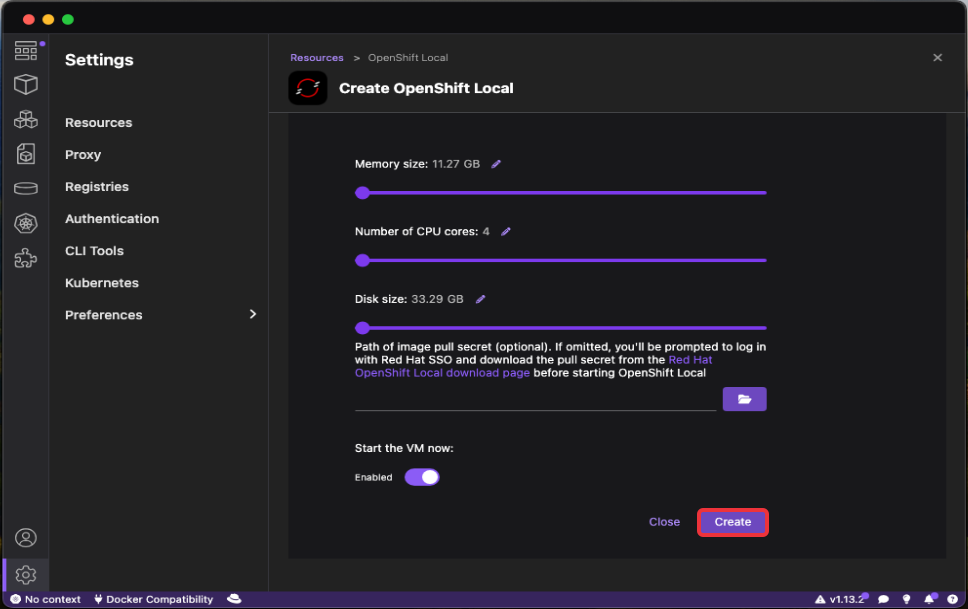
-
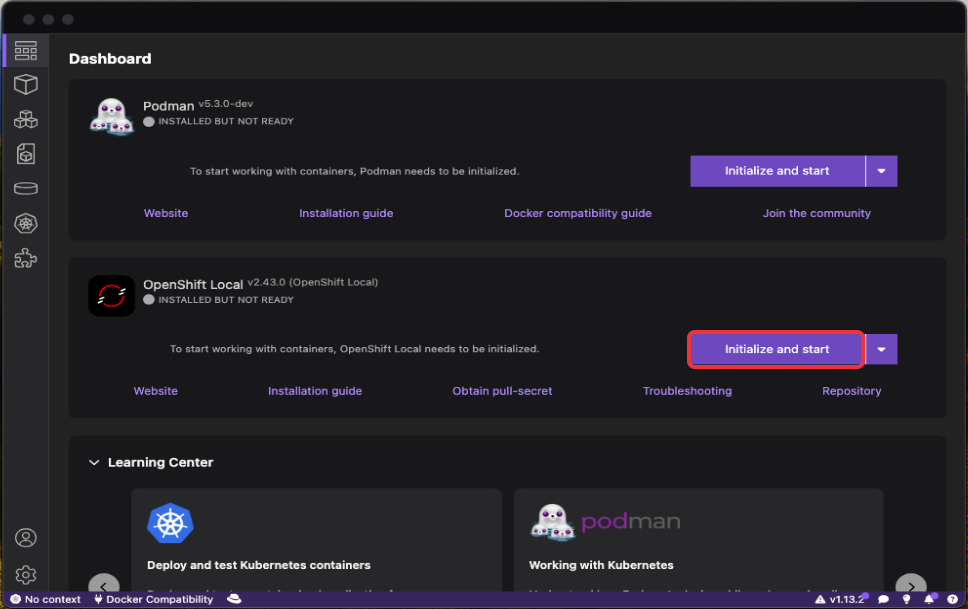
From the Dashboard, in the
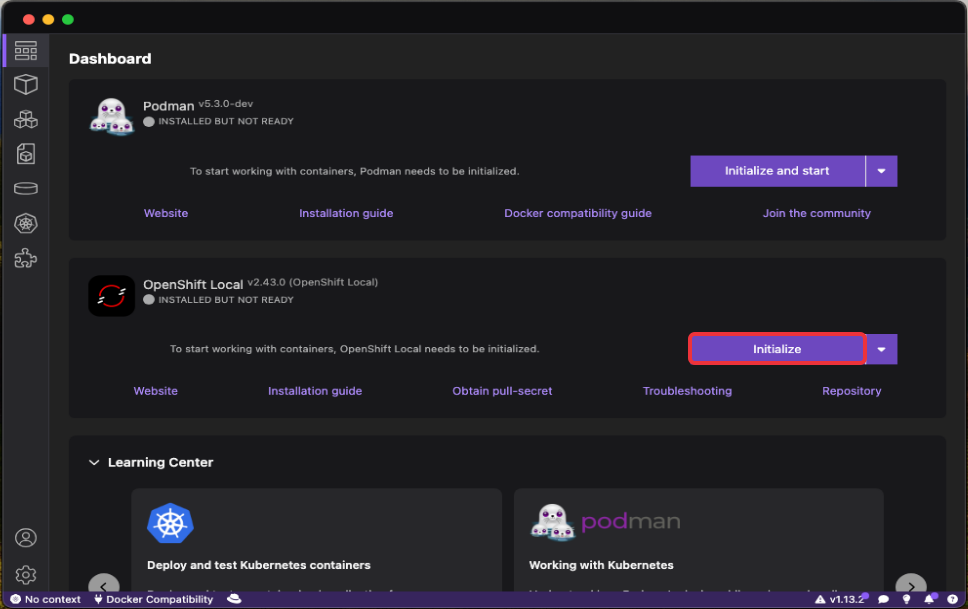
OpenShift Localsection, click on theInitialize and startbutton: -
From the Dashboard, in the
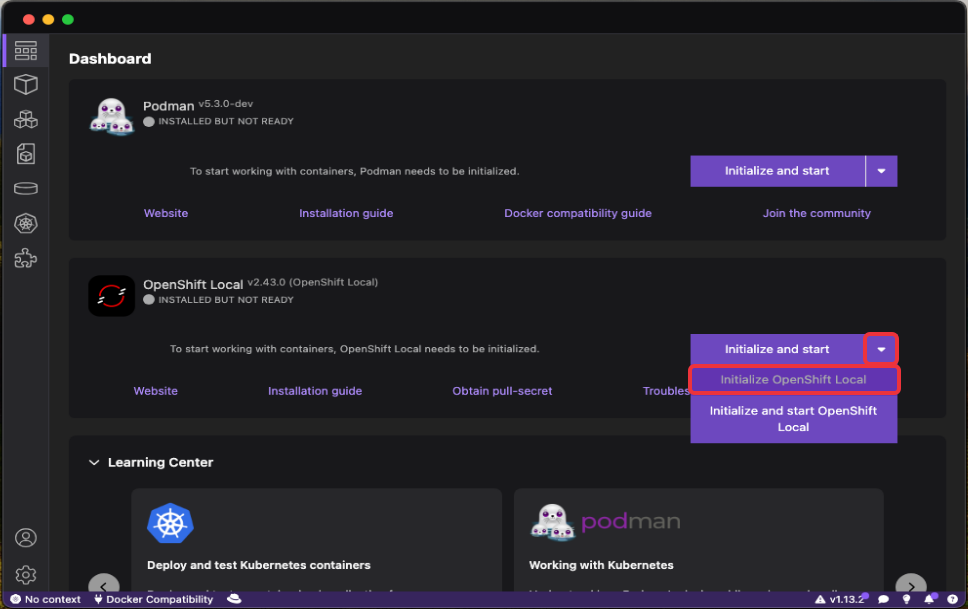
OpenShift Localsection, click on the dropdown button next toInitialize and startand selectInitialize OpenShift Local:
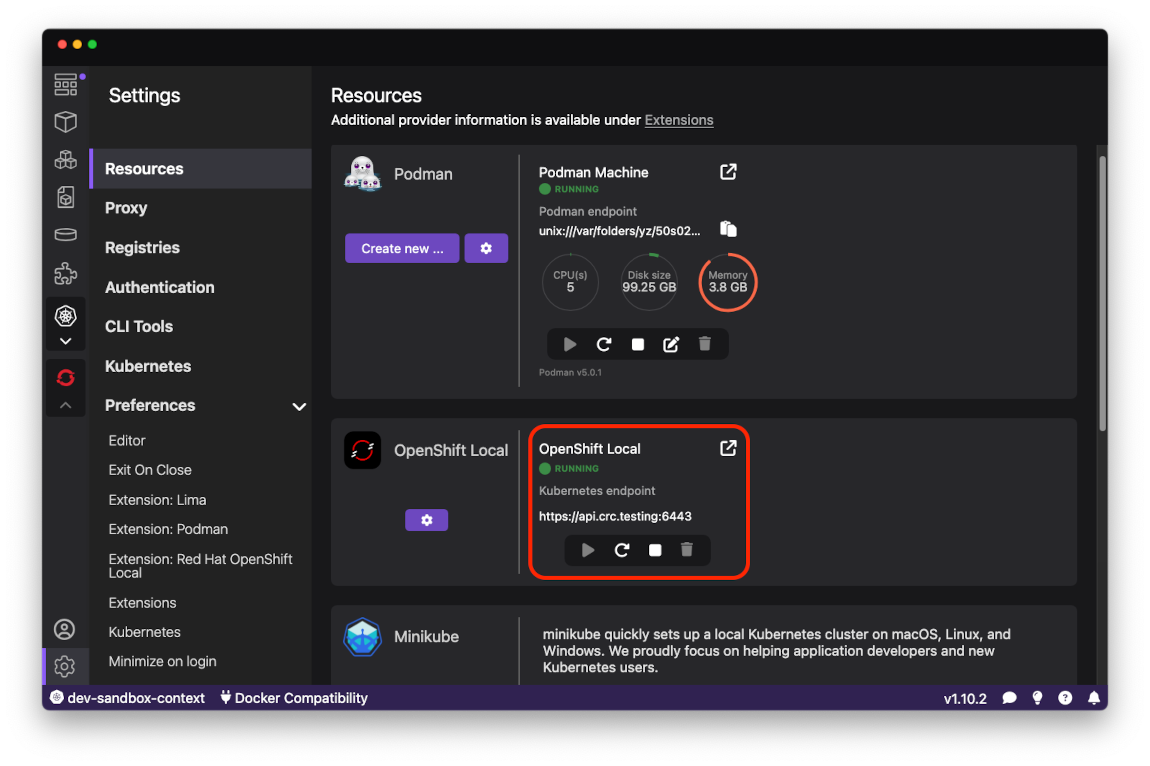
When a new cluster has been created there should be a new connection visible in the Resources page, under the OpenShift Local section:
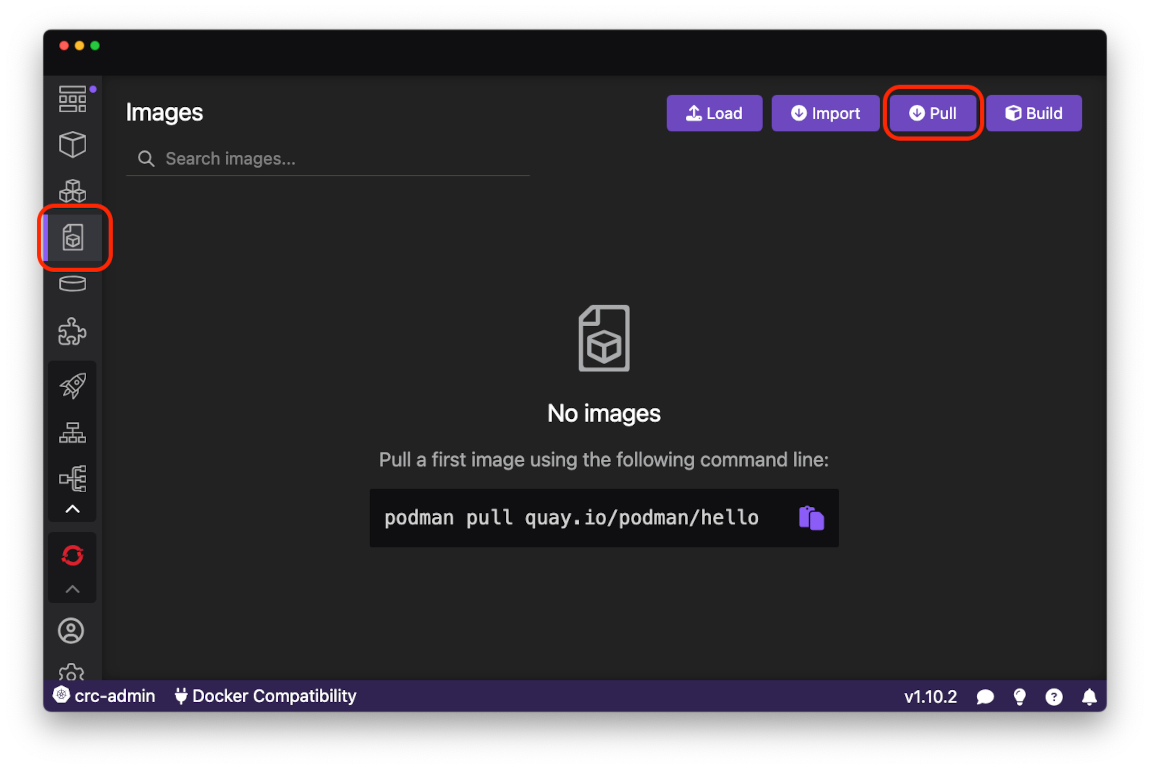
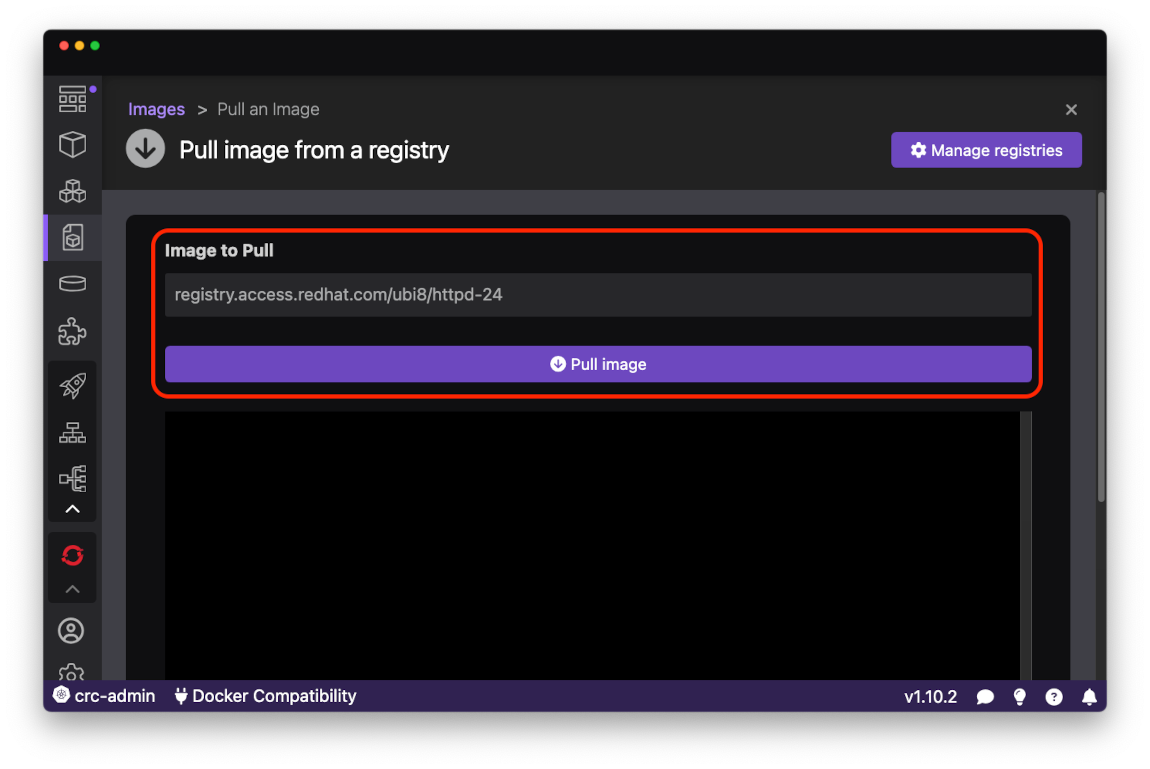
To deploy your first application to OpenShift Local, pull the httpd-24 image from the public Red Hat image registry using the Pull an Image page. To do so, open the Images page using the activity bar and press Pull button in upper right corner:
Paste registry.access.redhat.com/ubi8/httpd-24 into the Image to pull field and press the Pull Image button:
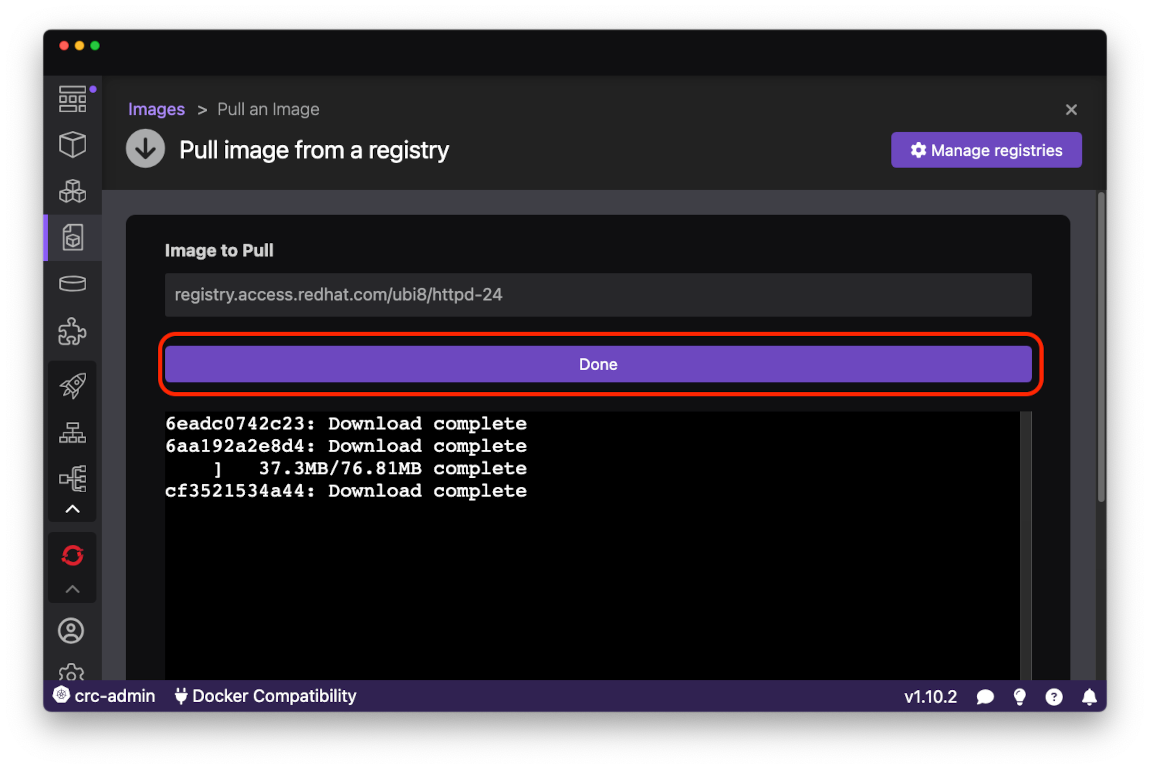
After the image was sucessfully pulled from the registry press the Done button to navigate back to the Images page:
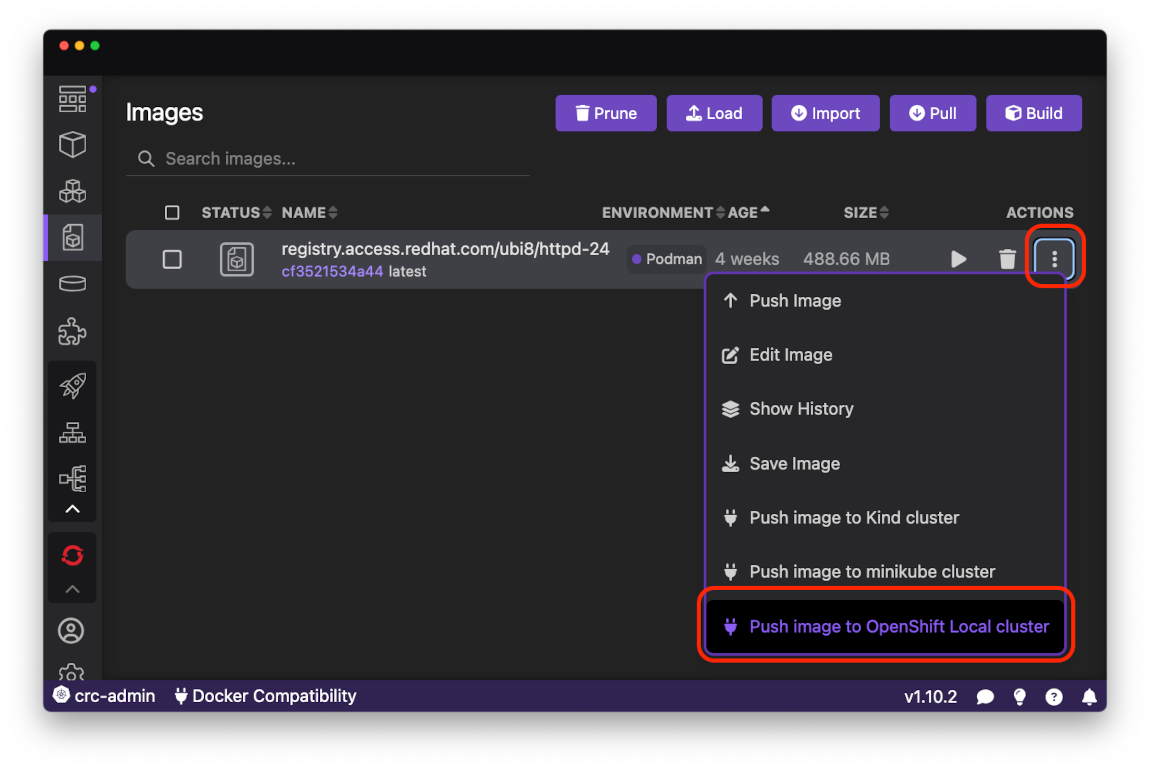
Request the context menu for the httpd-24 image you just pulled by clicking on the right most button in the row. Then select the Push image to OpenShift Local cluster* menu item:
*Note: if the option does not appear on the context menu, try to restart Podman Desktop with Exit On Close preference enabled (this is a known issue).
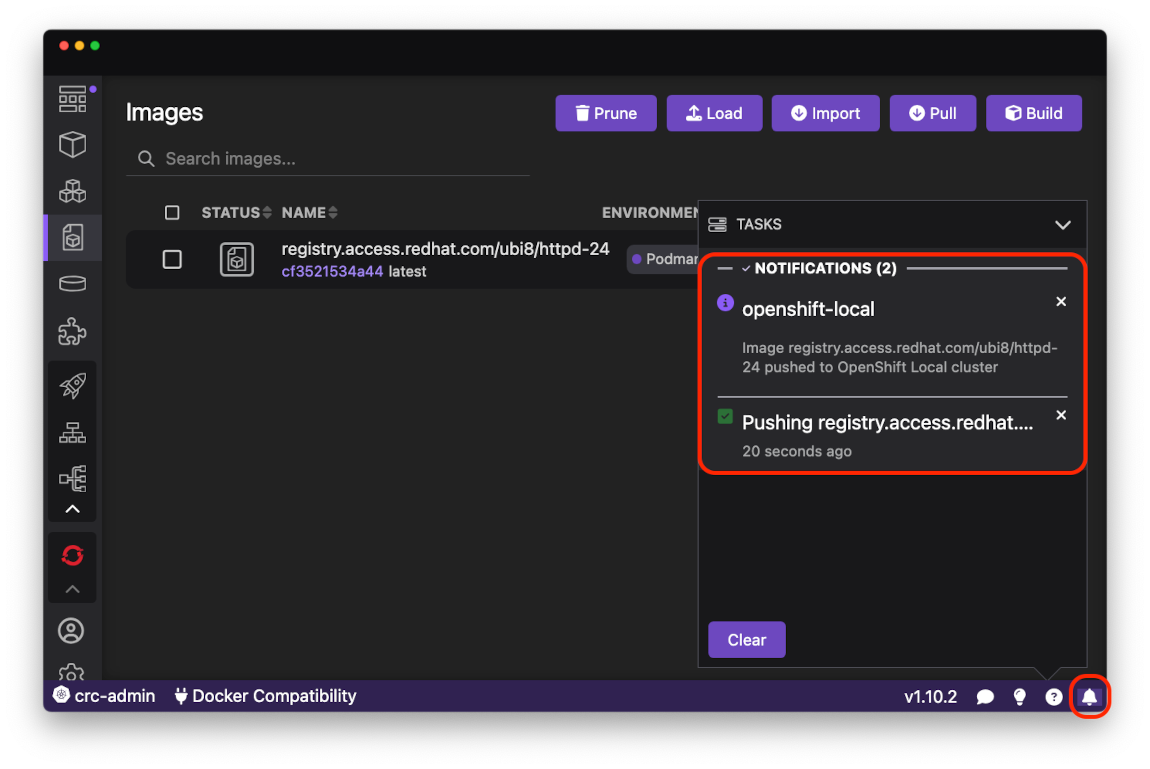
The progress for the Push command is available in the Podman Desktop Tasks View:
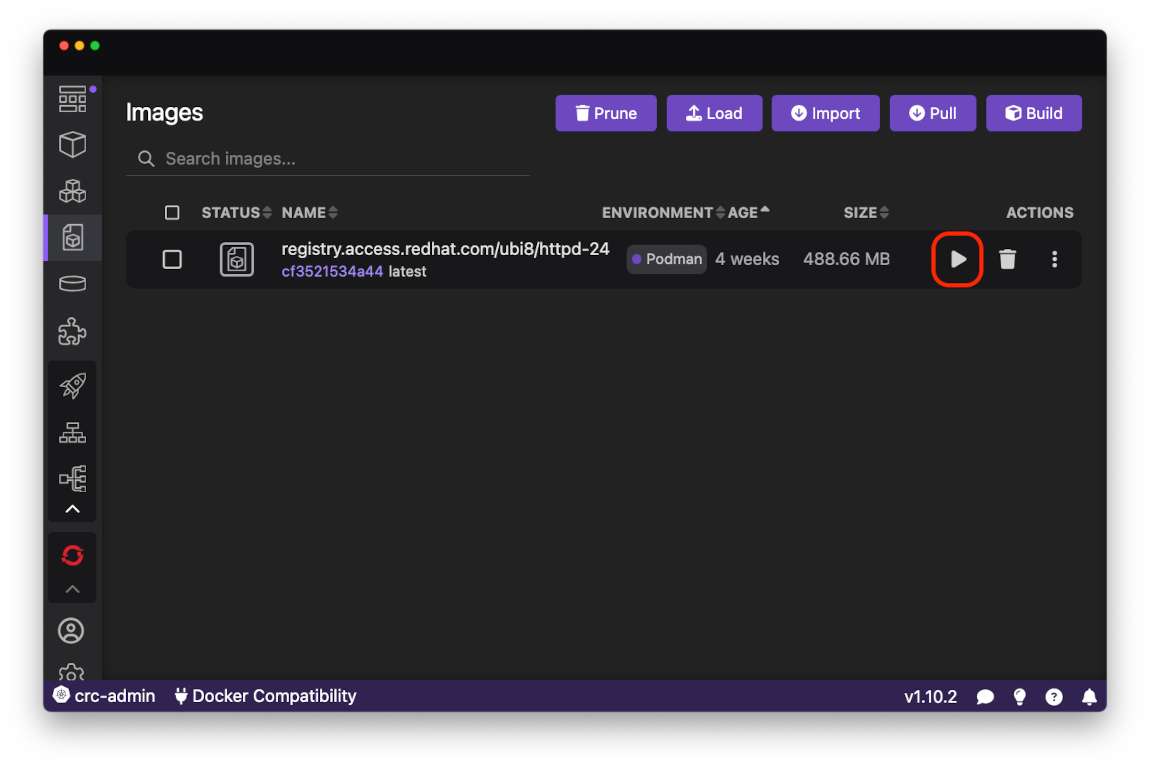
When the Push command is done, the image is ready to be deployed to the OpenShift Local cluster. First start a local container from the image using the Run button:
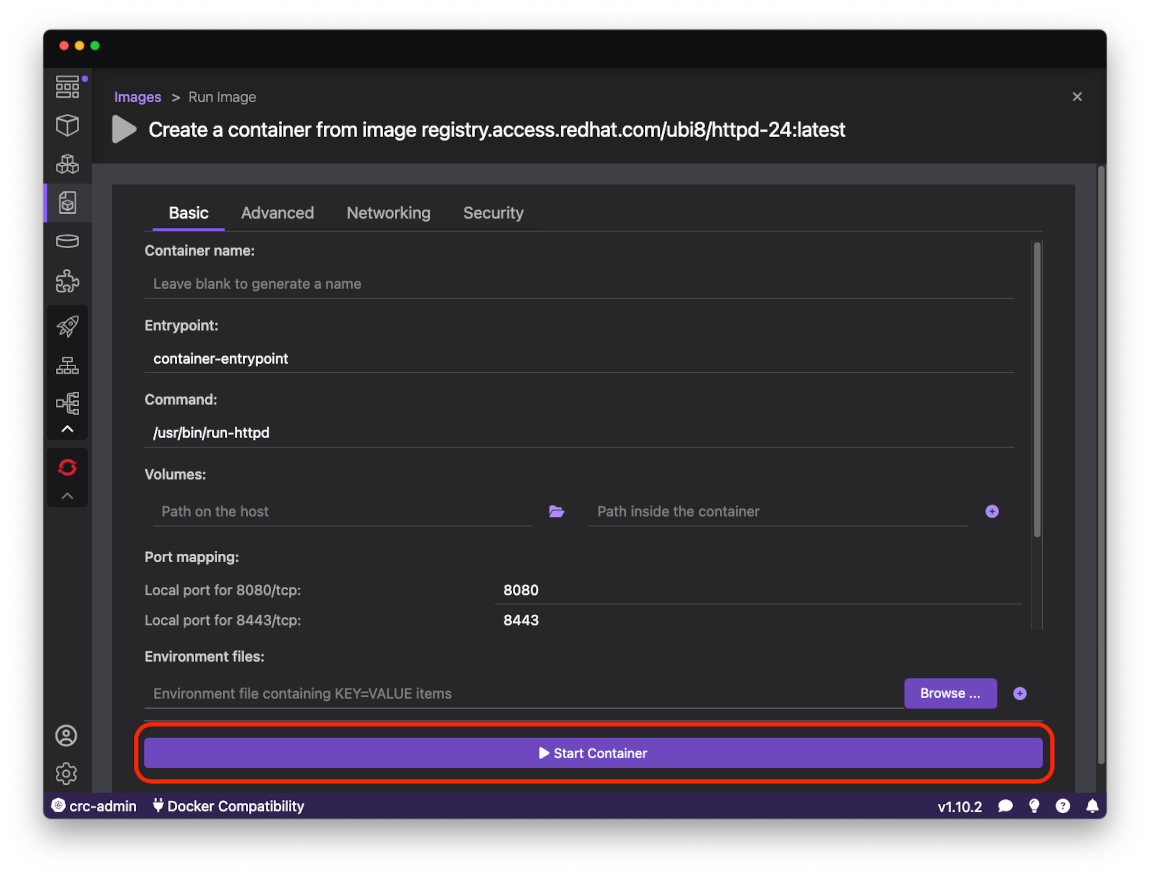
On the Run Image form leave the default values and press Start Container button:
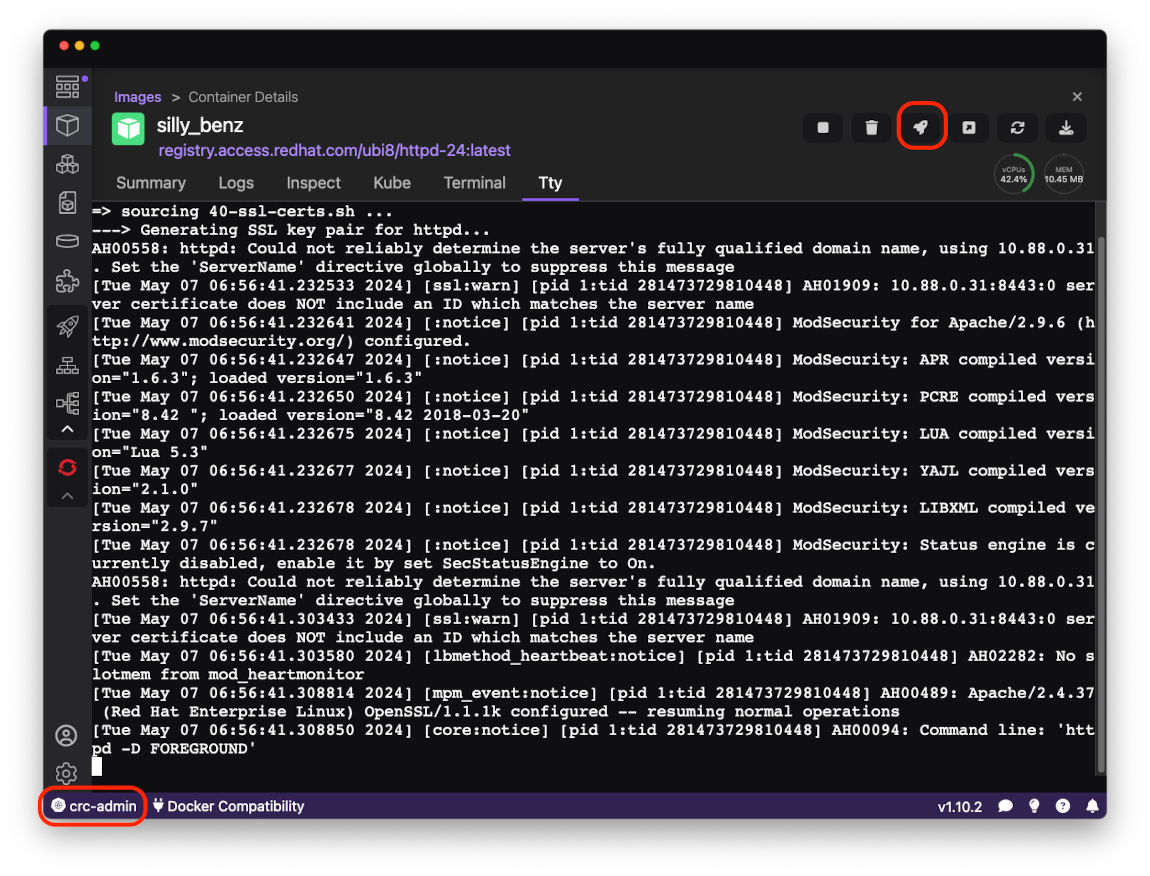
After the local container is up and running, it can be deployed to OpenShift Local cluster using the Deploy to Kubernetes button in the upper right corner
of Container Details page:
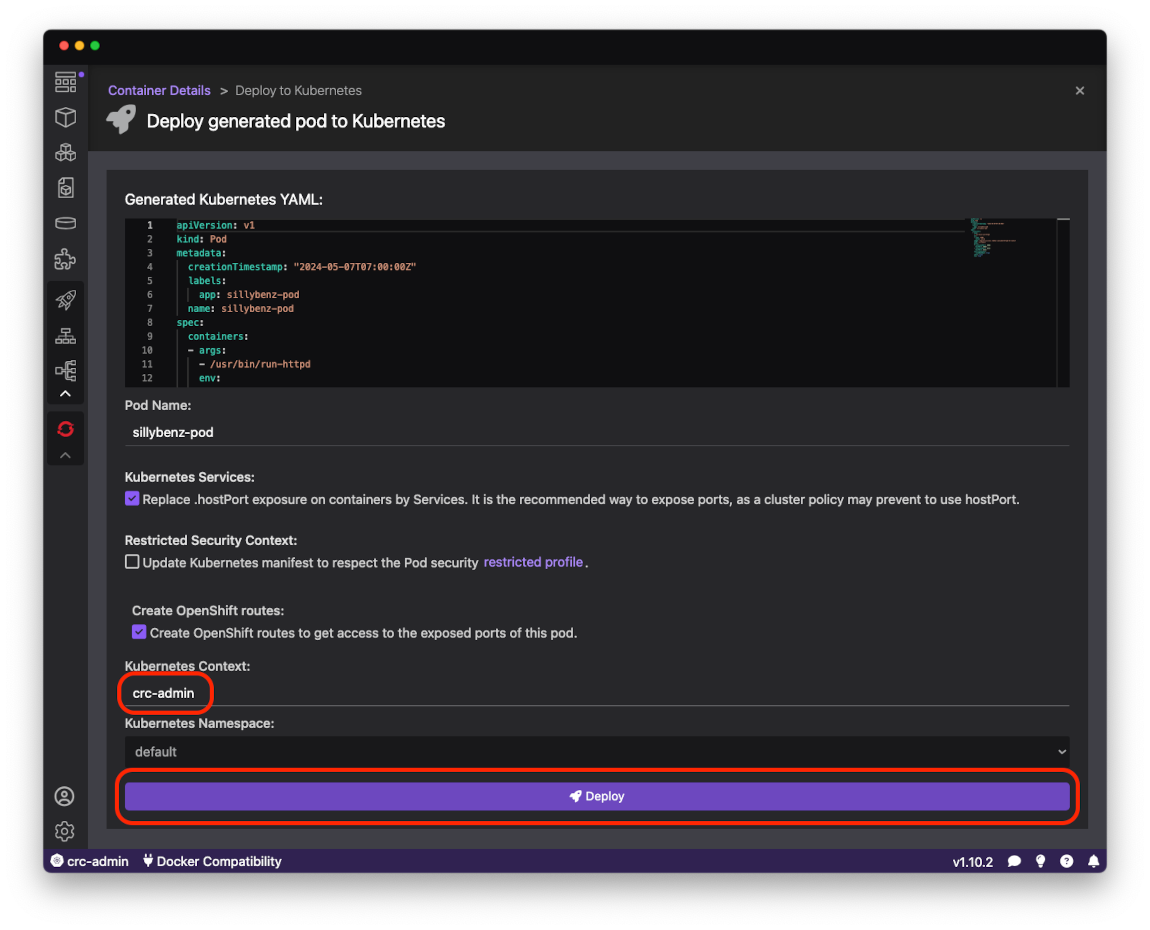
On the Deploy to Kubernetes form make sure the Kubernetes Context field is crc-admin and press the Deploy button:
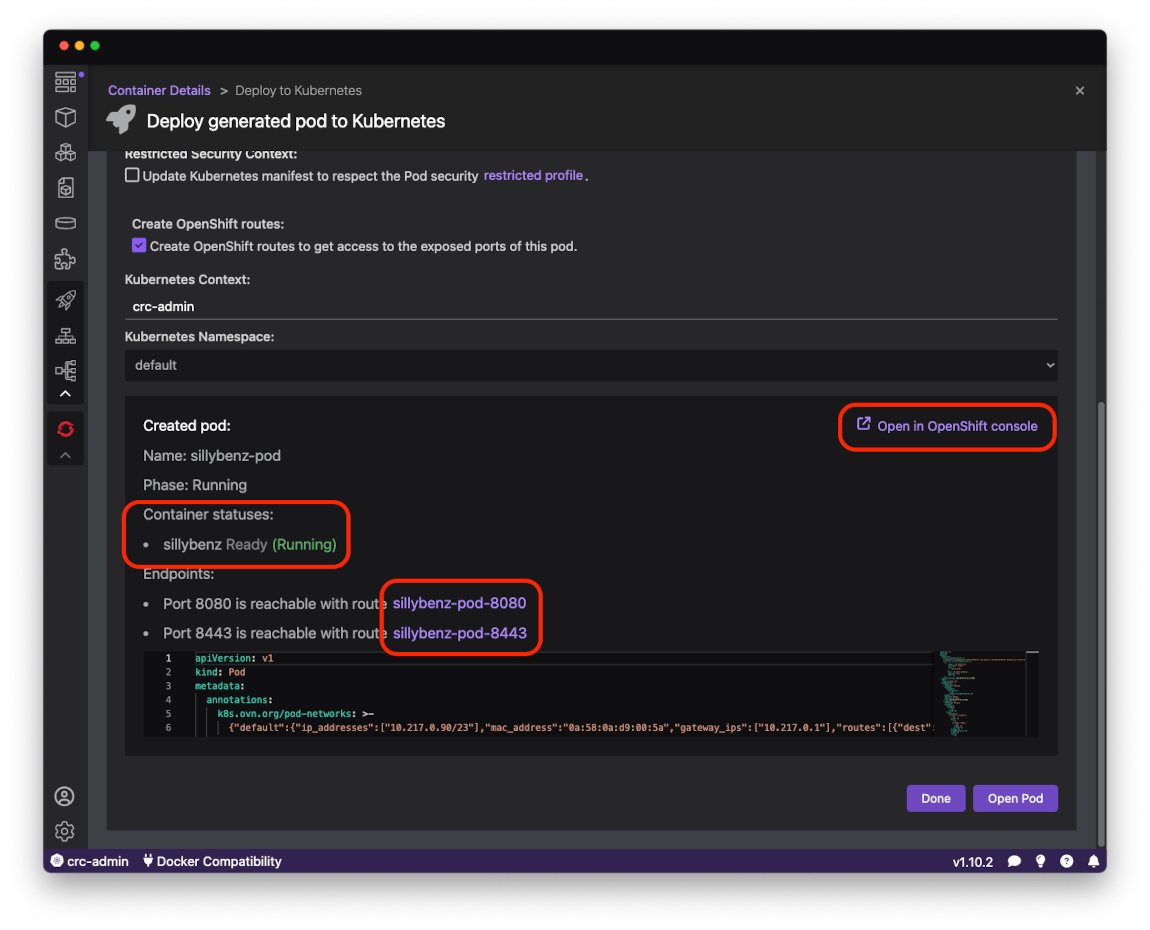
The bottom part of the page shows the status of deployment. When Container statuses contains Ready (Running) it means the httpd server is running in the
OpenShift Local cluster. There is also a link to open the OpenShift Developer Console where you can manage your local cluster:
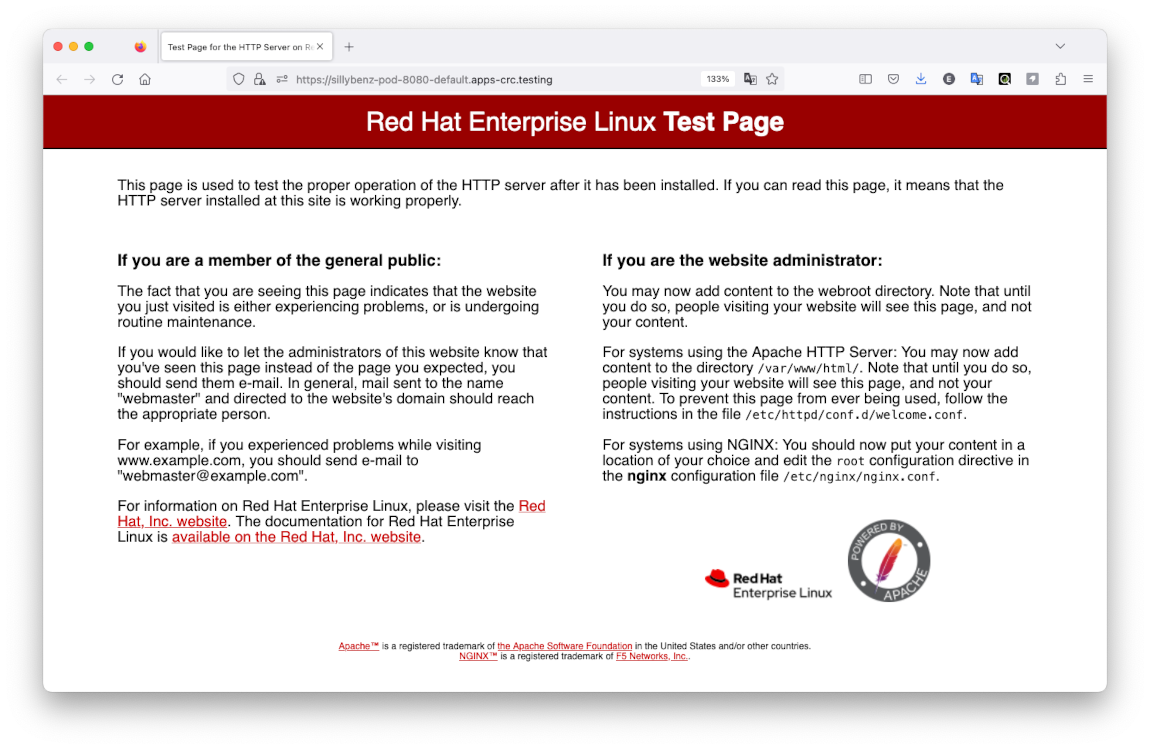
Clicking on the link below Container statuses opens the httpd server index page:
You have deployed your application to OpenShift!
