The following serial terminal programs are required for Loopback example test, download and install from below links.
-
prepare device
-
pin connection
-
Connect ethernet cable to W5100S-EVB-Pico ethernet port.
-
Connect Raspberry Pi Pico, W5100S-EVB-Pico to desktop or laptop using 5 pin micro USB cable.
To test the RTP streaming example, minor settings shall be done in code.
- Setup SPI port and pin in 'w5x00_spi.h' in 'RP2040-HAT-C/port/ioLibrary_Driver/' directory.
Setup the SPI interface you use.
/* SPI */
#define SPI_PORT spi0

#define PIN_SCK 18
#define PIN_MOSI 19
#define PIN_MISO 16
#define PIN_CS 17
#define PIN_RST 20
If you want to test with the RTP streaming example using SPI DMA, uncomment USE_SPI_DMA.
/* Use SPI DMA */
//#define USE_SPI_DMA // if you want to use SPI DMA, uncomment.- Setup IP and other network settings to suit your network environment.
/* Network */
    static wiz_NetInfo g_net_info =
        {
            .mac = {0x00, 0x08, 0xDC, 0x12, 0x34, 0x56}, // MAC address
            .ip = {192, 168, 11, 2},                     // IP address
            .sn = {255, 255, 255, 0},                    // Subnet Mask
            .gw = {192, 168, 11, 1},                     // Gateway
            .dns = {8, 8, 8, 8},                         // DNS server
            .dhcp = NETINFO_STATIC                       // DHCP enable/disable
    };
socket set
    #define TCP_S_SOCKET 0
    #define TCP_S_PORT 20000
    #define UDP_SOCKET 1
    #define UDP_PORT 30000
    #define UDP_SPORT 30002
    uint8_t UDP_BroadIP[4] = {255,255,255,255};
ADC setup
define
#define ADC_NUM 0
#define ADC_PIN (26 + ADC_NUM)
#define ADC_VREF 3.3
#define ADC_RANGE (1 << 12)
#define ADC_CONVERT (ADC_VREF / (ADC_RANGE - 1))
#define ADC_CLK_VAL  5999//5999=8kS/s
#define ADC_SAMPLE_COUNT   100
#define DATACNT 2000
init function
    bi_decl(bi_program_description("Analog microphone example for Raspberry Pi Pico")); // for picotool
    bi_decl(bi_1pin_with_name(ADC_PIN, "ADC input pin"));
    sleep_ms(1000);
    adc_init();
    adc_gpio_init( ADC_PIN);
    adc_select_input( ADC_NUM);
    //adc fifo
    adc_fifo_setup(
        true,    // Write each completed conversion to the sample FIFO
        true,    // Enable DMA data request (DREQ)
        1,       // DREQ (and IRQ) asserted when at least 1 sample present
        true,   // We won't see the ERR bit because of 8 bit reads; disable.
        false     // Shift each sample to 8 bits when pushing to FIFO
    );
    adc_set_clkdiv(ADC_CLK_VAL);
RTC setup
    datetime_t t = {
            .year  = 2022,
            .month = 05,
            .day   = 24,
            .dotw  = 5, // 0 is Sunday, so 5 is Friday
            .hour  = 11,
            .min   = 40,
            .sec   = 00
    };
    rtc_init();
    rtc_set_datetime(&t);
input SDP parameter
    SDP_Data session_data;
    session_data.from_data.display_info = "wiznet";
    session_data.from_data.user_part = 0x3796CB71;
    session_data.from_data.host_part = "sip.wiznet.io";
    session_data.from_data.tag = 0xb56e6e;

    session_data.to_data.user_part = 0x35104723;
    session_data.to_data.host_part = "sip.wiznet.io";
    session_data.method = "INVITE";
    session_data.branch = "z9hG4bKnp10144774-4725f980";
    session_data.rport = "rport";
    session_data.call_ID = "11894297-4432a9f8";
    session_data.cseq = 1;
    session_data.content_type = "application/sdp";
    session_data.date = "WED 25 May 2022 10:54:25 GMT";
    session_data.max_forward = 70;
    session_data.user_agent = "wiznet Version 0.0.0.0";
    session_data.allow = "INVITE, ACK, CANCEL, BYE, REFER, OPTiONS, NOTIFY, INFO";
    session_data.address[0]=192;
    session_data.address[1]=168;
    session_data.address[2]=15;
    session_data.address[3]=125;
    session_data.expires = 120;

    session_data.message_body.version = 0;
    session_data.message_body.owner_username = "WIZNET";
    session_data.message_body.session_information ="the session test protocol of wiznet";
    session_data.message_body.session_ID = 24466424;
    session_data.message_body.session_version = 24466418;
    session_data.message_body.address_type = "IP4";
    session_data.message_body.network_type = "IN";
    session_data.message_body.start_time = 0;
    session_data.message_body.stop_time = 0;
    session_data.message_body.media_type = "audio";
    session_data.message_body.media_port = UDP_PORT;
    session_data.message_body.media_protocol = "RTP/AVP";
    session_data.message_body.session_name = "WIZNET Test";
    session_data.message_body.media_format = 8;
    session_data.message_body.media_attr_fieldname = "rtpmap";
    session_data.message_body.media_attr_mime_type = "PCMA";
    session_data.message_body.media_attr_sample_rate = 8000;
    session_data.message_body.fmtp_type = 78;
SDP data and function set
    SDP_init(&session_data, UDP_SOCKET, UDP_BroadIP, UDP_SPORT);
adc_func_set(adc_fifo_get_blocking);-
After completing the RTP streaming example configuration, click 'build' in the status bar at the bottom of Visual Studio Code or press the 'F7' button on the keyboard to build.
-
When the build is completed, 'main.uf2' is generated in 'pico_audio_streaing_Test/build/examples/' directory.
-
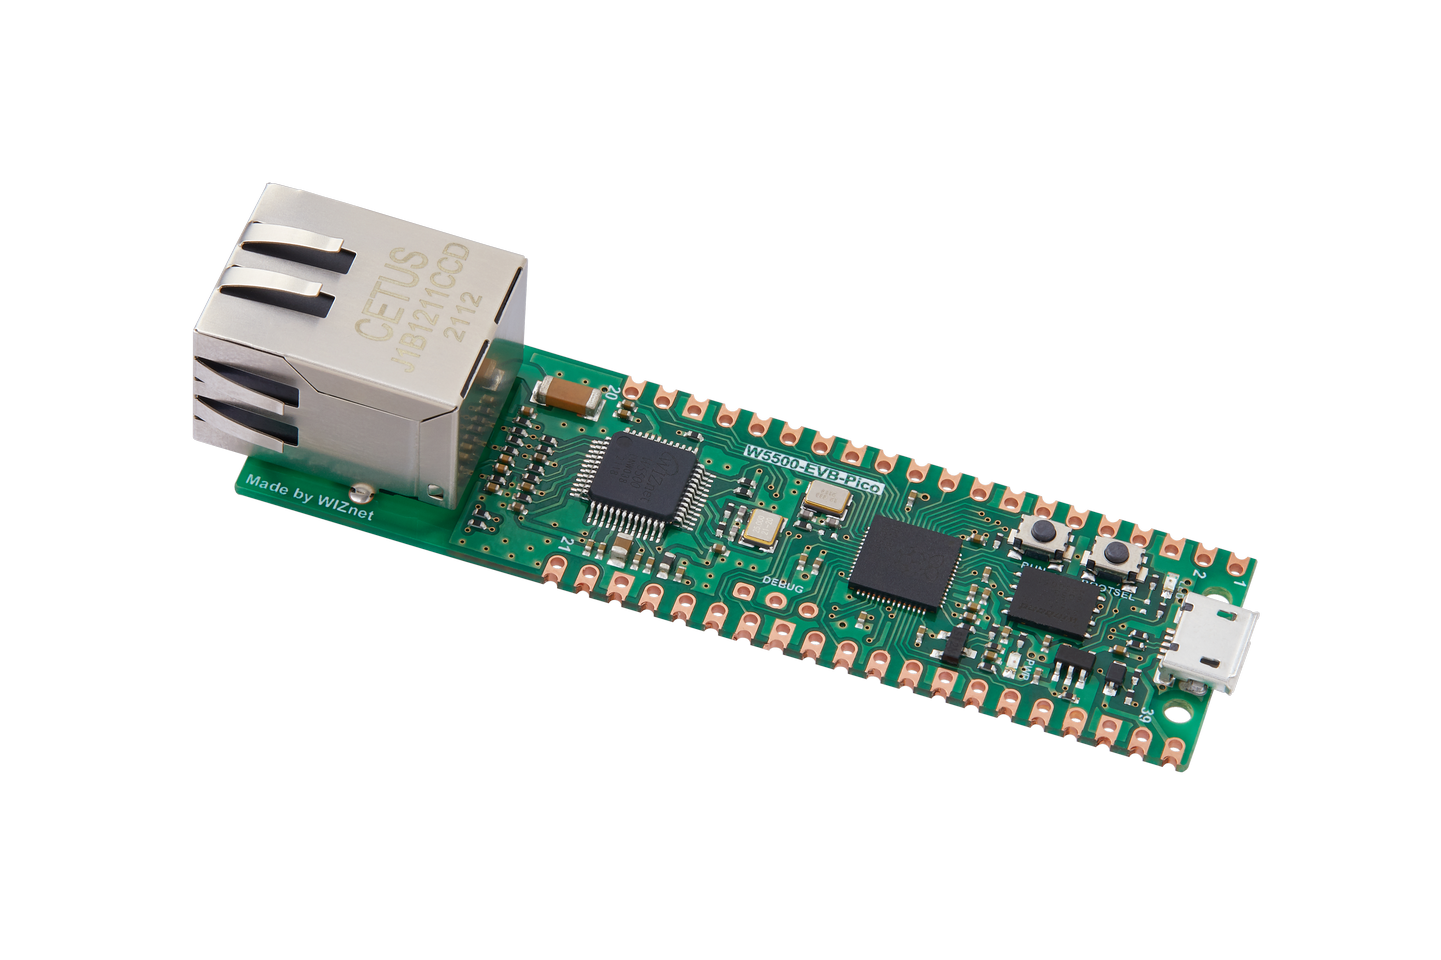
While pressing the BOOTSEL button of Raspberry Pi Pico, W5100S-EVB-Pico or W5500-EVB-Pico power on the board, the USB mass storage 'RPI-RP2' is automatically mounted.
-
Drag and drop 'main.uf2' onto the USB mass storage device 'RPI-RP2'.
-
Connect to the serial COM port of Raspberry Pi Pico, W5100S-EVB-Pico or W5500-EVB-Pico with Tera Term.
-
Run the wireshark program. Start the network capture.
-
Reset your board.
-
If the RTP streaming example works normally on Raspberry Pi Pico, W5100S-EVB-Pico or W5500-EVB-Pico, you can see the network information of Raspberry Pi Pico, W5100S-EVB-Pico or W5500-EVB-Pico and the TCP server is open.
-
Connect to the open RTP control server using Hercules TCP client. When connecting to the RTP control server, you need to enter is the IP that was configured in Step 3, the port is 20000 by default.
- If you send a start message to the RTP control server, PICO starts RTP streaming.
- To stop streaming RTP, send a stop message to the RTP control server.


