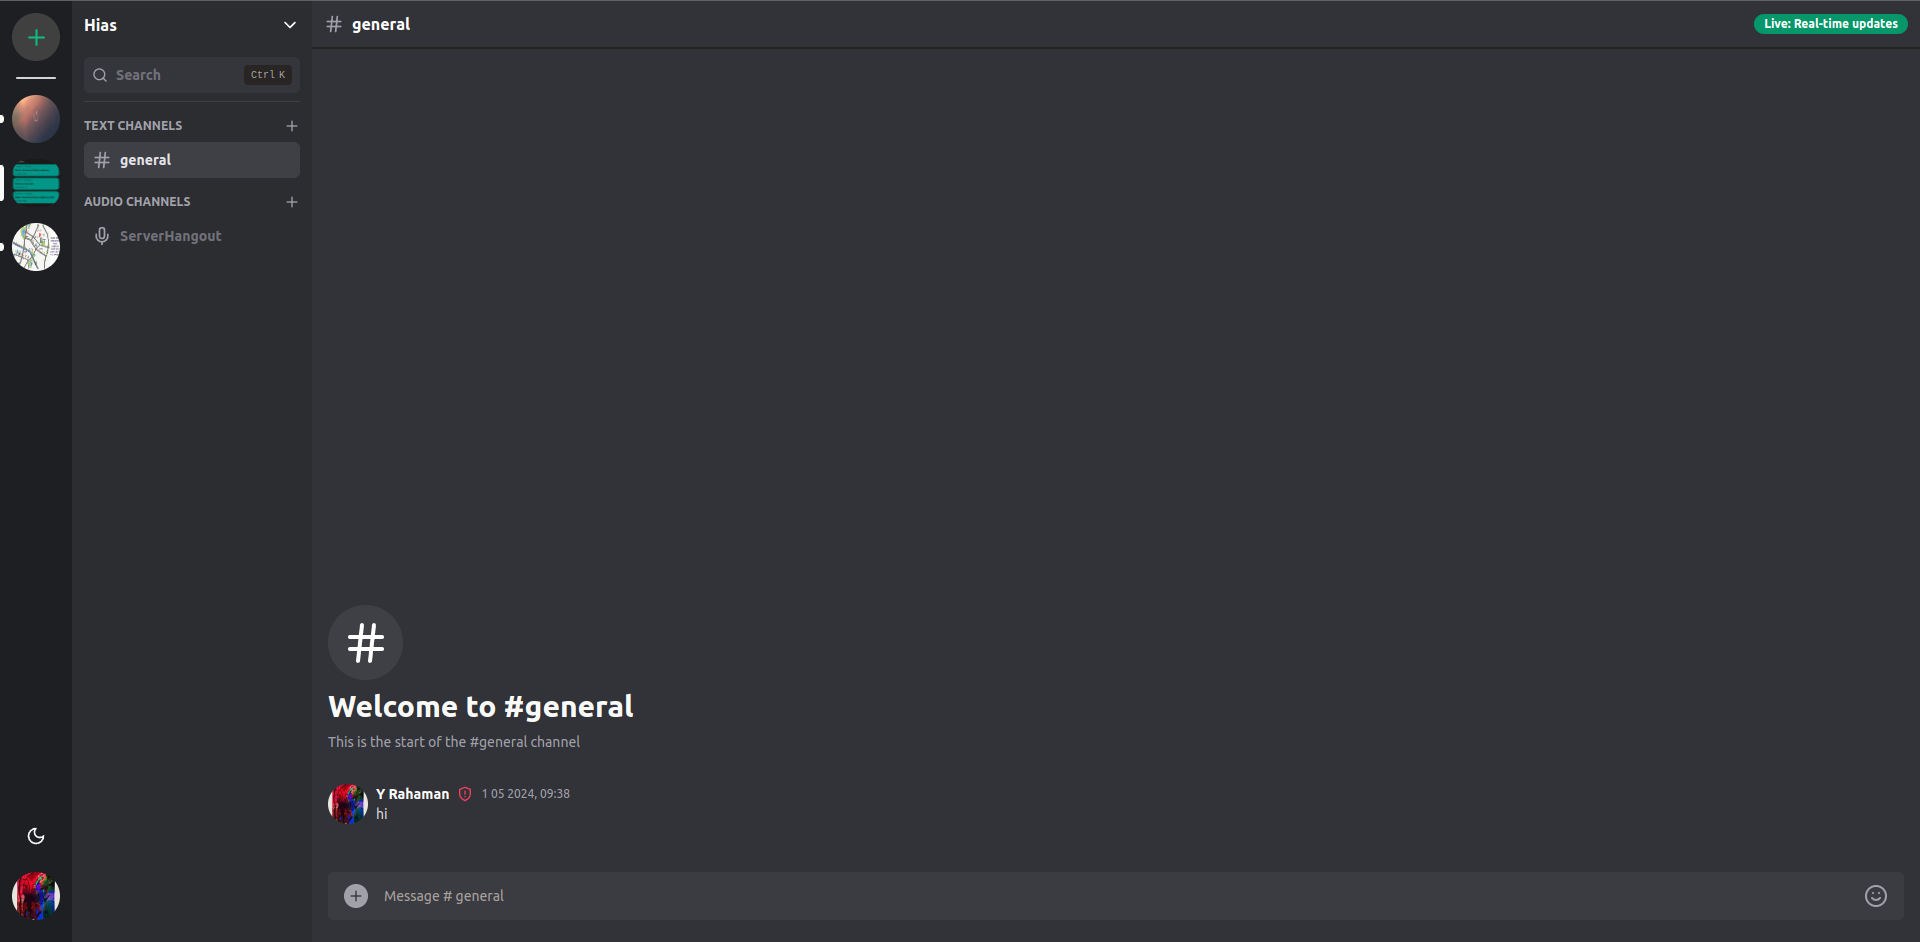
Welcome to the Discord Clone built with Next.js! This project aims to replicate the functionality and design of the popular communication platform Discord using the Next.js framework. It is deployed live at https://discord-a.up.railway.app/.
-
Real-time Chatting: Enjoy seamless real-time messaging with friends and communities. Send text messages instantly and engage in conversations effortlessly.
-
Voice and Video Calls: Connect with friends through high-quality voice and video calls. Experience crystal-clear audio and video communication, whether you're chatting one-on-one or in a group.
-
Server and Channel Management: Create and manage servers and channels to organize your communities and conversations efficiently. Customize permissions and roles to maintain control over your server environment.
-
Direct messages: Conversate with any members of the server directly. You can give a video call or an audio call directly.
-
Rich Media Support: Share images, videos, GIFs, and other media files within your conversations. Express yourself with a wide range of multimedia options.
-
Emojis and Reactions: Spruce up your conversations with emojis and reactions. React to messages to express your feelings or simply add some fun to the chat.
-
Frontend:
-
Backend :
Thank you for your interest in DiscordClone and your willingness to contribute!
To contribute to this Discord-Clone, you must first fork the Discord-Clone repo.
-
Clone your GitHub forked repo:
git clone https://github.com/<github_username>/Discord-Clone
-
Go to the Discord-Clone directory:
cd discord-clone
-
Install the dependencies in the root of the repo:
npm install # install dependencies -
Copy the example
.env.local.exampleto.env.local.env.local.example
- Create a .env.local in your root directory
- Visit Supabase website to create a project, then get its base URL and base anon key.
- Visit UploadThing website to create a new app and get its app ID and secret key.
- Visit ClerkJS website to create a new app and get its public key and secret key.
- Visit LiveKit website to create a new app and get its public key, URL, and secret key.
- Paste the credentials in the respective positions.
- Keep the rest as it is.
To start a development server
npm run dev # start all the applicationsVisit http://localhost:3000/
For deployment use services like Railway , Digital Ocean, AWS, Google Cloud, Azure, etc.
- auth -> For authentication using ClerkJs.
- invite -> For inviting to existing servers.
- main -> contains routes for server, channel, and conversations pages.
- /servers/serverId -> server route
- /channels/channelId -> channel specific route
- /conversations/memberId -> member of server private conversation.
- /servers/serverId -> server route
- setup -> To create an initial server create a modal.
- api -> For api handling
