-
Notifications
You must be signed in to change notification settings - Fork 5
How to manage assets
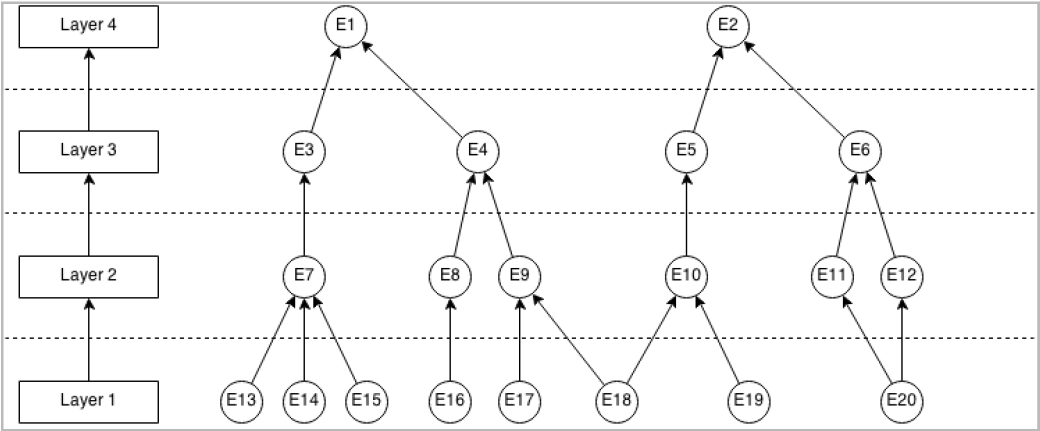
Producers (see RISCOSS Platform) need create the Entities to be analysed. These Entities can be organised in Layers. A Layer defines a logical group of entities, their structure, and a parent-child relationship with another layer. This parent-child relationship is implicitly defined for all the entities belonging to a layer and allows the user to create a hierarchy of entities. In addition to the hierarchy of entities, layers also defines the attributes associated to the entities belonging to it.

In this example, there are 4 layers and 20 entities in our knowledge base.
The assets management is centralised in the Layer manager menu.

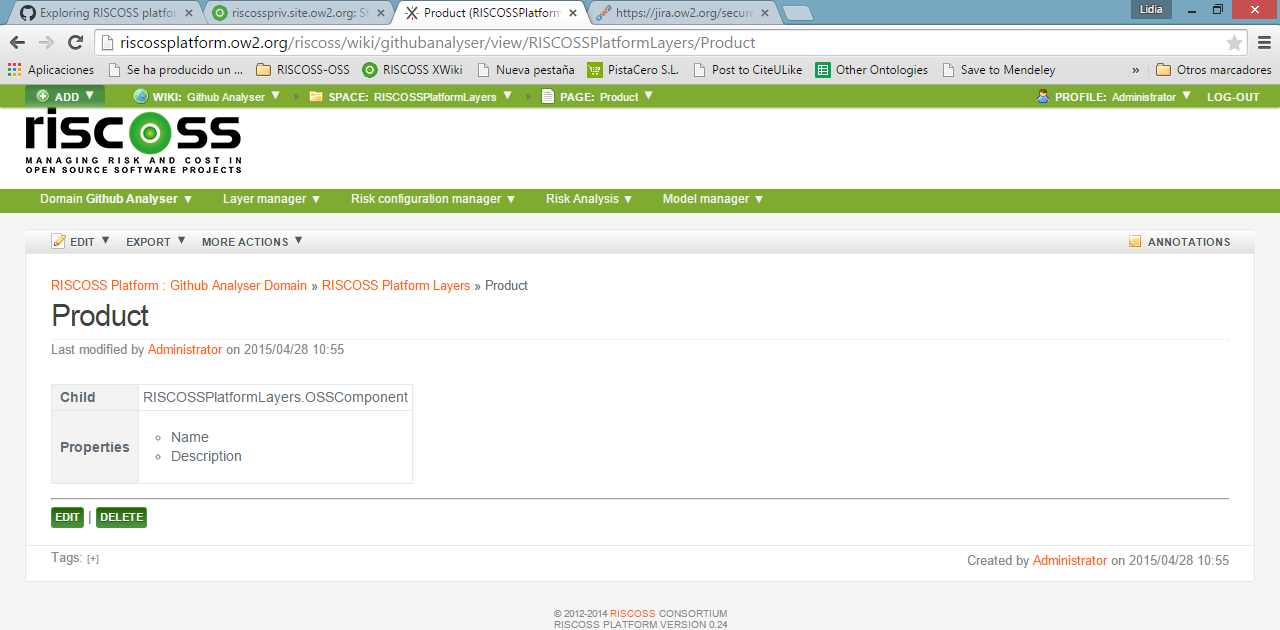
RISCOSS can run risk assessment at different levels. Therefore, the first step is specifying your own organization structure, defining the different organisational units (layers) of analysis to be put under RISCOSS’ supervision. RISCOSS uses as essential organizational unit the OSS Component, in the sense of the Product produced by an OSS Project to be adopted in any of the company's organizational units.
Choosing New layer option from Layer manager menu and enter the layer’s name in the form that appears.

After clicking the CREATE button, you can add some details about the layer:
- The parent-child relation to other existing layers (child field).
- The survey URL to collect contextual data (Data collection survey URL field). Details in How to use LimeSurvey Questionnaires.
- The attributes that describes the entities belonging to this layer. Dragging field from the palette on the right (Property definitions for entities in layer… section).

The layer is stored in the platform using SAVE & VIEW button at the bottom of the form.

#Step 2: Creating Entities There are 3 options to create entities. The first 2 options are meant to create entities manually and the last one to import them from a file.
Choosing New entity option from Layer manager menu. This option opens a submenu containing all layers defined in the domain. Choose the corresponding layer.

Chossing Layer index option from the Layer manager menu. The platform will show the list of all layers defined in the domain.

Click on the CREATE ENTITY button next to the corresponding layer name.
Enter the entity’s name in the form that appears.

After clicking the CREATE button, you can add some details about the entity.

The entity is stored in the platform using SAVE & VIEW button at the bottom of the form.
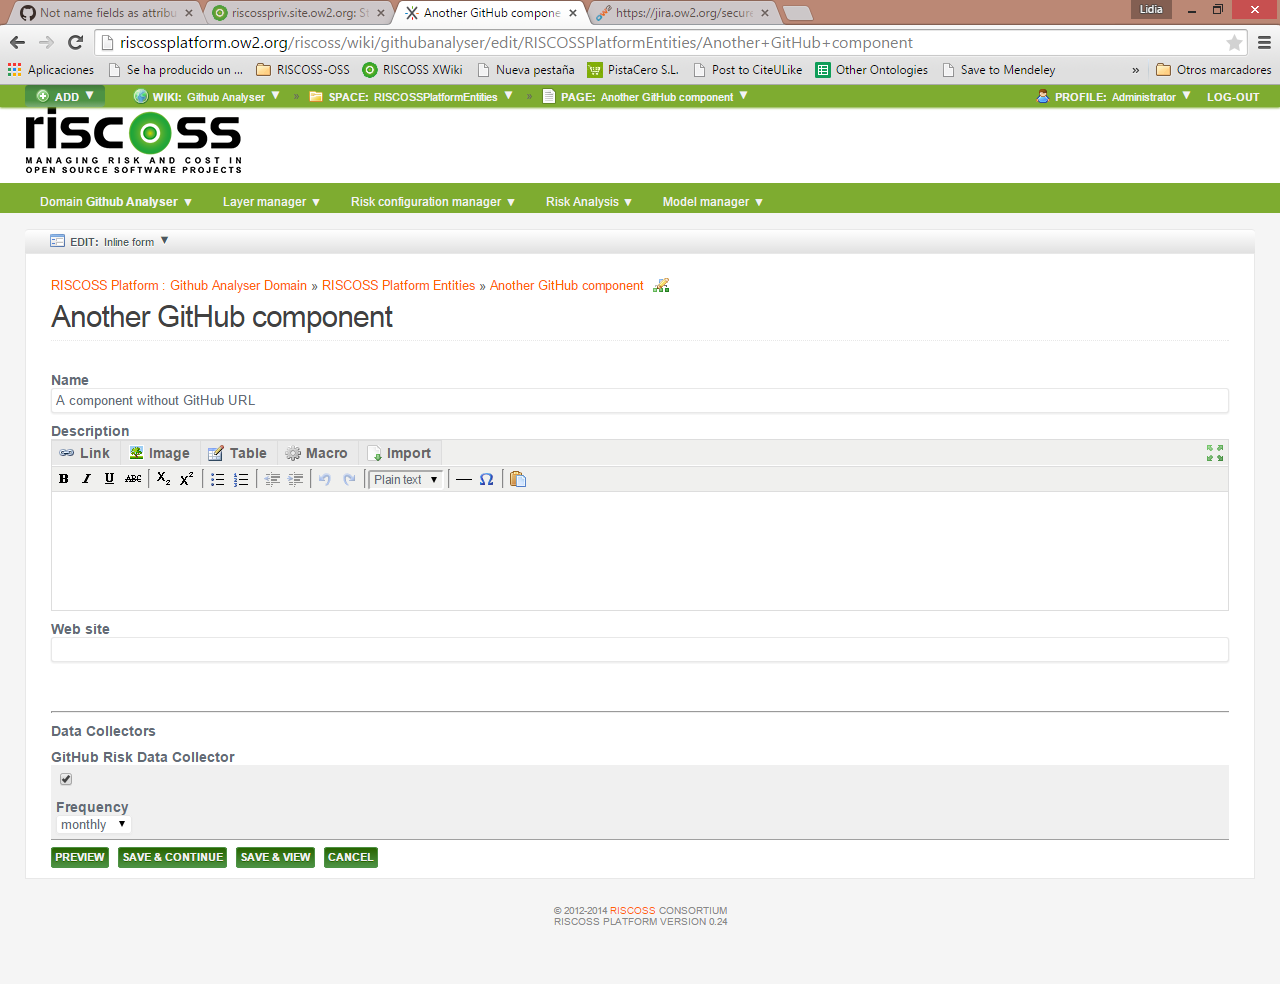
At the bottom of the form, the data collectors can be configured (see Step 3).
Note: The imported file can be customised using an xml file. Details about the configuration of the imported file in How to configure entities import file
In the Entity form (when the entity is created or edited), at the bottom there is the list of available data collectors. The available data collectors are those that have been configured in the system by a system administrator, and the parameters the user has to fill depend on the nature of the data collector.
The data collector is selected using the tick of the data collector, and depending on the data collector some configuration data is needed. Finally, the field Frequency is used to indicate when the data gathered by this data collector needs to be updated.

For example, the user is associating a Jira data collector that is able to retrieve bug tracking data from a JIRA system, and he has to provide the URI where this system is installed and the credentials for accessing to it. Once the entity is saved, the Data Collector Manager will start to schedule the data collectors associated to the different entities, and run them for populating the Risk Data Repository with risk data that can be then used when the actual risk analysis will be performed.
#Step 4: Exploring Layers and Entities Layers and Entities can also be browsed by choosing the corresponding menu items in the Layer manager menu (i.e. Layer and Entity index).

RISCOSS Governance
Get Involved
How to read analysis results
How to manage domains
How to manage assets
How to manage risk configurations
How to manage risk sessions
How to configure entities import file
How to contribute
How to setup RISCOSS workspace
How to build RISCOSS platform
How to deploy RISCOSS platform