-
Notifications
You must be signed in to change notification settings - Fork 5
Help
- Introduction
- Label Printing Services
- Getting Started
- Printing Labels
- Configuration
- Support and Issues
The SpineOMatic Cloud App is a next generation web-based version of the classic SpineOMatic Windows application originally written by Boston College Library Systems. Subsequently taken over by Ex Libris, this next generation version lays the foundation for rich label printing integrated into the Ex Libris platform as an Ex Libris Cloud App.
The SpineOMatic Cloud App provides the following functionality:
- Label Templates: specify fields and images to include in labels, some with special formatting options
- Label Layouts: specify label measurements and orientation
- Label Images: upload images to be used in your label templates
- Printing Labels: from search results, scanned items, or saved sets
First, be sure the app is installed in your Alma instance. For instructions on how to find and install Cloud Apps, see the Alma online help.
Once installed, you can open the SpineOMatic app within the Cloud Apps panel.
There are three ways to select records for which you want to print labels.
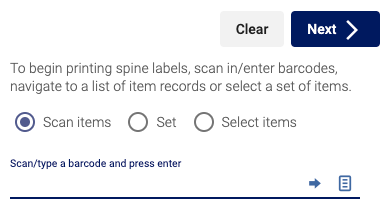
Scan or key in item barcodes. To scan a file of barcodes, click the file icon and select a text file with each barcode on a separate line.
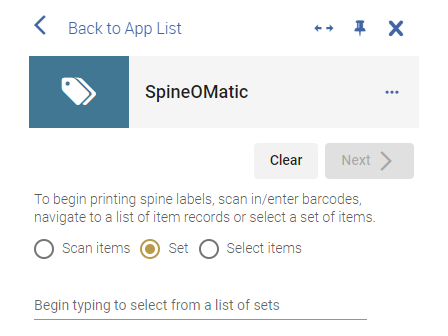
Select a saved set from the Alma set management functionality. To find a set, type some of the name of a "physical items" set and select it from the displayed options.
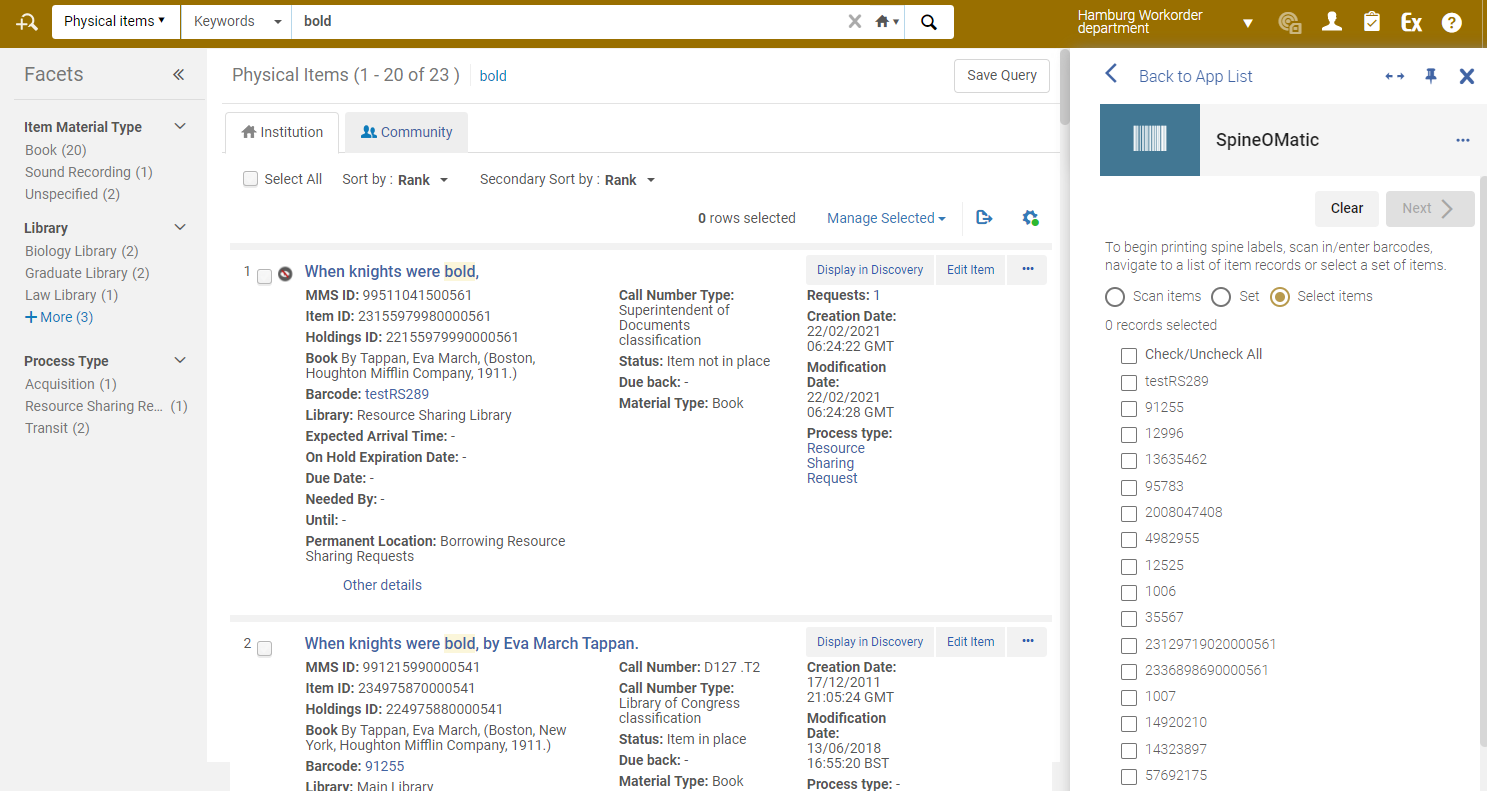
Perform a physical item search. SpineOMatic will recognize that Alma is displaying search results and will offer the option to print labels for all, or a selection, of the records displayed on the page. Click the checkbox next to the records for which you wish to print labels (or check the "Check/Uncheck All" box at the top). You can paginate through records in Alma and use SpineOMatic to continue to add records to the label printing list.
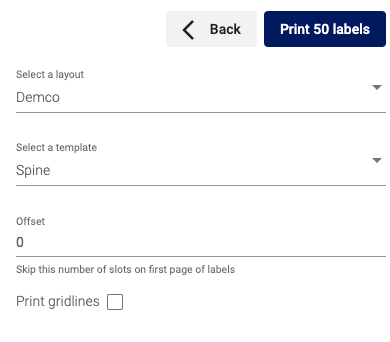
Once you've selected the records for which you wish to print labels using one of the options above, click the "Next" button. You can then select a layout and a template to use when printing the labels. See "Configuration" for defining templates and layouts. After selecting the layout and template, click the "Print ## labels" button to print the labels. The ## will be replaced with the number of labels you have selected for printing. You can also specify a number of slots to skip on the first page of labels for partially-used sheets and whether to print the gridlines.
After clicking the "Print ## labels" button, a preview of the labels will display, along with printer selection and printing options.

SpineOMatic Cloud App offers options to customize how your labels are printed. To access the configuration screen, you must have the General Administrator role in Alma. Click the icon next to the app name and click the wrench. Click the Expand icon (double horizontal arrows) next to the pin icon) to go full screen while working on your label configuration. You will be able to see more options at one time with less scrolling.
When you are finished customizing the configuration, click the Save button at the top of the screen, then click Back to return to the SpineOMatic app.

Templates define what gets printed on your labels. From the configuration screen, click Templates to manage your label content.

- To add a template, click the plus sign. Supply a name for the template and click OK.
- To edit an existing template, select the template from the Select a template dropdown and click the pencil.
- To delete a template, select the template from the Select a template dropdown and click the trash can.
- Use the Add field dropdown to select a field to include in the label. The field will be added at the cursor position in the Label contents edit box.
- use the Add image dropdown to select an image to include in the label. The image will be added at the cursor position in the Label contents edit box.
- Highlight fields in the Label contents edit box, and use the B and I icons in the toolbar to add bolding and/or italics.
- Click the ... button for additional formatting options such as text alignment, font and font size, and text color.
- Click the ... button again to close the additional formatting tools.
- Custom text may be added to the label by positioning the cursor where you'd like the text to appear, then entering the text.
- To delete fields or custom text from the label, highlighting the field or text and press the delete key on the keyboard.
-
Barcode has special formatting options available. Click the Barcode dropdown to select any special formatting.

- You may chose to show the barcode as a barcode and/or as a value on the printed label.
- You may also select a barcode encoding. Note that if your barcodes have letters (and not just numbers), do not choose codabar as the encoding format, because that doesn’t support letters.
-
Call number has special formatting options available. Click the Call number dropdown to select any special formatting.
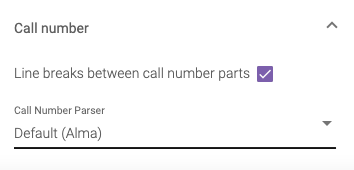
- You may include line breaks between the call number parts. Call number parts are determined by the Call Number Parsing configuration in Alma (see the online help for more details).
- You may specify a custom call number parser if applicable.
-
Title has special formatting options available. Click the Title dropdown to select any special formatting.

- Specify the number of characters after which the title will be truncated
-
Label prefixes can be specified by clicking on the Label prefixes dropdown. Label prefixes allow the addition of a string of text at the beginning of the label based on the item's library and location.

- Click on the Add button to add a new label prefix.

- Select the library from the auto-complete list.
- Optionally select the location. If no location is selected the prefix will match on any location for the specified library
- Enter the text of the prefix.
- To edit or delete a label prefix, click the appropriate icon.
- Label prefixes can be ordered by dragging and dropping them within the list. Order is important if you include prefixes with any location.
- Click on the Add button to add a new label prefix.
Layouts define the characteristics of the label sheets. From the configuration screen, click Layouts to manage your label layouts.

- To add a layout, click the plus sign. You may optionally select an existing layout upon which to build your new layout. Supply a name for the new layout, and click OK.
- To edit an existing layout, select the layout from the Select a layout dropdown and click the pencil.
- To delete a layout, select the layout from the Select a layout dropdown and click the trash can.
- Set the measurement units.
- Set the characteristics of the label sheet.
- Set the orientation.
- Set the characteristics of the labels on the sheet.
The following shows how the various properties affect the layout on the page:

Images allows you to upload images to be included in your templates.

- To add an image, click the plus sign.
- To replace an image, click the replace icon under an image.
- To delete an image, click the trash can under the image.
- To rename an image, click the pencil next to the image name.
If you need help with this app, you can open an issue in Github.